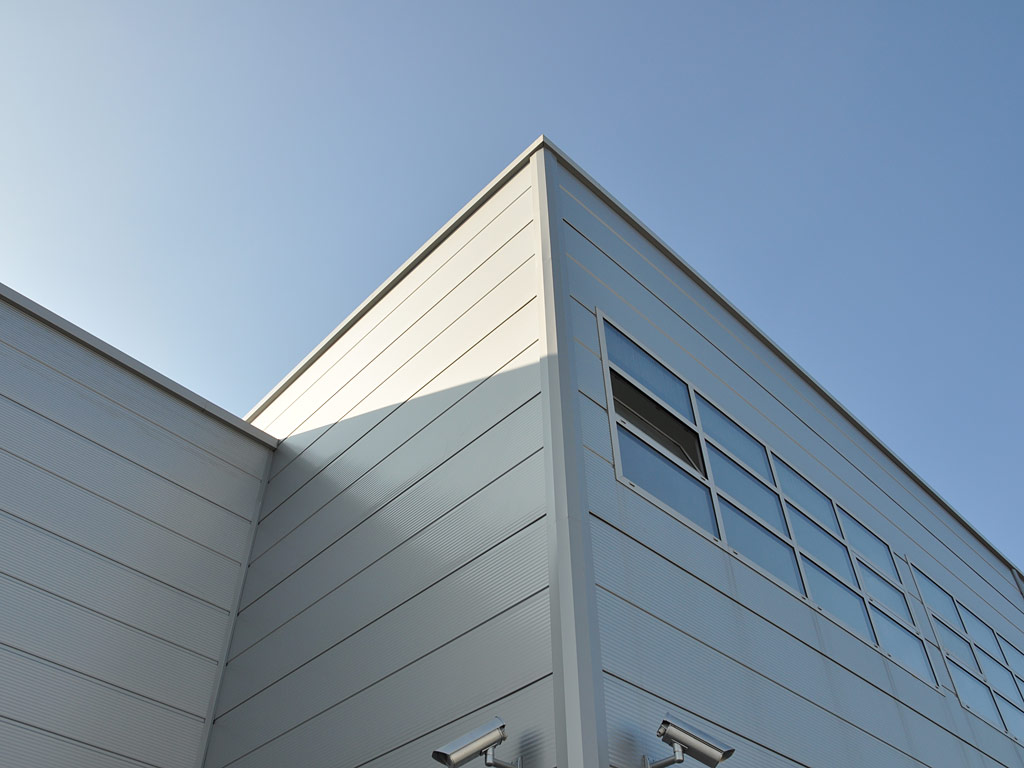
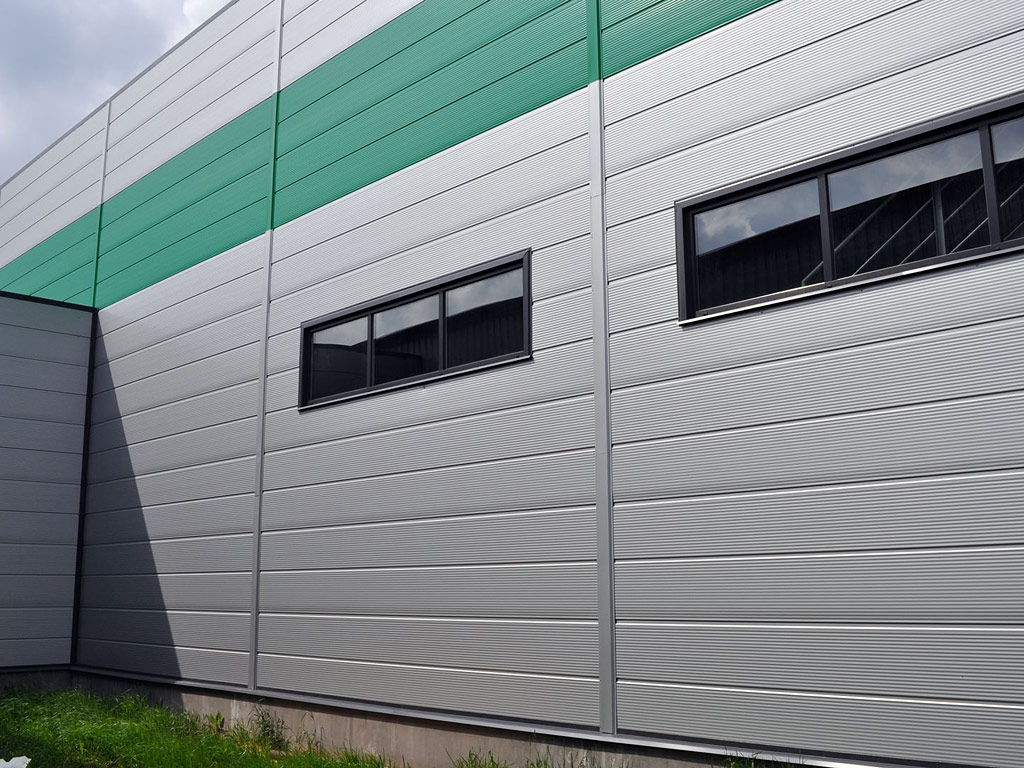
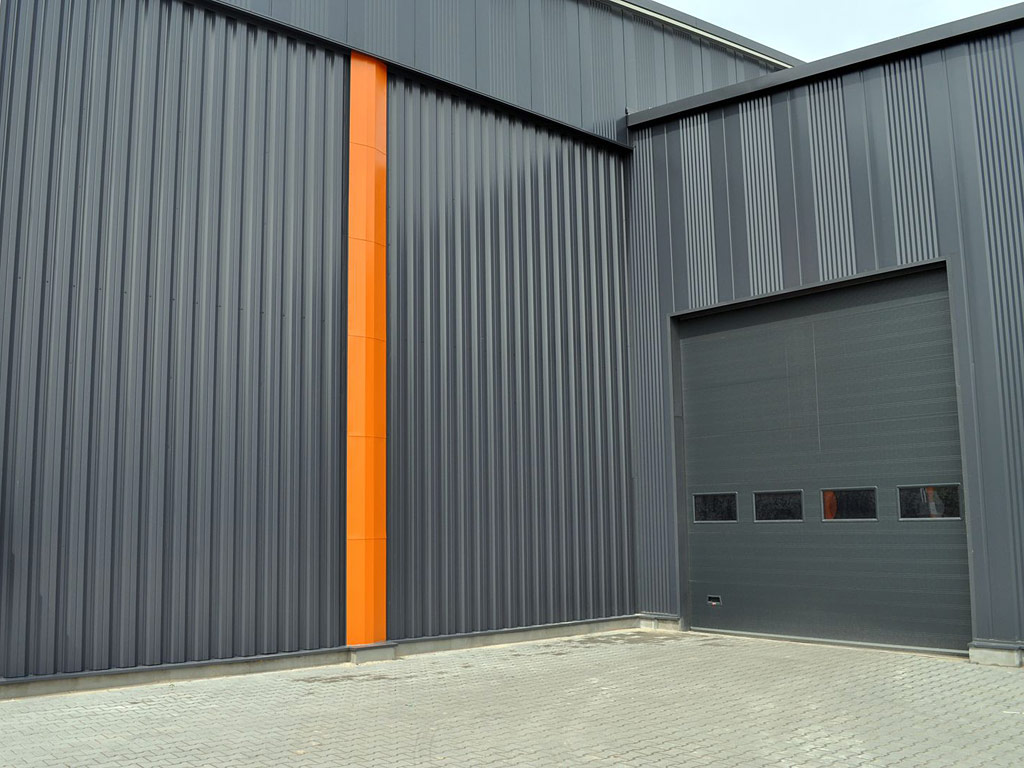
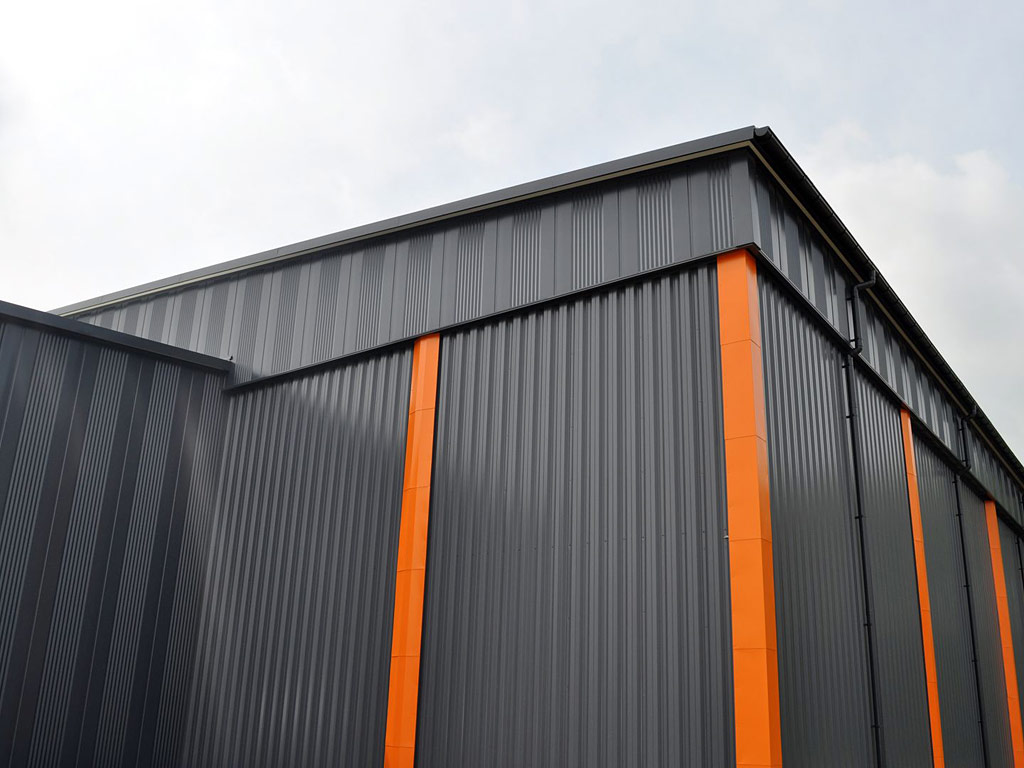
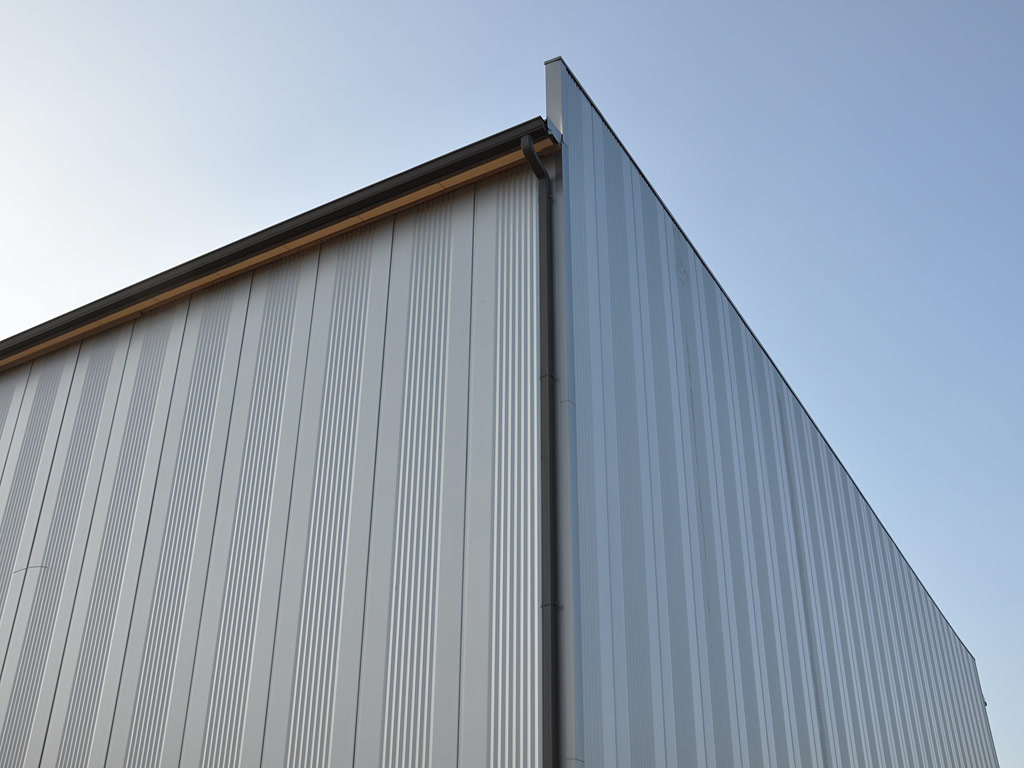
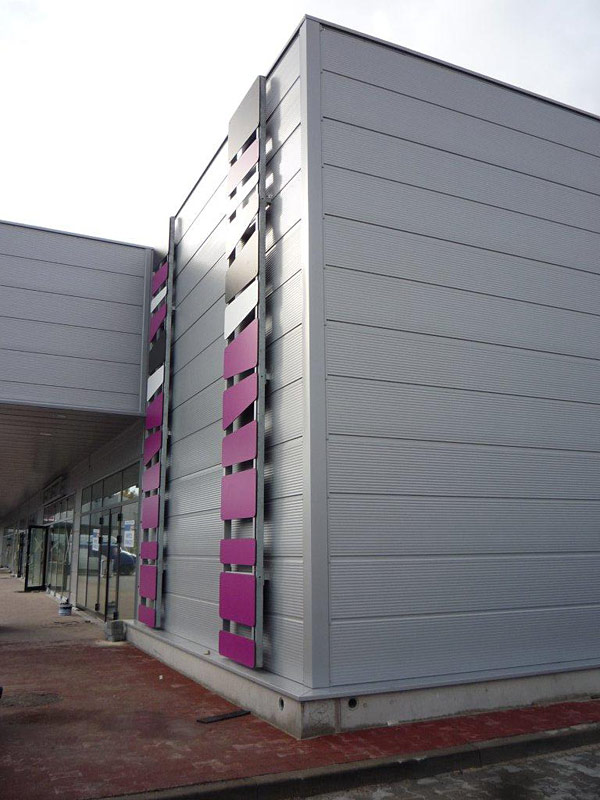
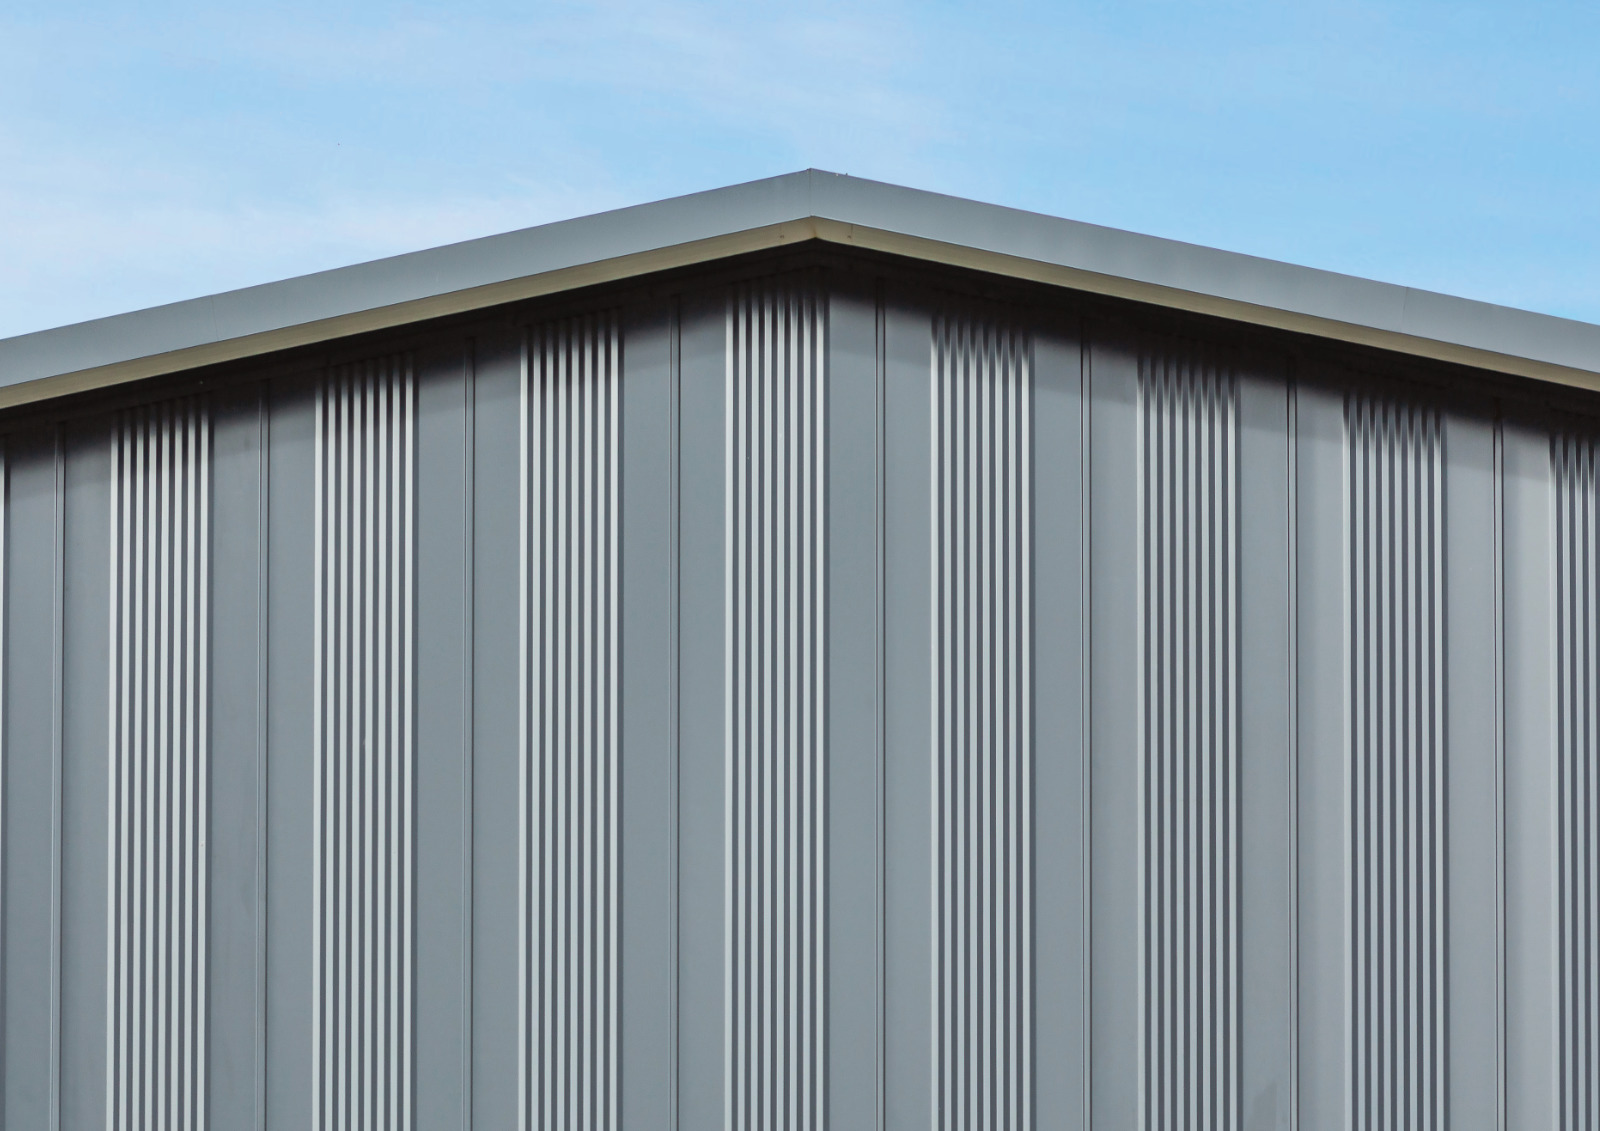
The new generation corner Europanels flashing with concealed fixings have been developed primarily for aesthetic finishing corners of buildings made of sandwich panels mounted horizontally.
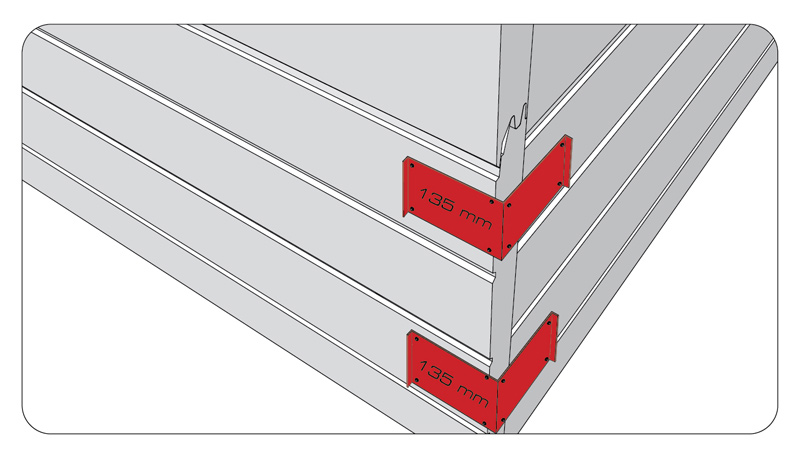 |
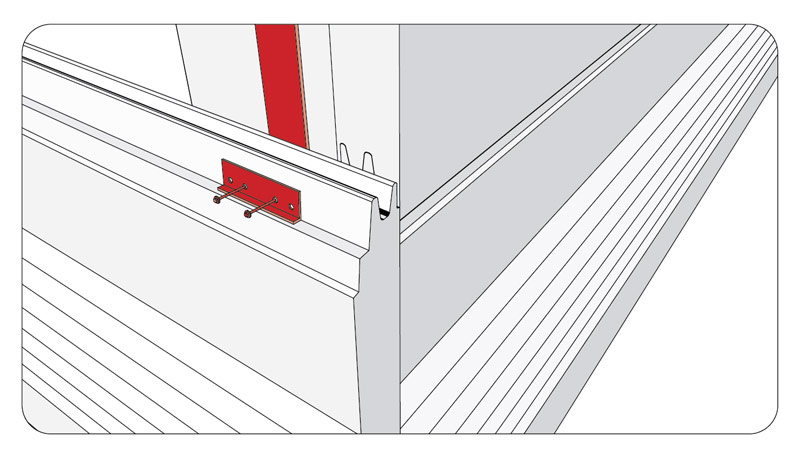
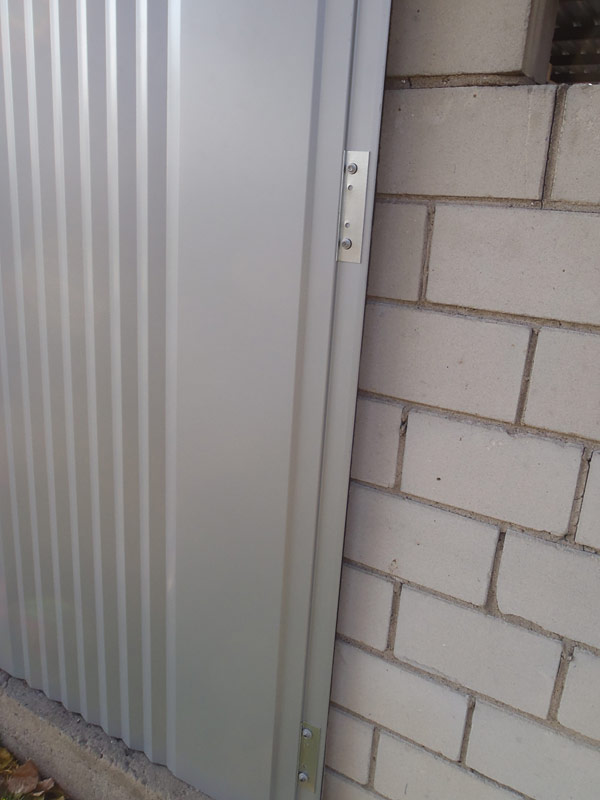
After attaching sandwich panels to the structure, corner flashing installation starts from arrangement, leveling and screwing auxiliary brackets 047 to the panel cladding. They have one fixed dimension (135mm) and the second is variable, depending on the thickness of the wall panels used at the facility. If the panels come to the front in the corner (are not cut at an angle of 45), the fixed-dimension side should be at the panel without the joint, and the second (variable) should go beyond the panels’ joint. Per 1 piece of outer finishing 046 with the length of 2.5 m, 4 pieces of brackets 047 should be used. Distance between the brackets: one on each end of the finishing, and the other two at a distance of 1 m from each other. In the case of end brackets, they are to be visible after embedding flashings. Only the starting flashing should face the bracket at the bottom (as the end on from the top) . Auxiliary brackets are mounted to the cladding with self-tapping screws or farmers. Per one bracket, four jigs placed in the corners are used, at a distance of about 25mm from the edge of the bracket. |
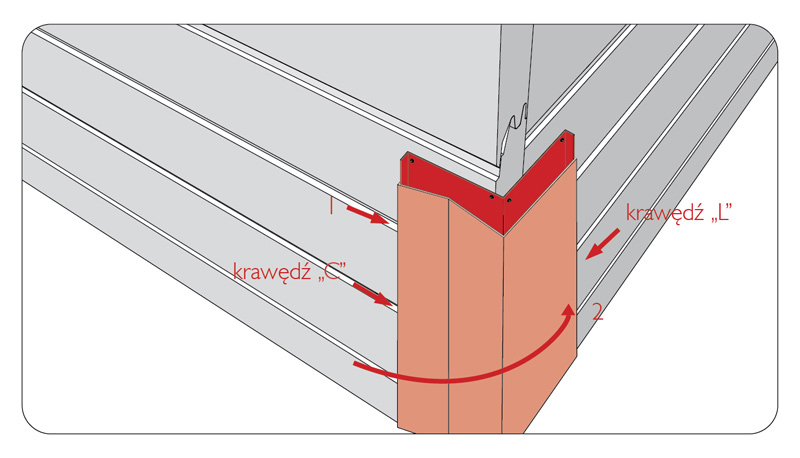 |
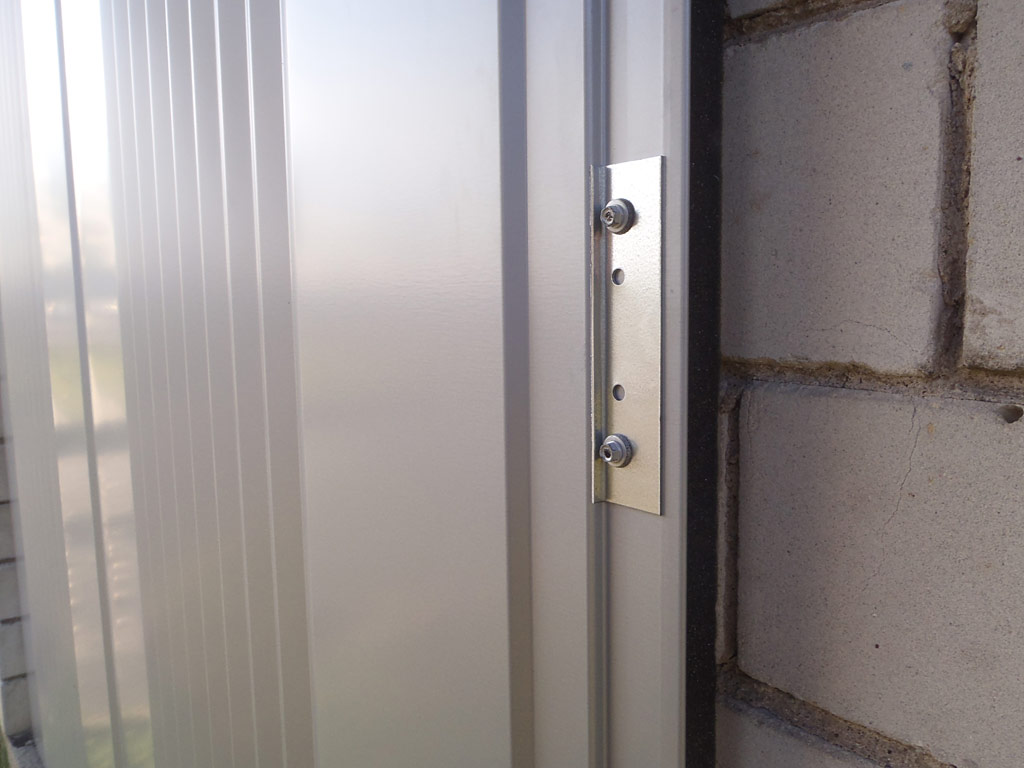
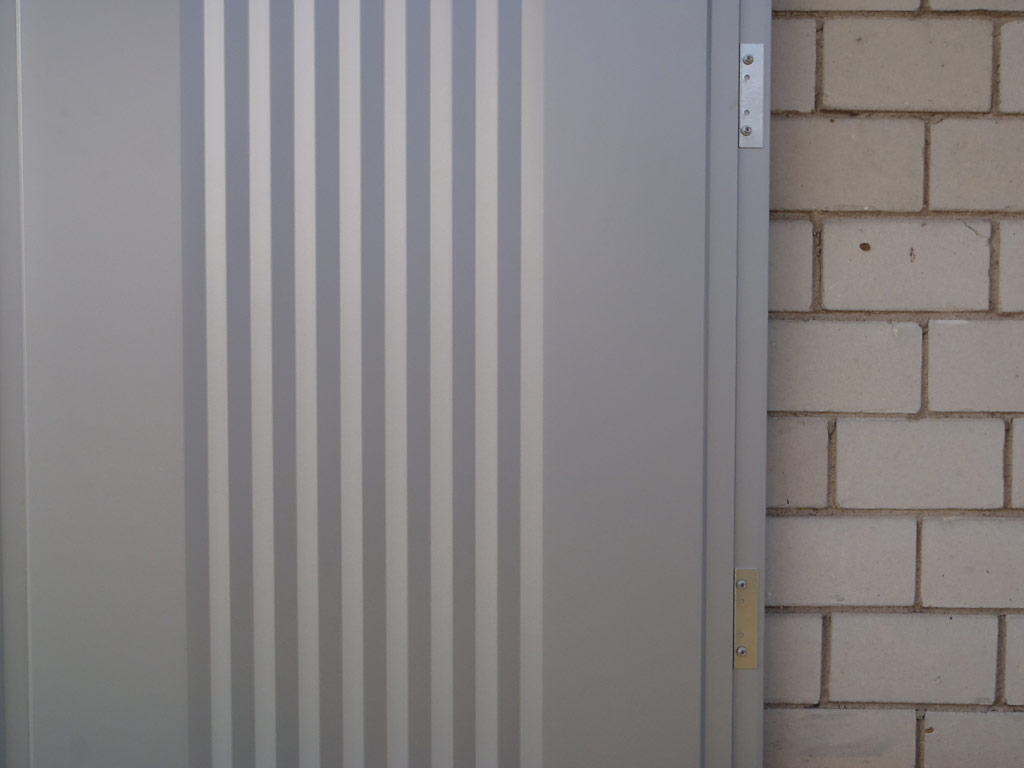
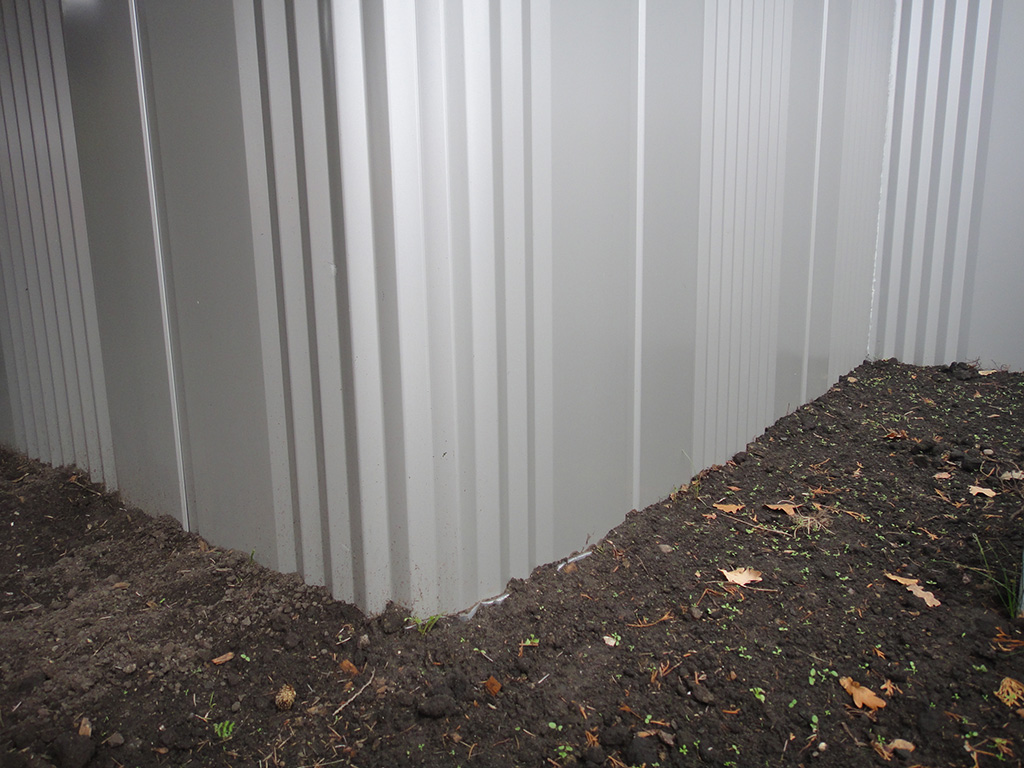
After such preparation of mounting brackets, you can install the outer angle 046. One flashing edge (profiled) is bent into the shape of the letter “C”, the second (variable, non-profiled) in the shape of the letter “L”. First, place the “C” edge into the gap between the cladding and the sandwich panel auxiliary bracket (step 1), then adjust the flashing in such a way as to keep 1mm space between the edge of the flashing and the panel flashings at the other side (step 2). During flashing assembly, pay attention to the sharp “L” edge. Be careful to avoid any body cuts and scratches on the sandwich panel cladding. |
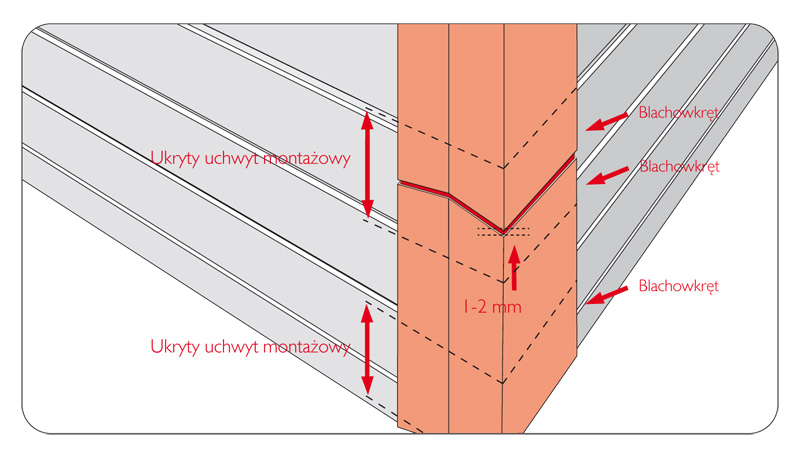 |
Flashings of this type are not intended for overlapping connection alongside the panel. For this reason, they are symmetric, and at the place of the connection, a gap with the width of about 2mm must be maintained. Flashing 046 is mounted on the “L” side with mini self-tapping screws or sealed steel rivets to the profiled element of bracket 047 at four locations, i.e. one self-tapping screw on each auxiliary bracket of the given flashing. During installation, pay attention not to scratch the cladding of the sandwich panel during drilling / screwing. |
 |
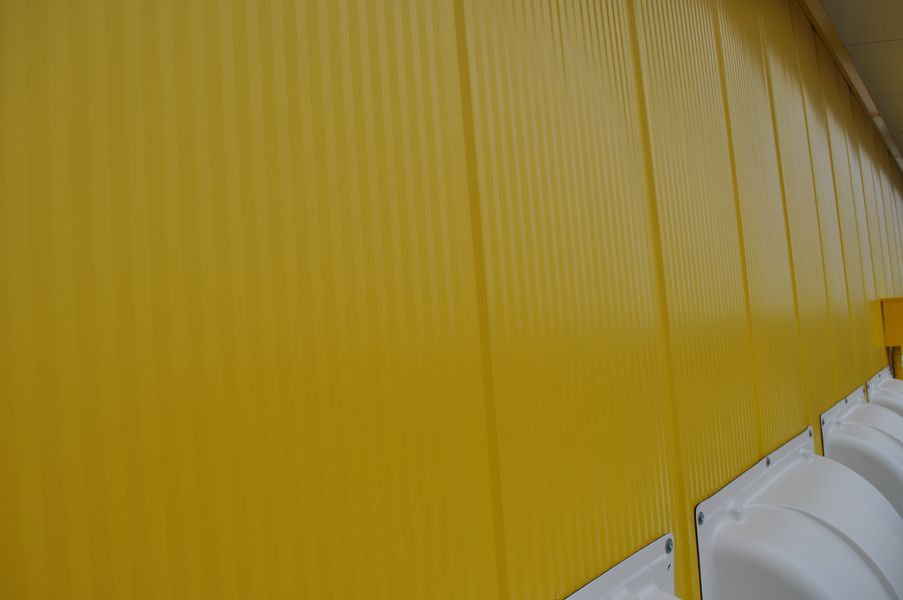
Protection foil should be removed not later than one month after production, however when the temperature at the construction site is high (e.g. in summer time, outdoor storage) it should be removed immediately after delivery (before assembling). Protection foil is necessary only during transportation of panels. In order to eliminate negative consequences of high temperature, bundle of panels should be covered by white canvas. If protection foil is not removed, sun rays (UV) could finally vulcanize it and make the facing unsightly. If this happens, it could be extremely difficult to remove the remainders. Panel producer is not responsible for removing the protection foil and the consequences of the failure are not covered by a guarantee. TIP: Protection foil covers the total area of the facing (also under fastening points). In some case it is applied also on the inner facing. |
 |
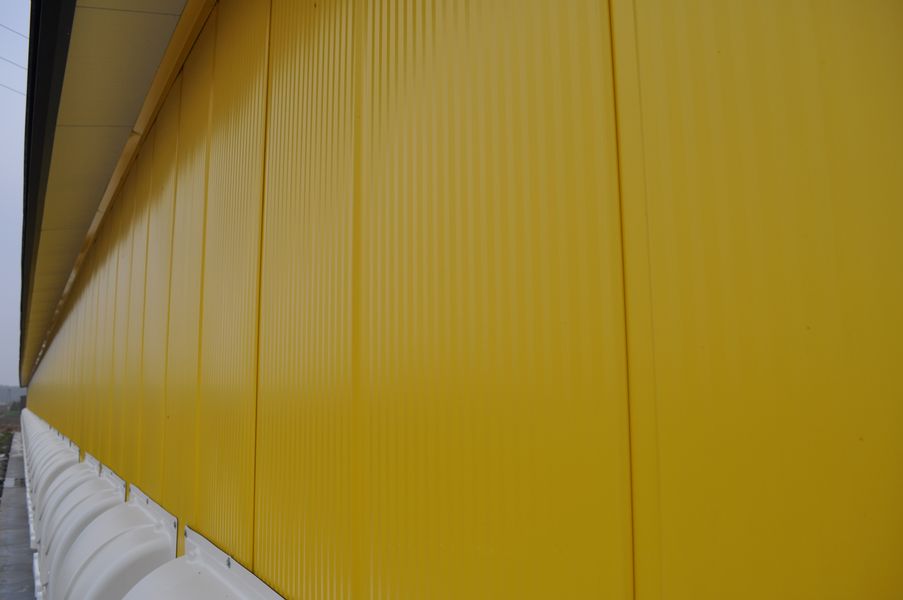
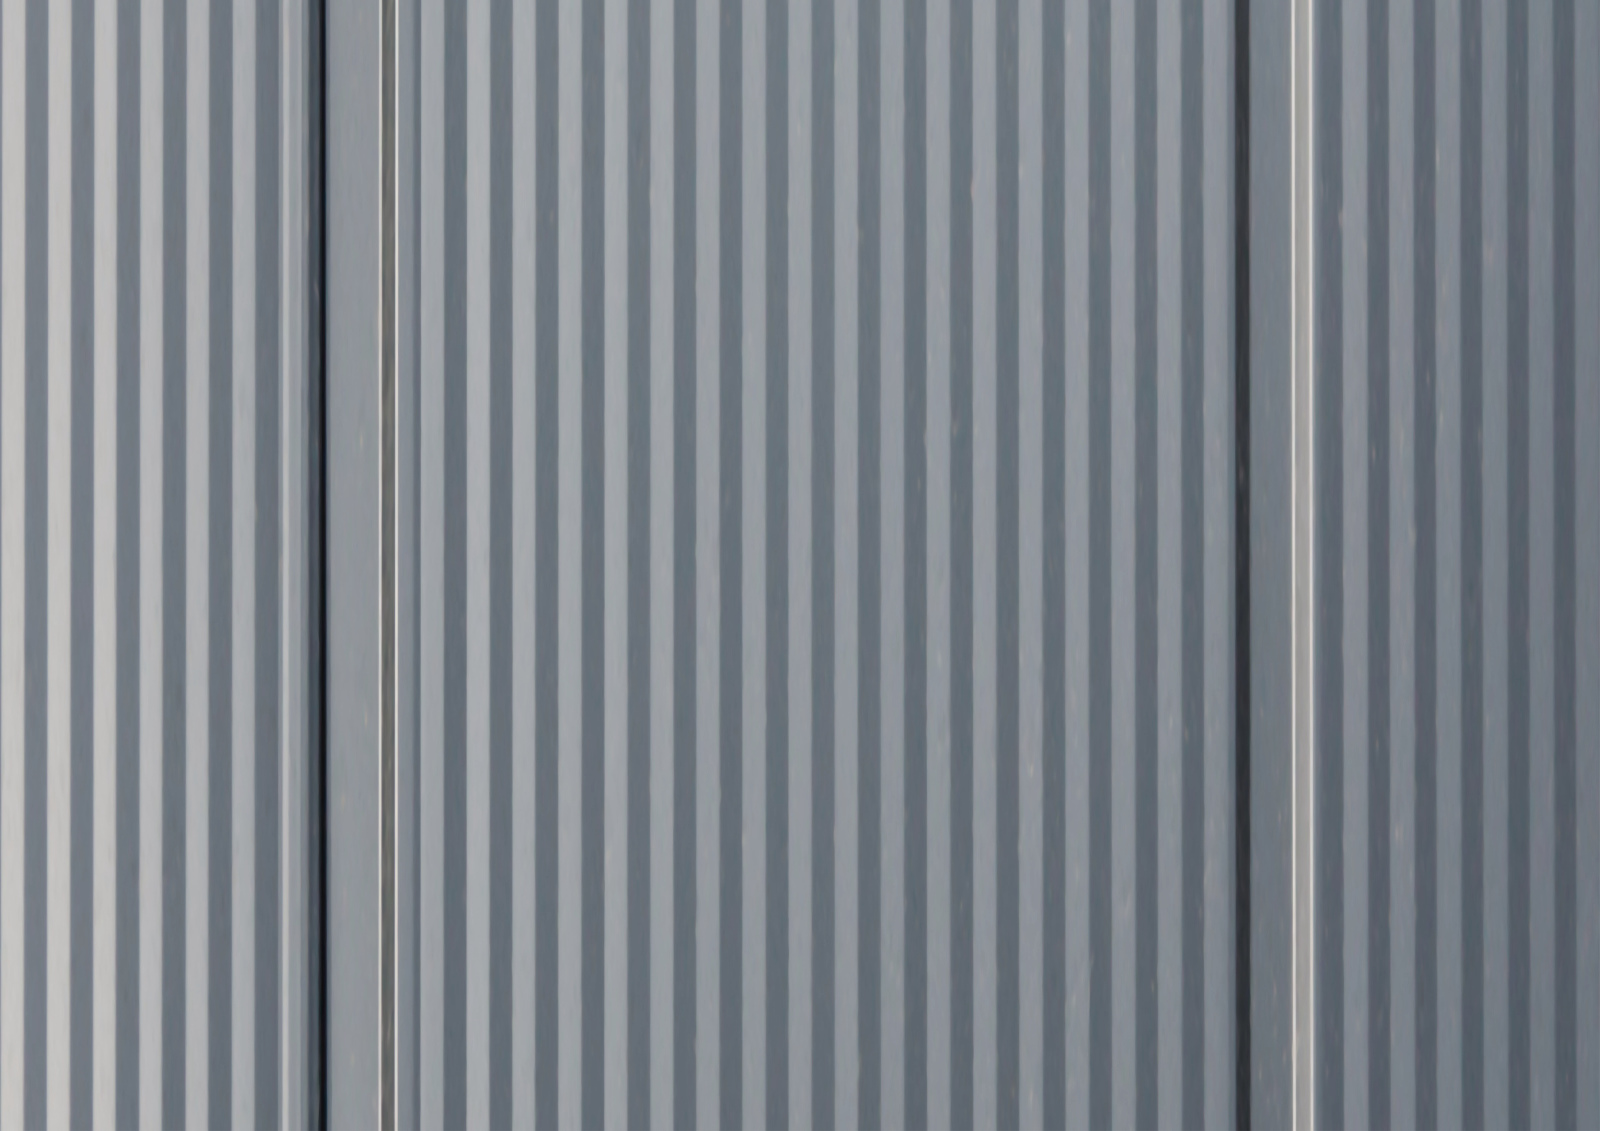
To secure PolTherma DS panels it is necessary to use load distributor. It is required for all DS panel types (outer facing profiling) and thicknesses. The load distributor is an angle bar with some holes. The distance between the holes lets to secure the panel to different types of sections. Each distributor should be secured with two fasteners. Distributor together with the fasteners should be placed in outer groove of the panel. Thanks to shape of nose of the adjacent panel, heads of the fasteners are not visible on a facade. Before securing panel be sure that EuroPanels’ acoustic tape was applied on the structure. |
 |
It is important to secure the first panel in a proper and accurate way because it makes the basic line for the next panels. When the first panel is secured to the column the next one could be installed (tongue-groove connection). Be sure that the next panel is secured in a correct way and its load is taken completely by the former one. If so, you can secure the next panel. It is really easy to assembly sandwich panels by EuroPanels. |
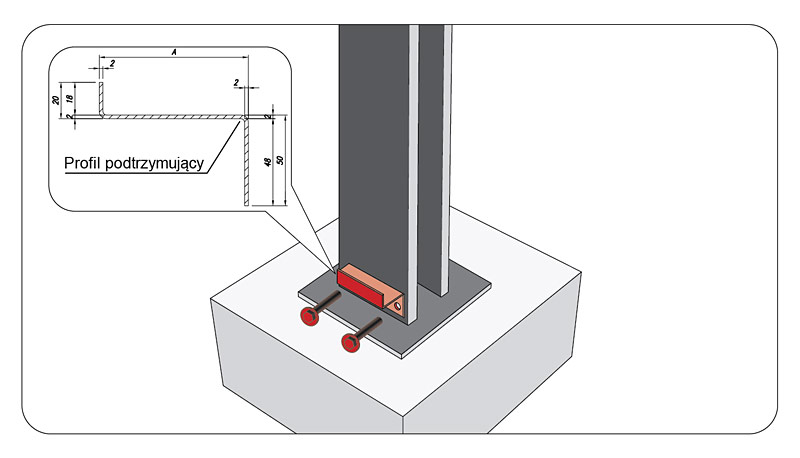 |
In some cases there is a possibility to install panels in a horizontal, one span layout. It enables to secure PolTherma DS panels only to columns which are in base foundation. It is a great solution for buildings which do not require continuous footing and thus you can reduce costs of materials and labor at the installation stage. Zet profiles are necessary for startup, securing first panels on a bottom side, enabling fastening them into columns at the upper side. The shape and dimensions of Zet profiles are shown on 1.1 drawing. Zet profiles should be mentioned (included) by a design plan and could be made either on construction site or delivered by EuroPanels. |
 |
Start-up strip for DS panels
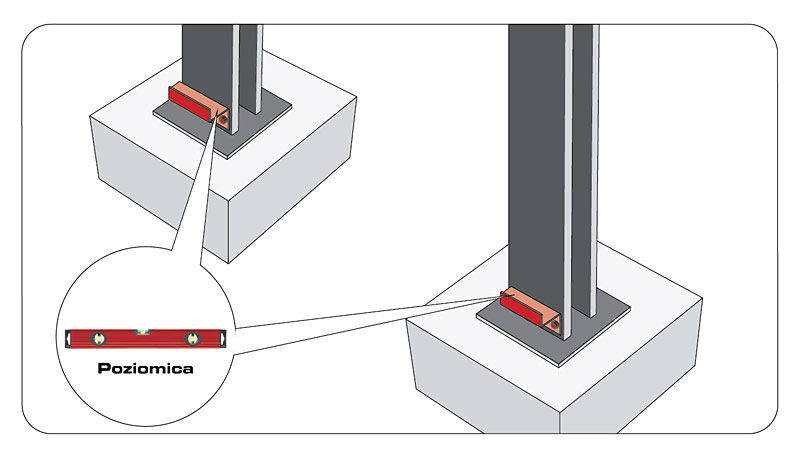
Supporting zet profiles are always made of a flat bar with a thickness of 2 mm. They are secured to columns and create a basic bottom line for panels. Therefore it is crucial to install them in a proper and precise way (levelling). Zet profiles are secure either by fasteners or by welding. |
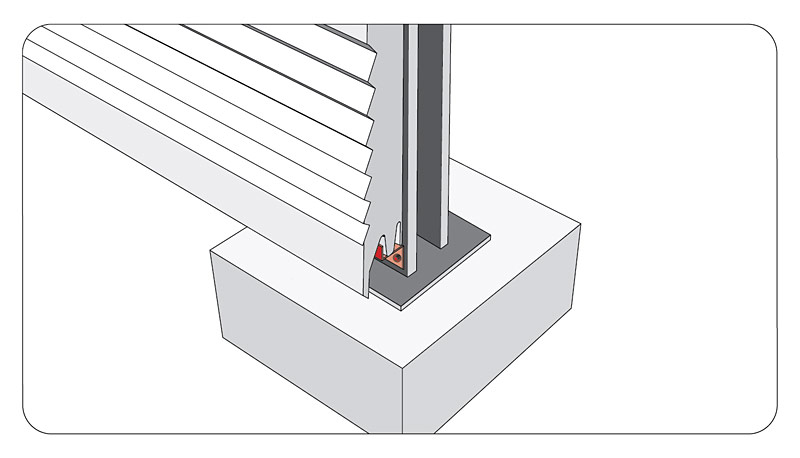 |
When Zet profiles are installed you can start securing panels. Outer tongue of Zet profile should be located into outer groove of the panel. When panel stops because of tongue-groove joint it can be secured at the top part to the column with load distributor and two fasteners (one set for one securing location) |
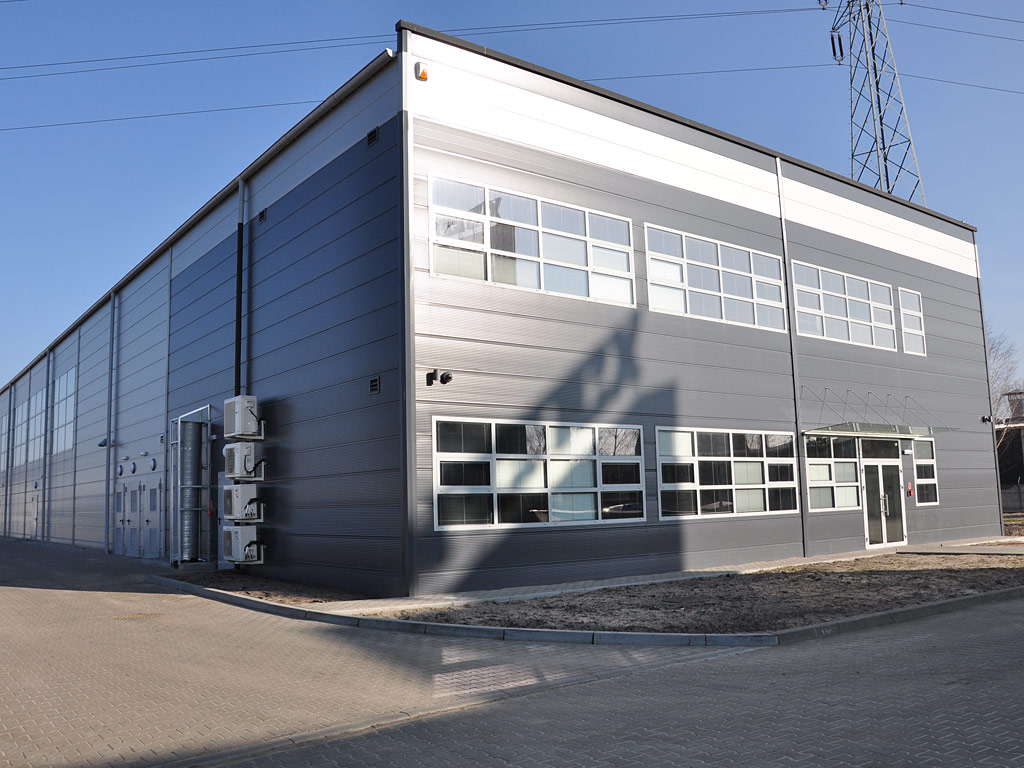
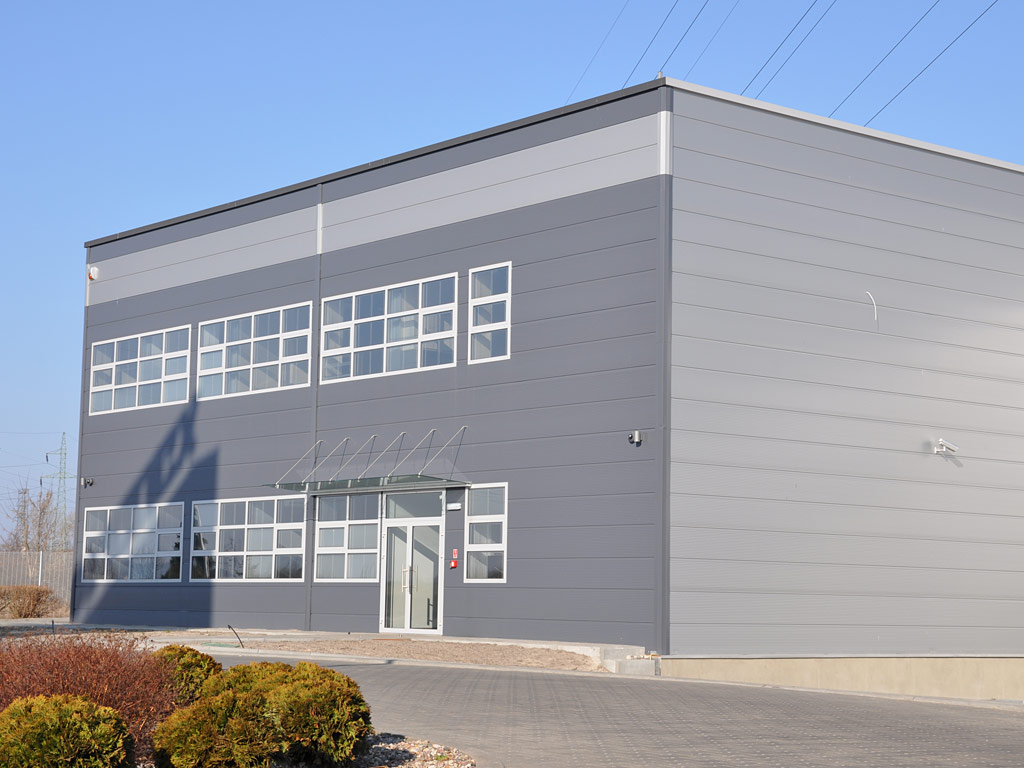
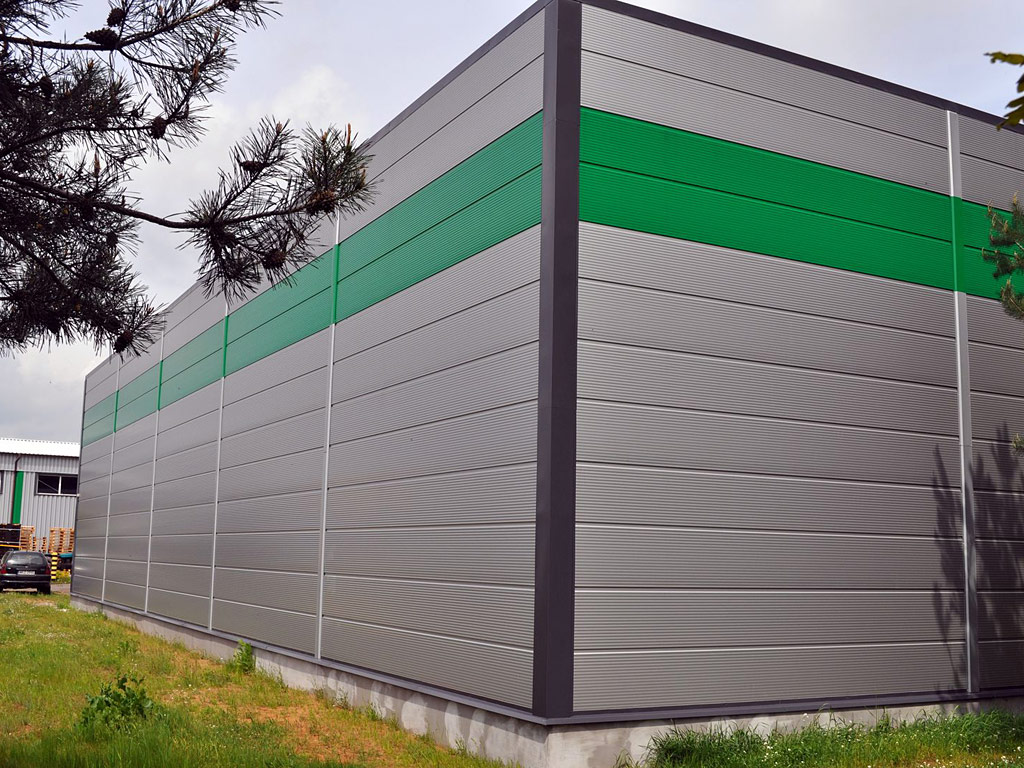
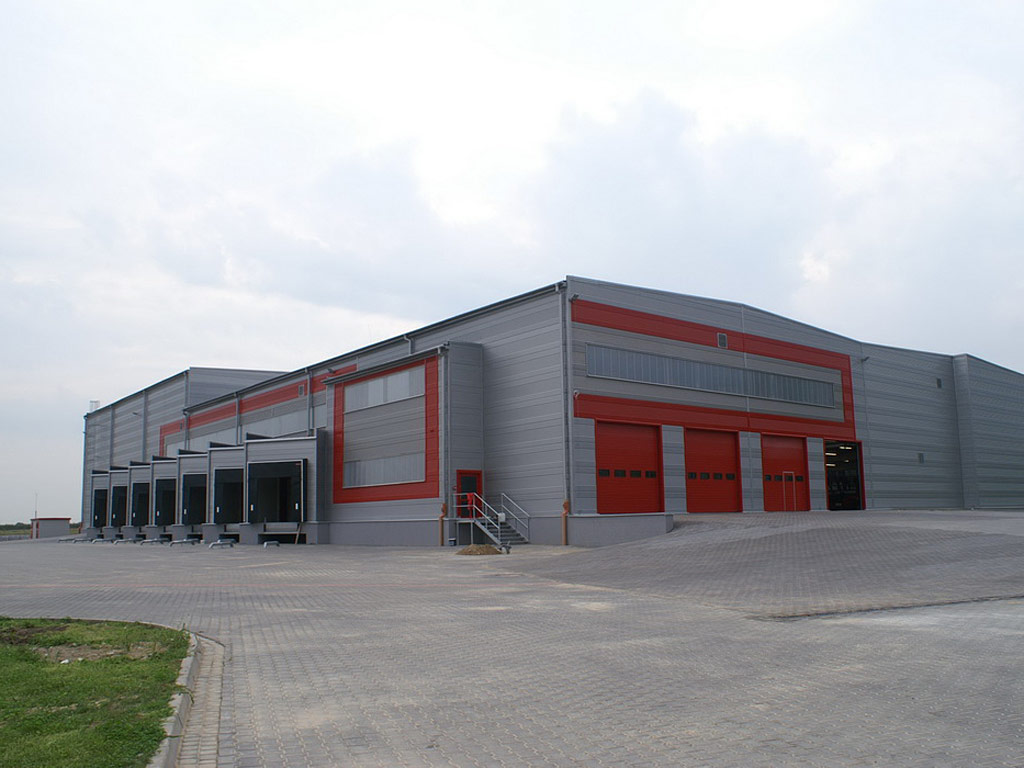
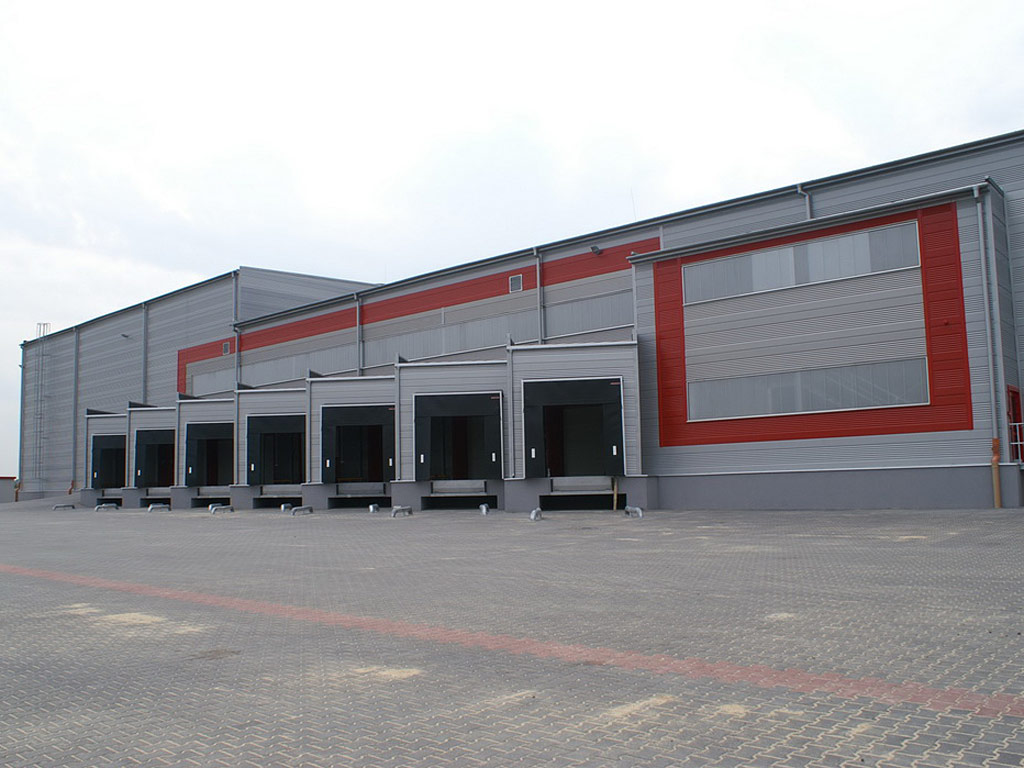
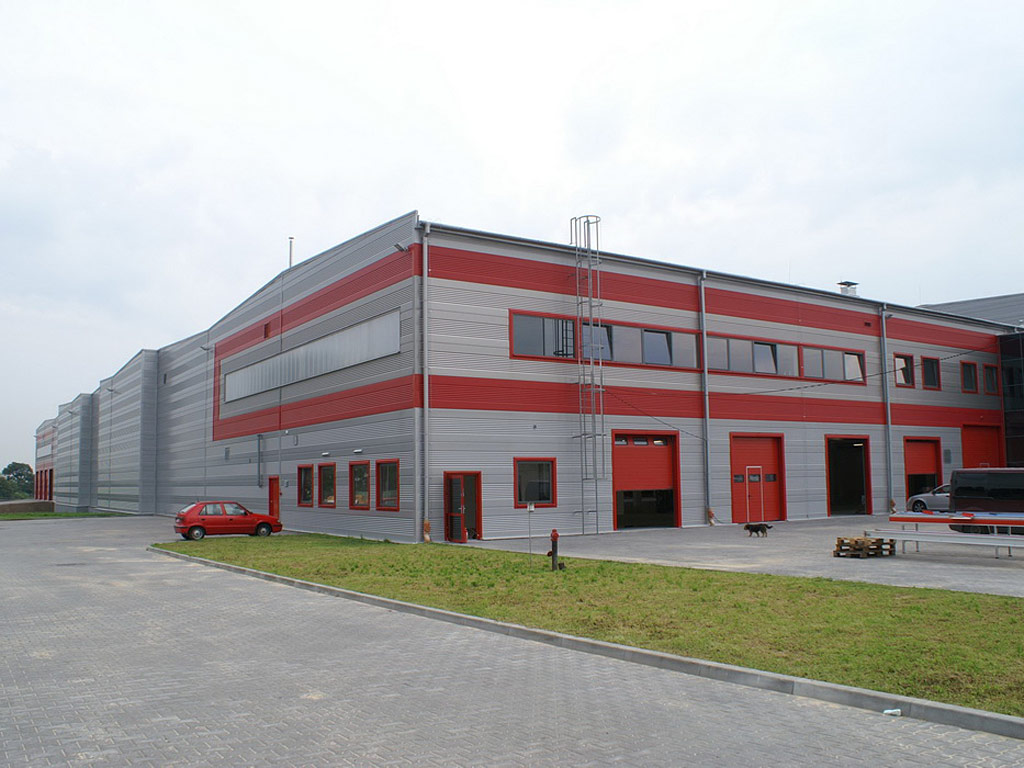
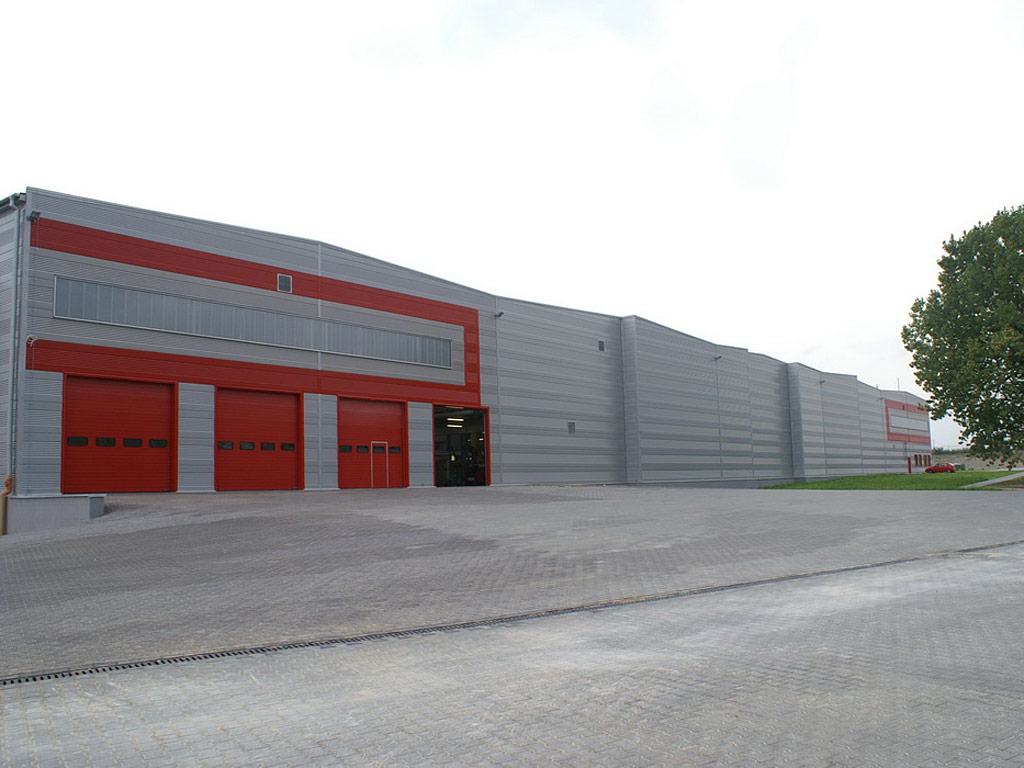
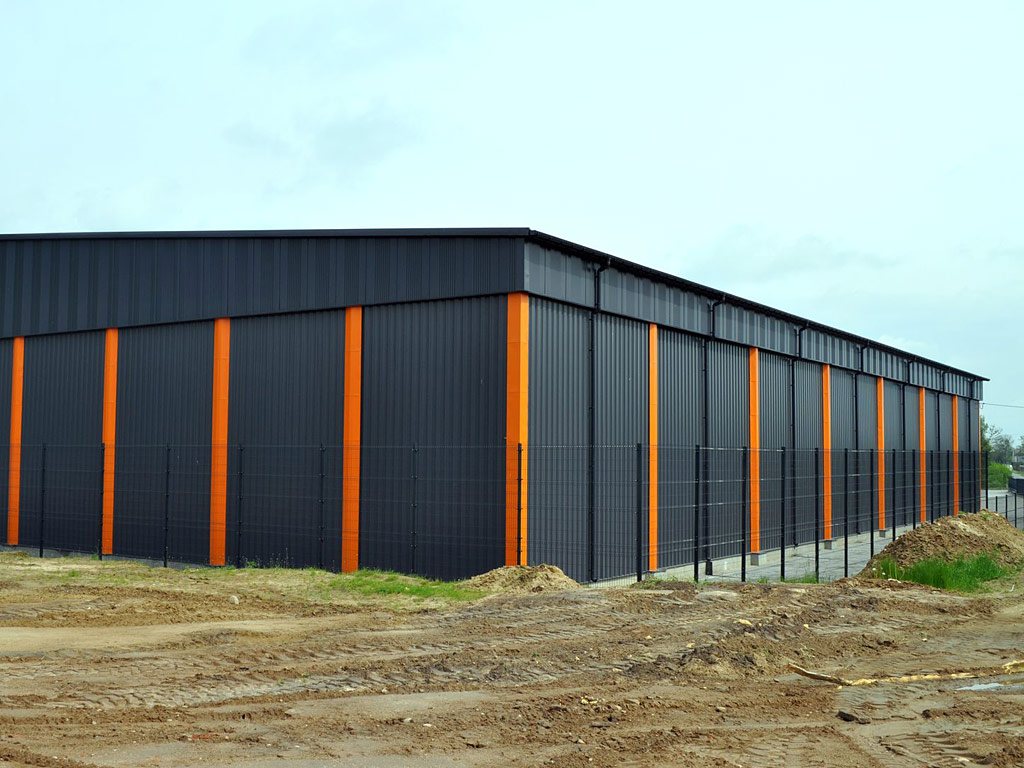
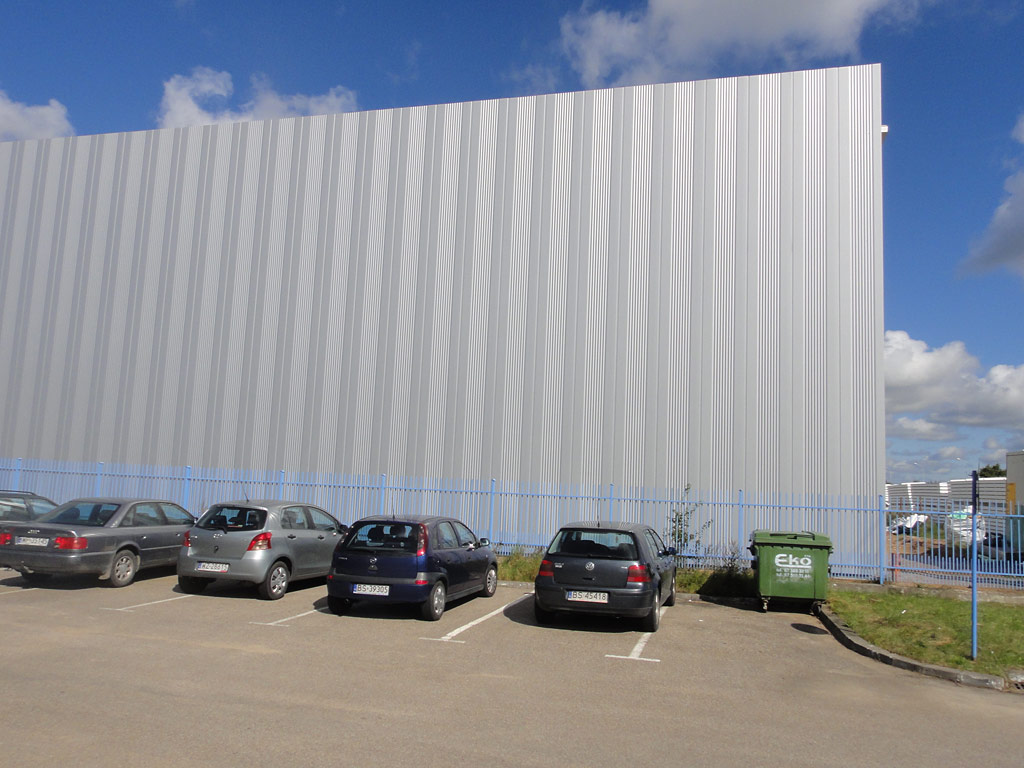
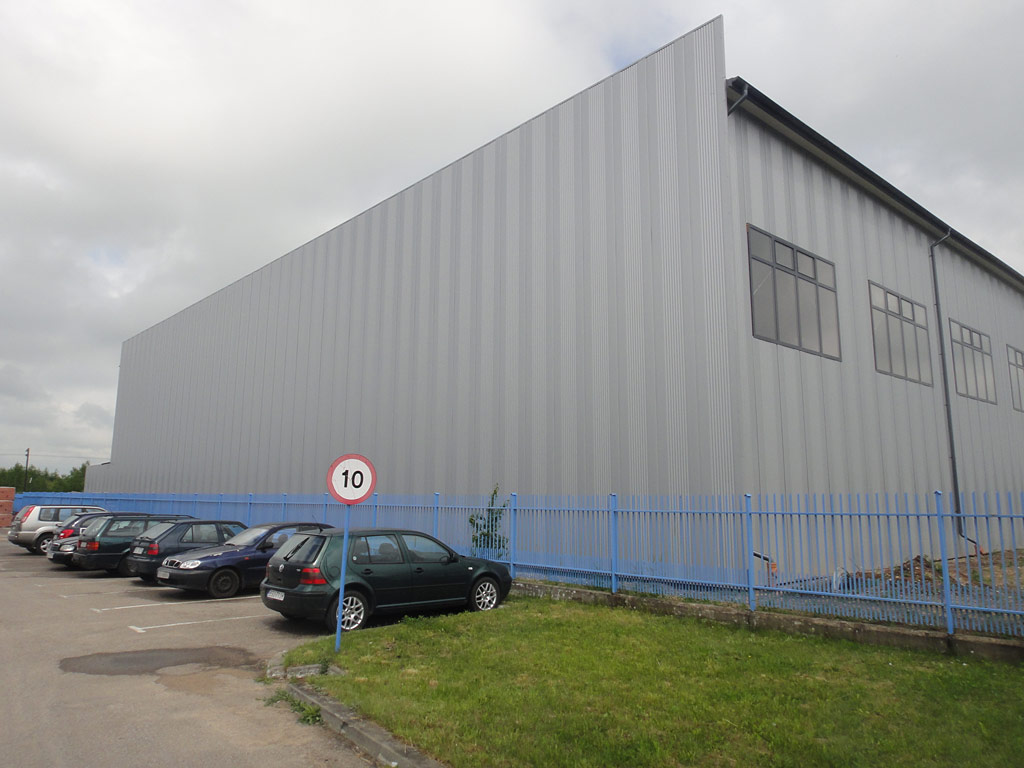
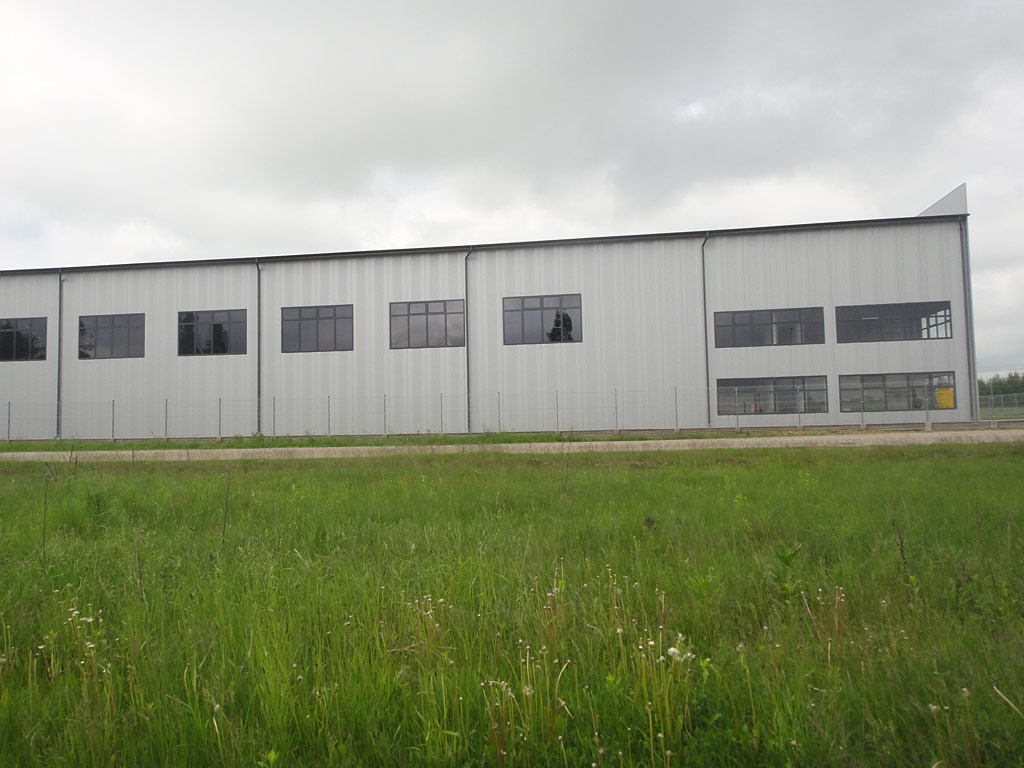
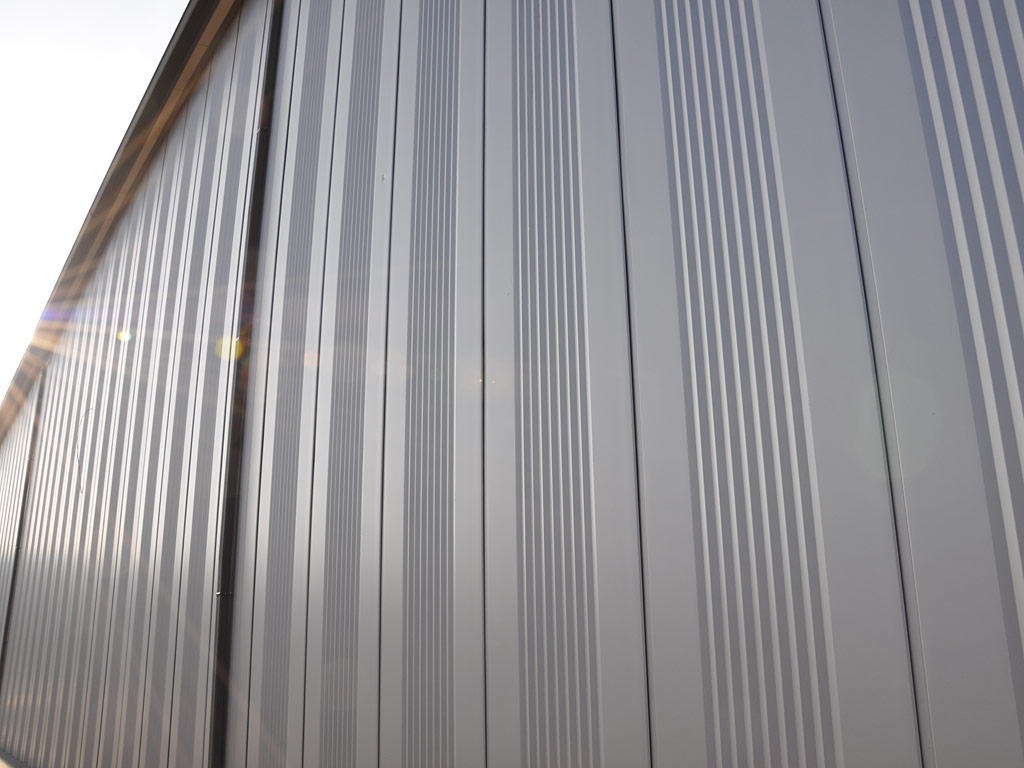
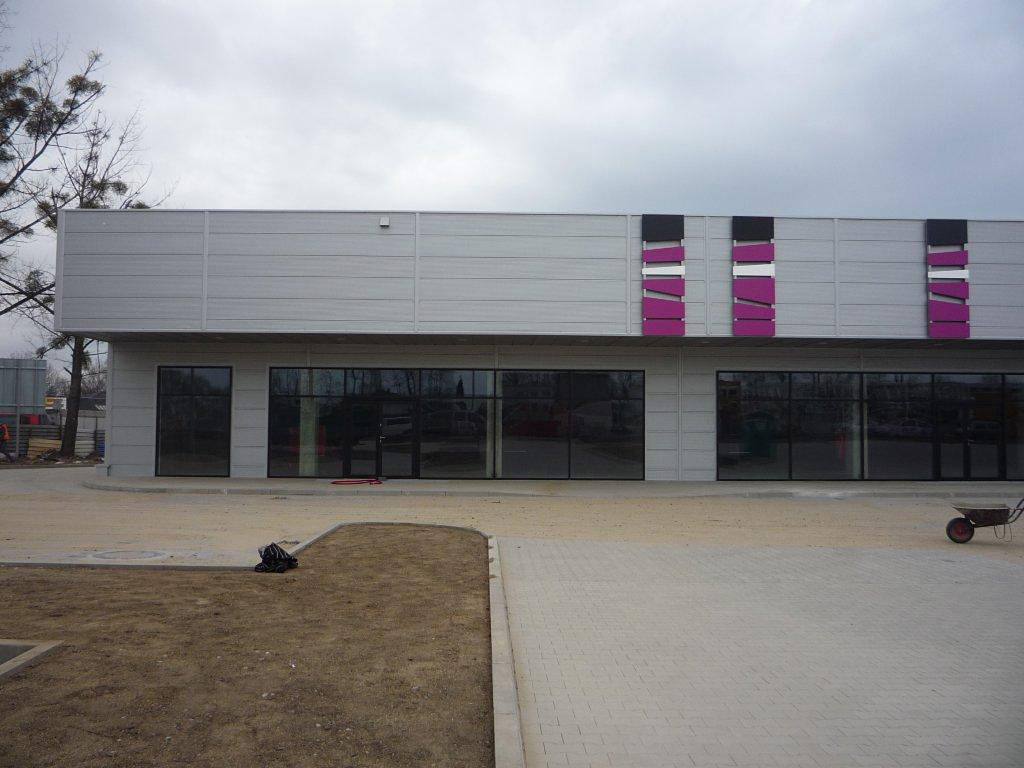
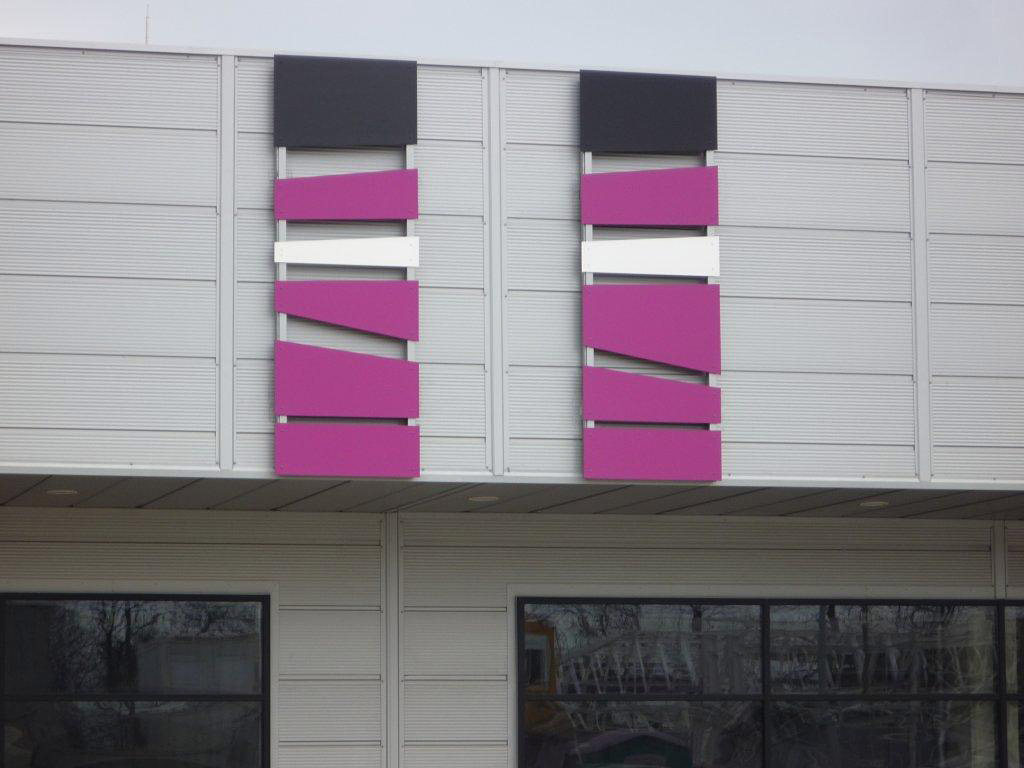
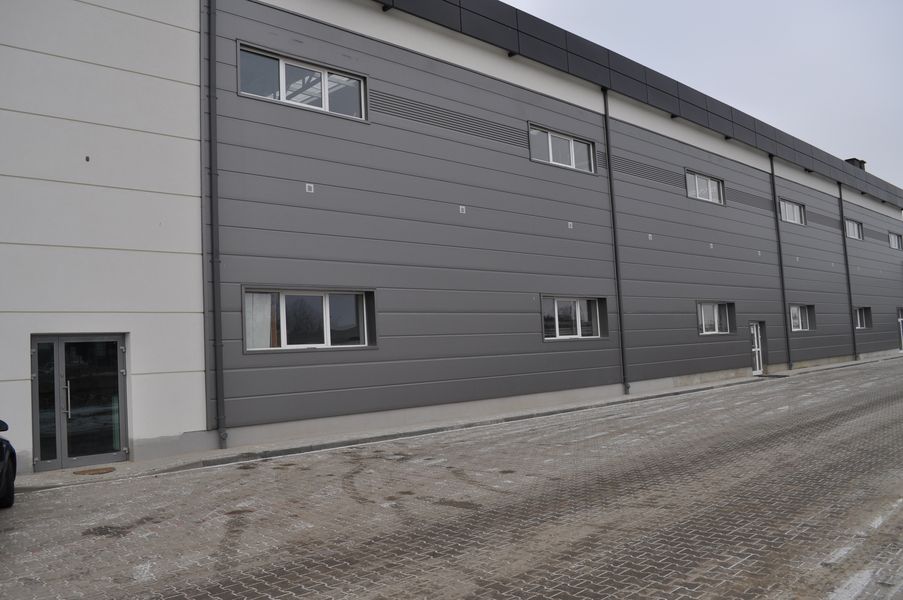
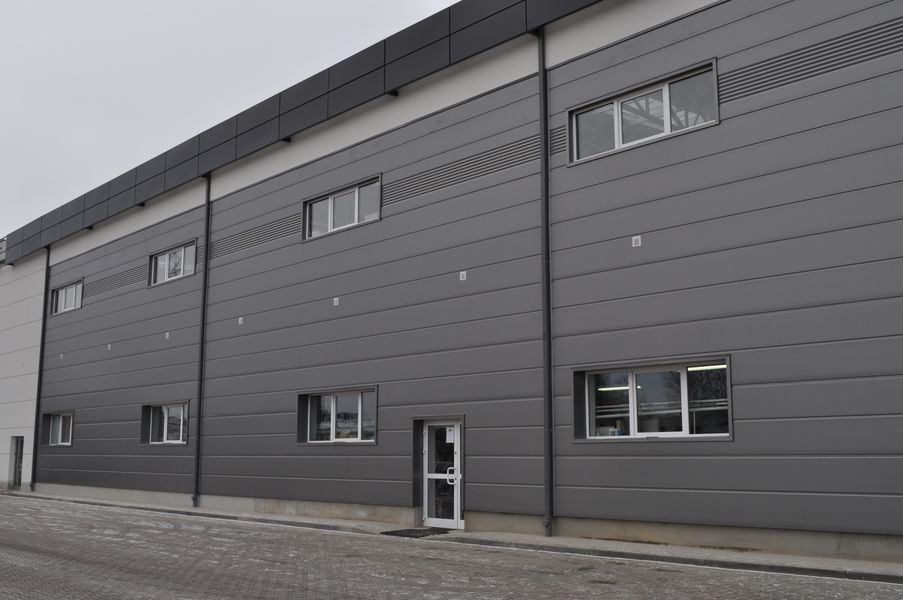
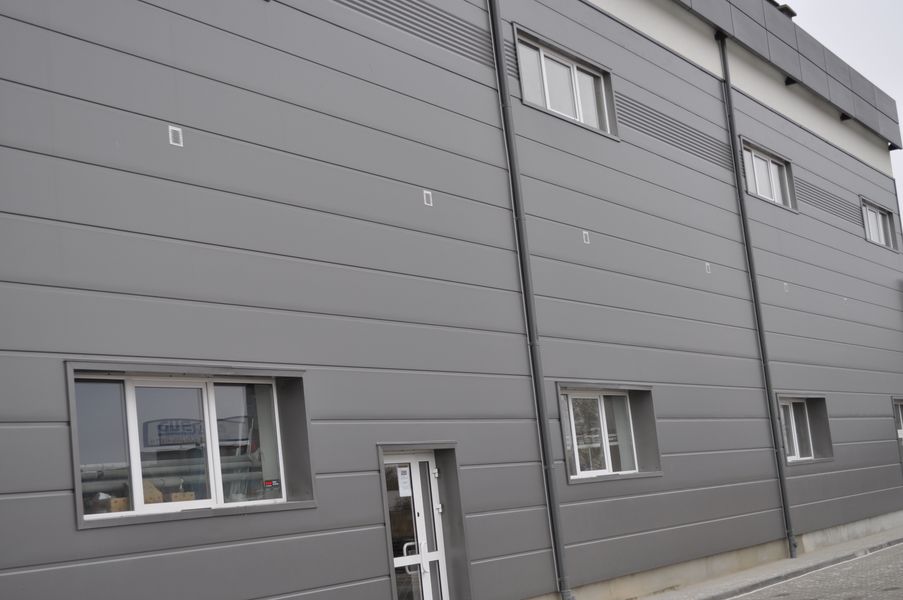
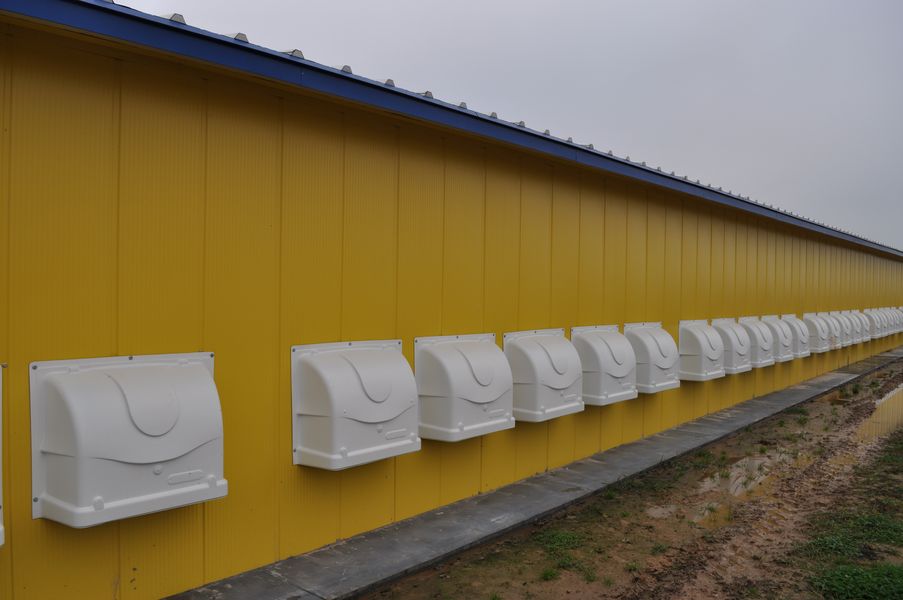
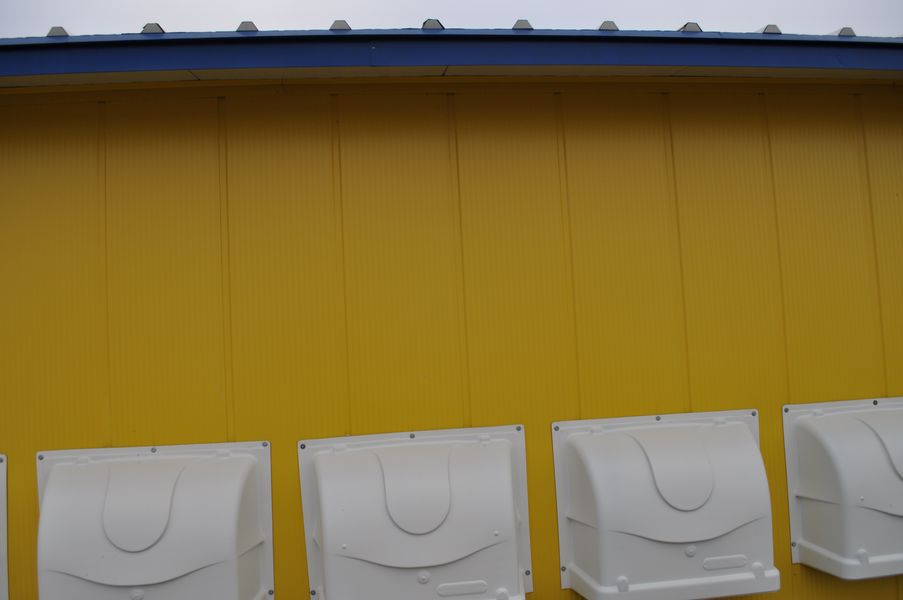
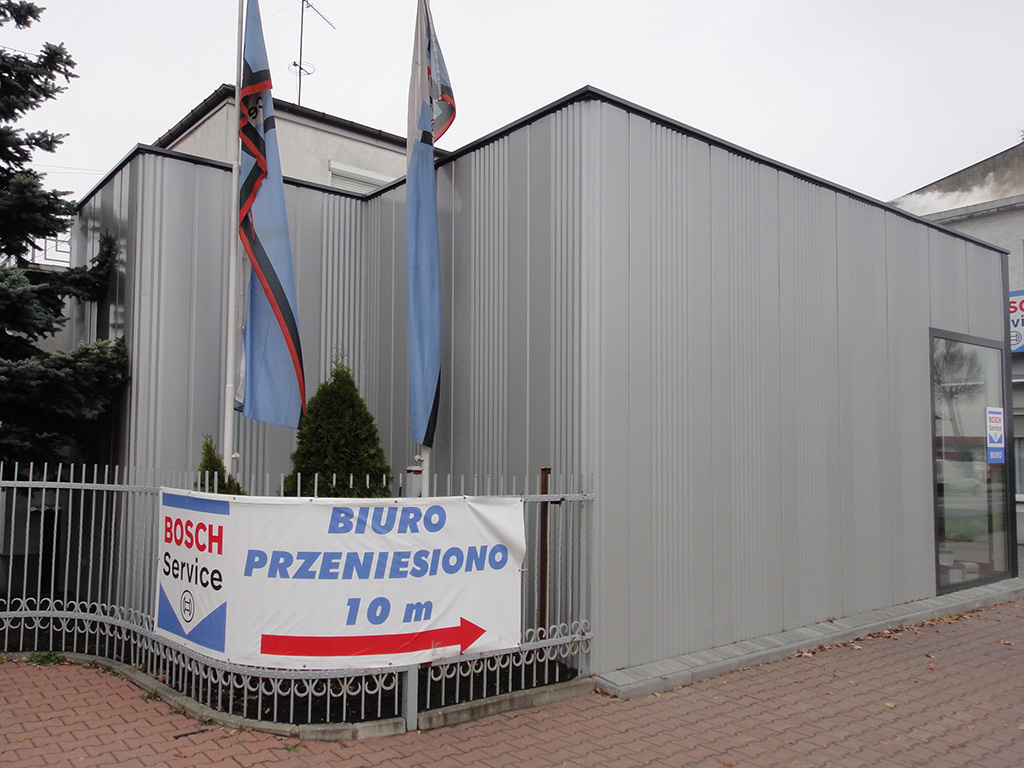
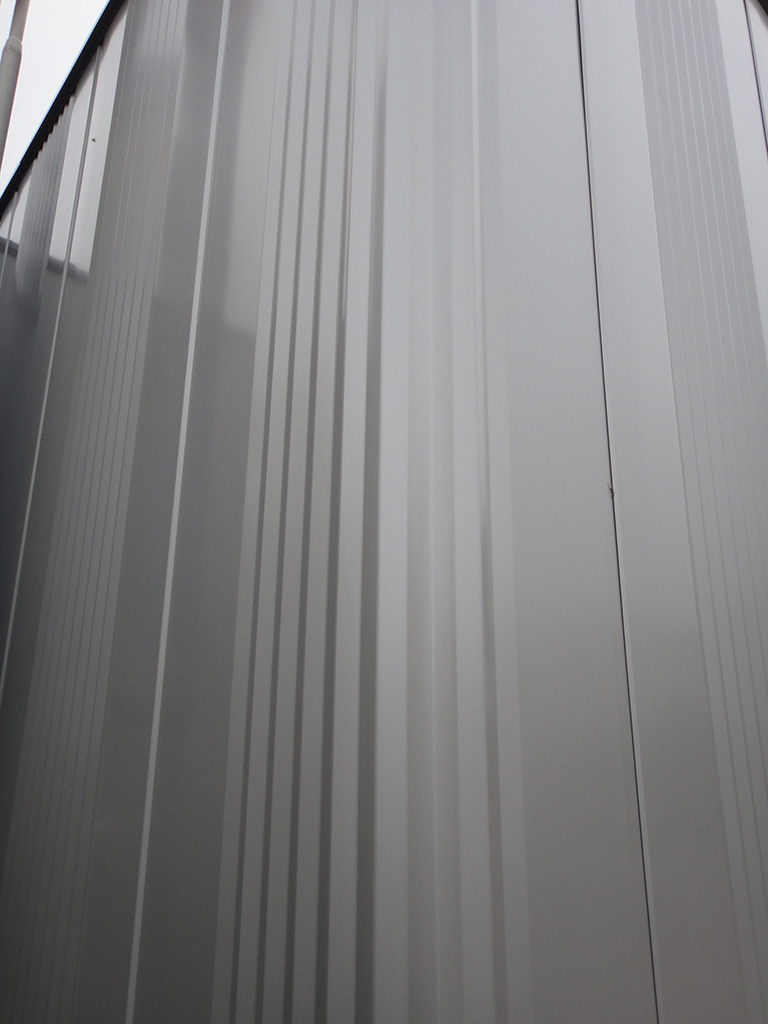
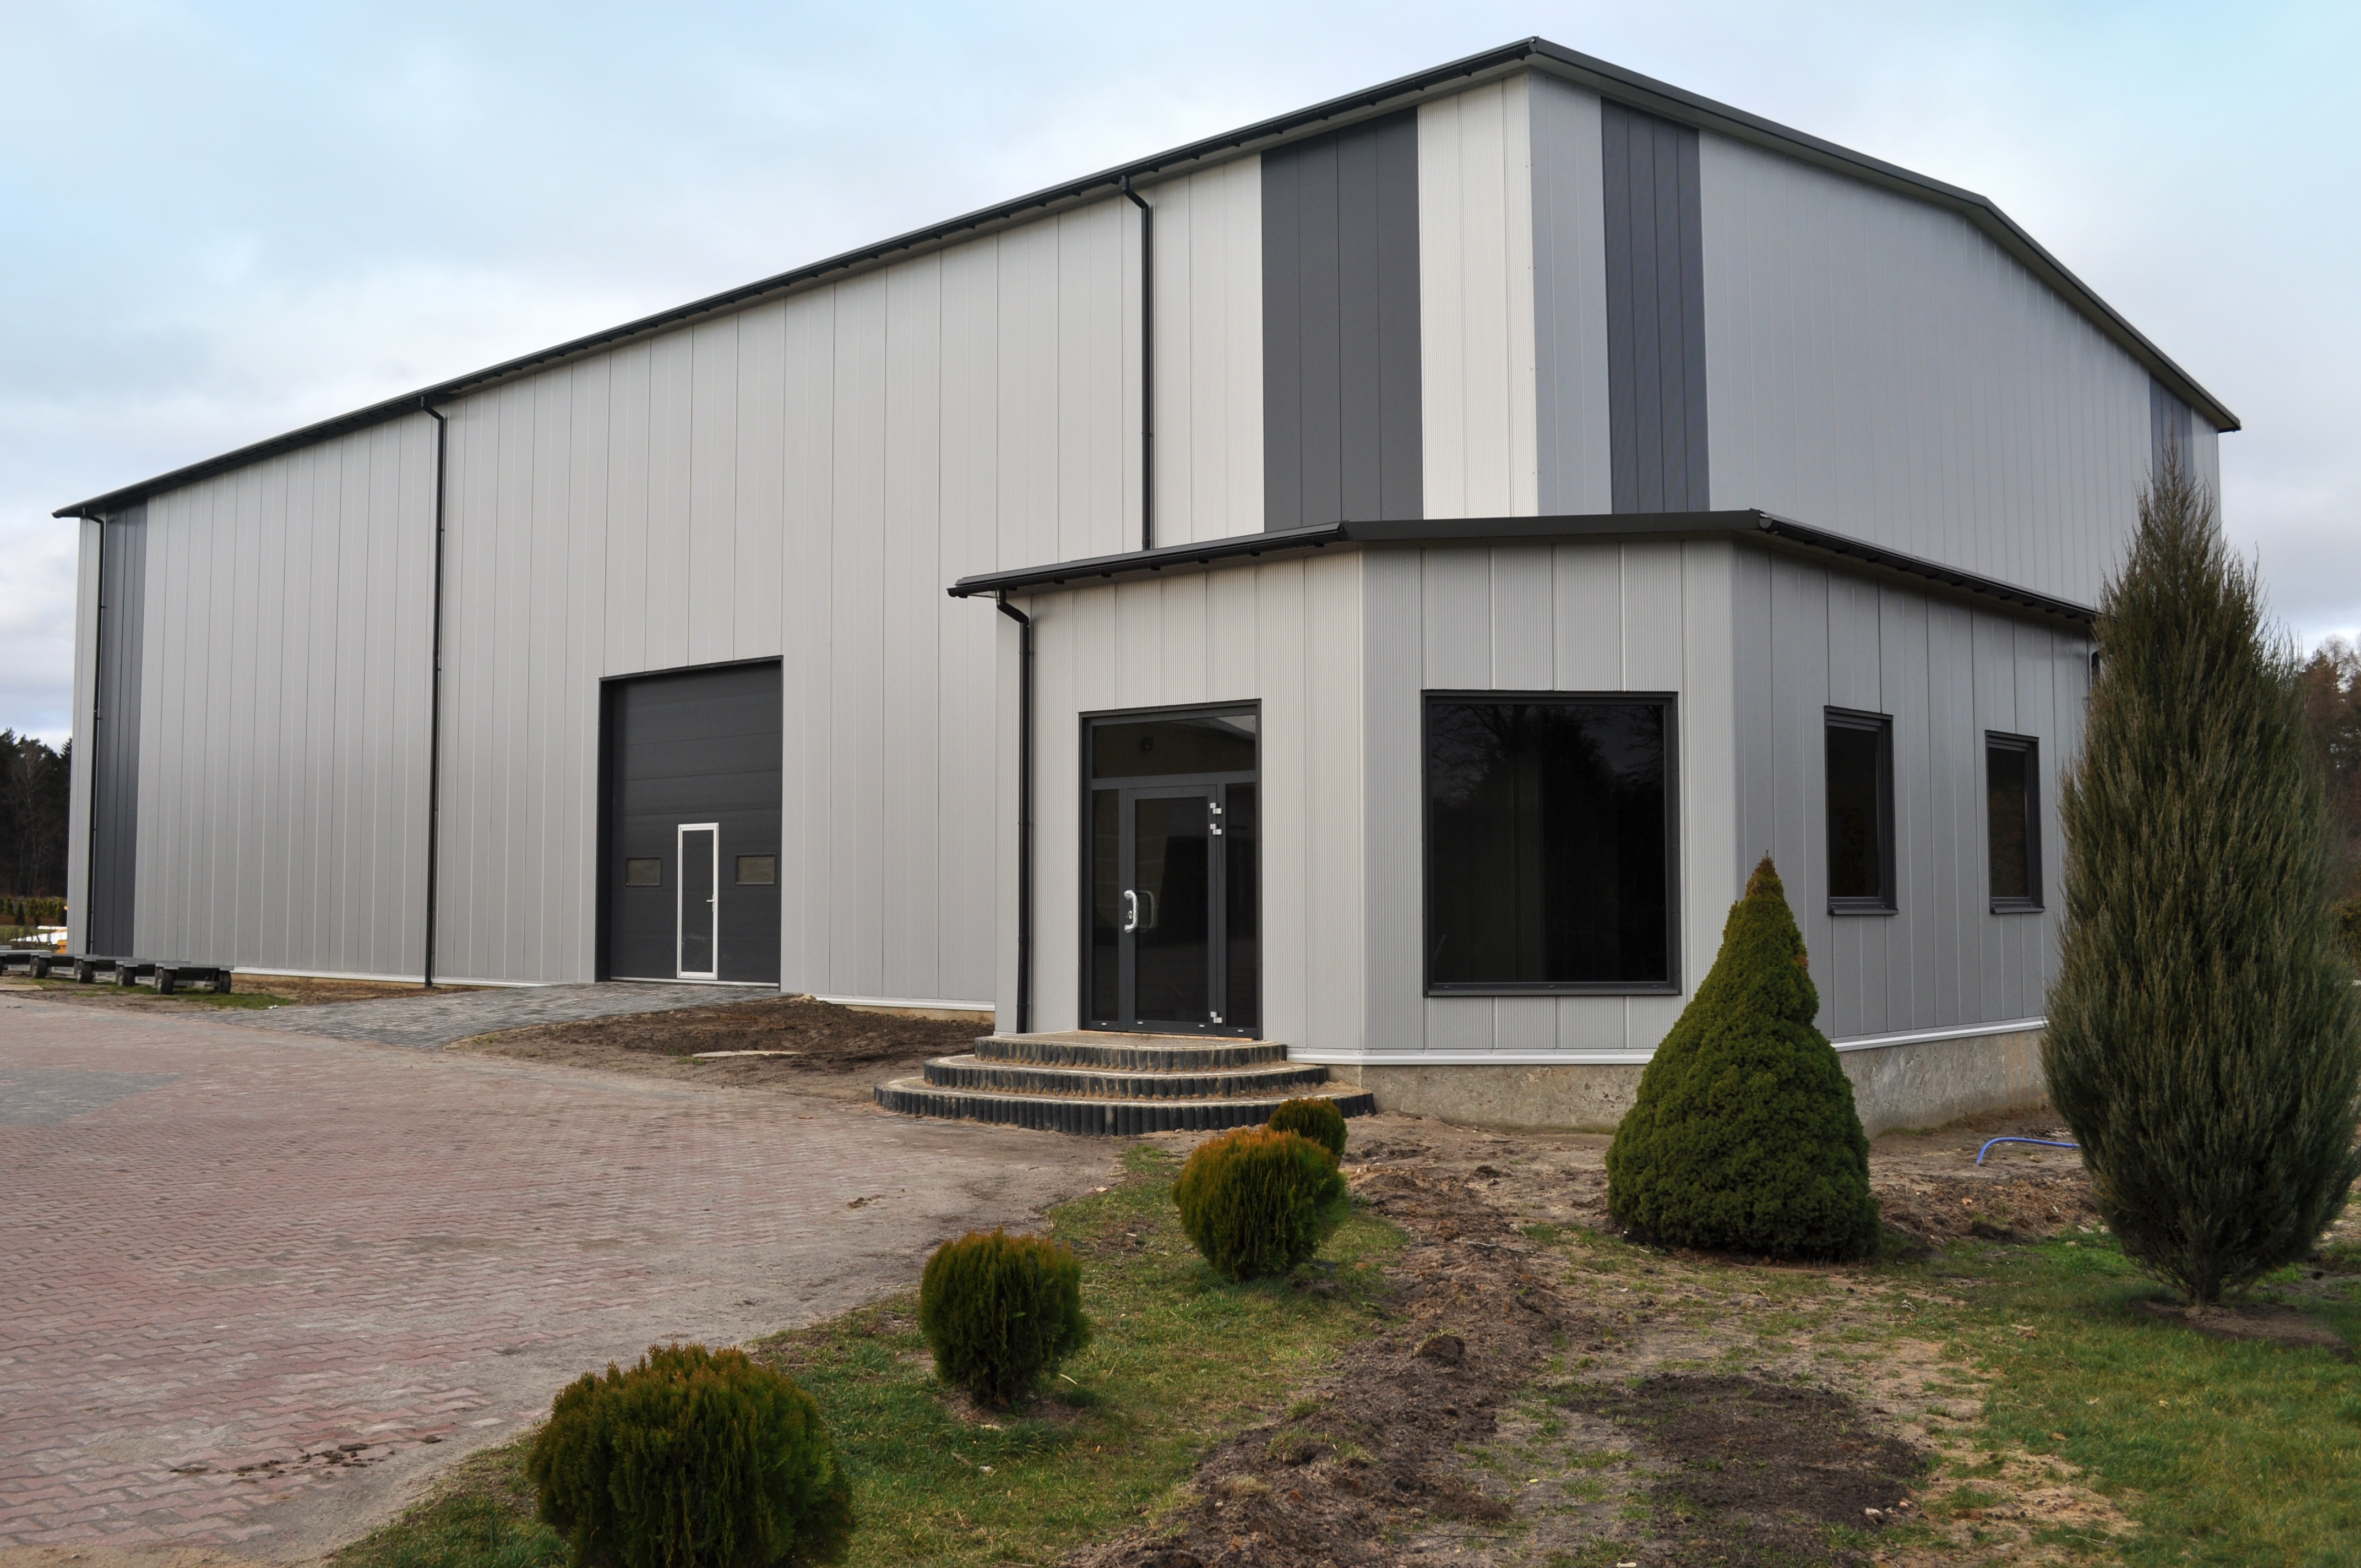
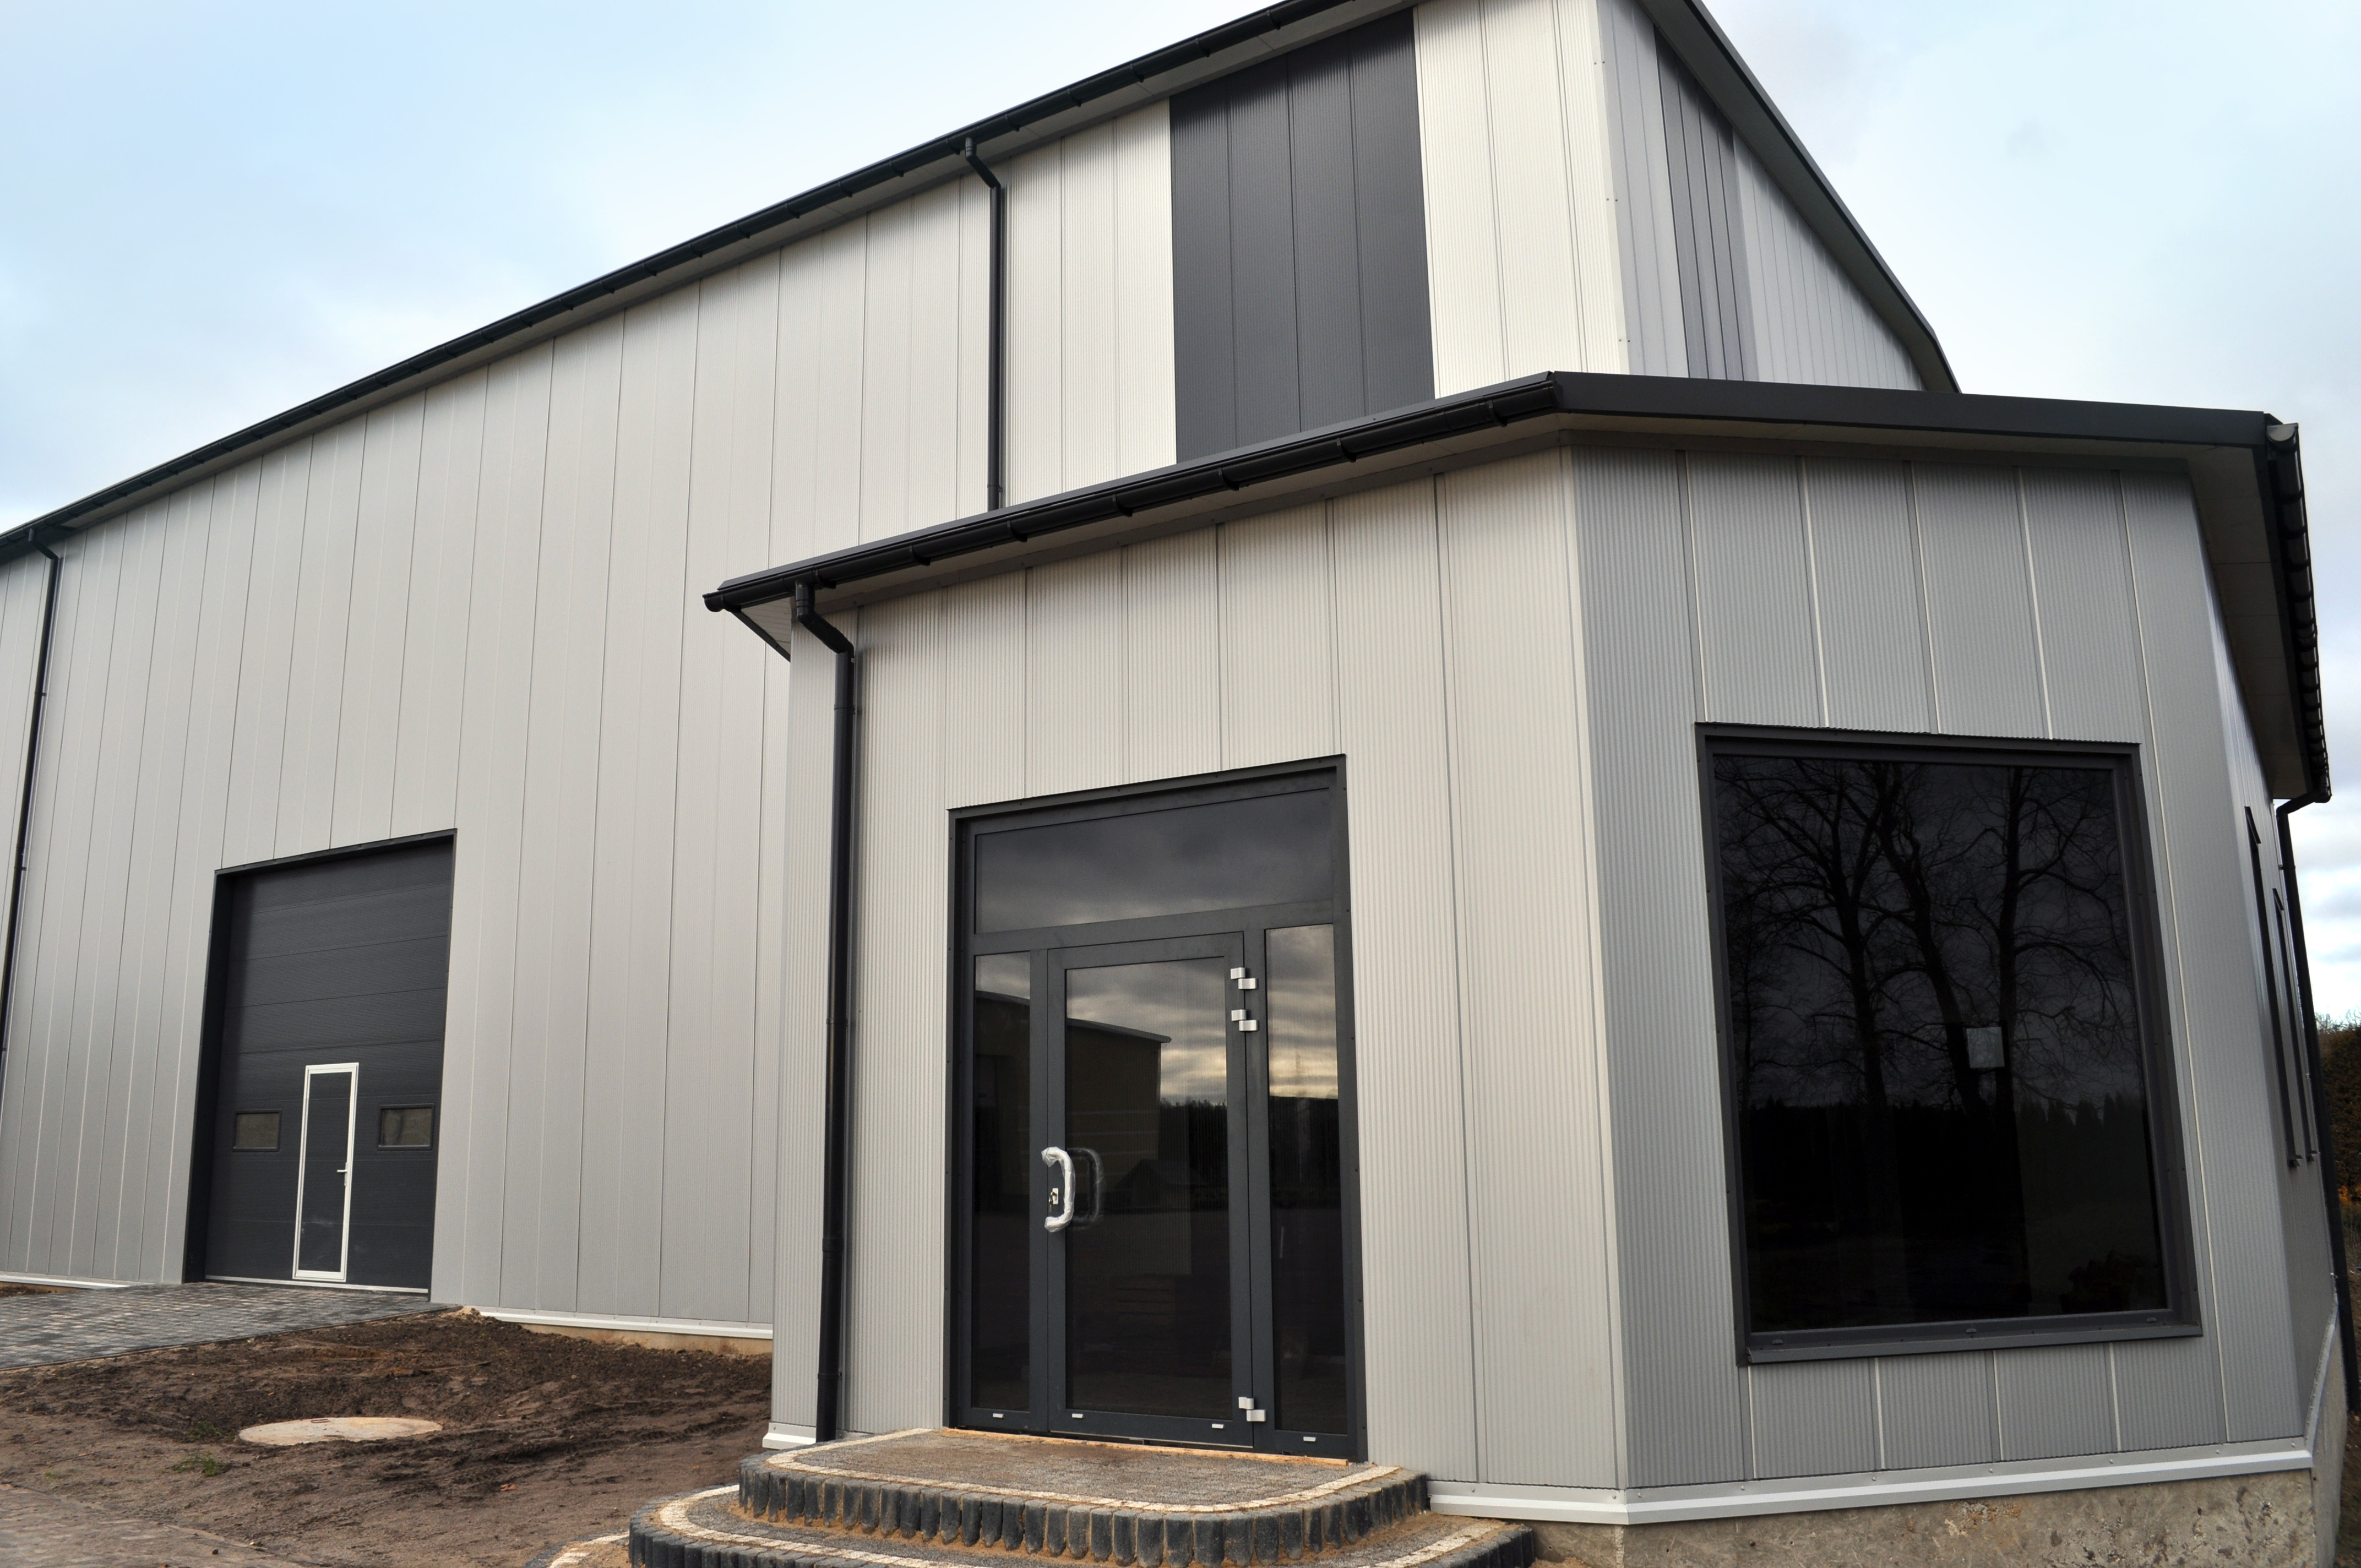
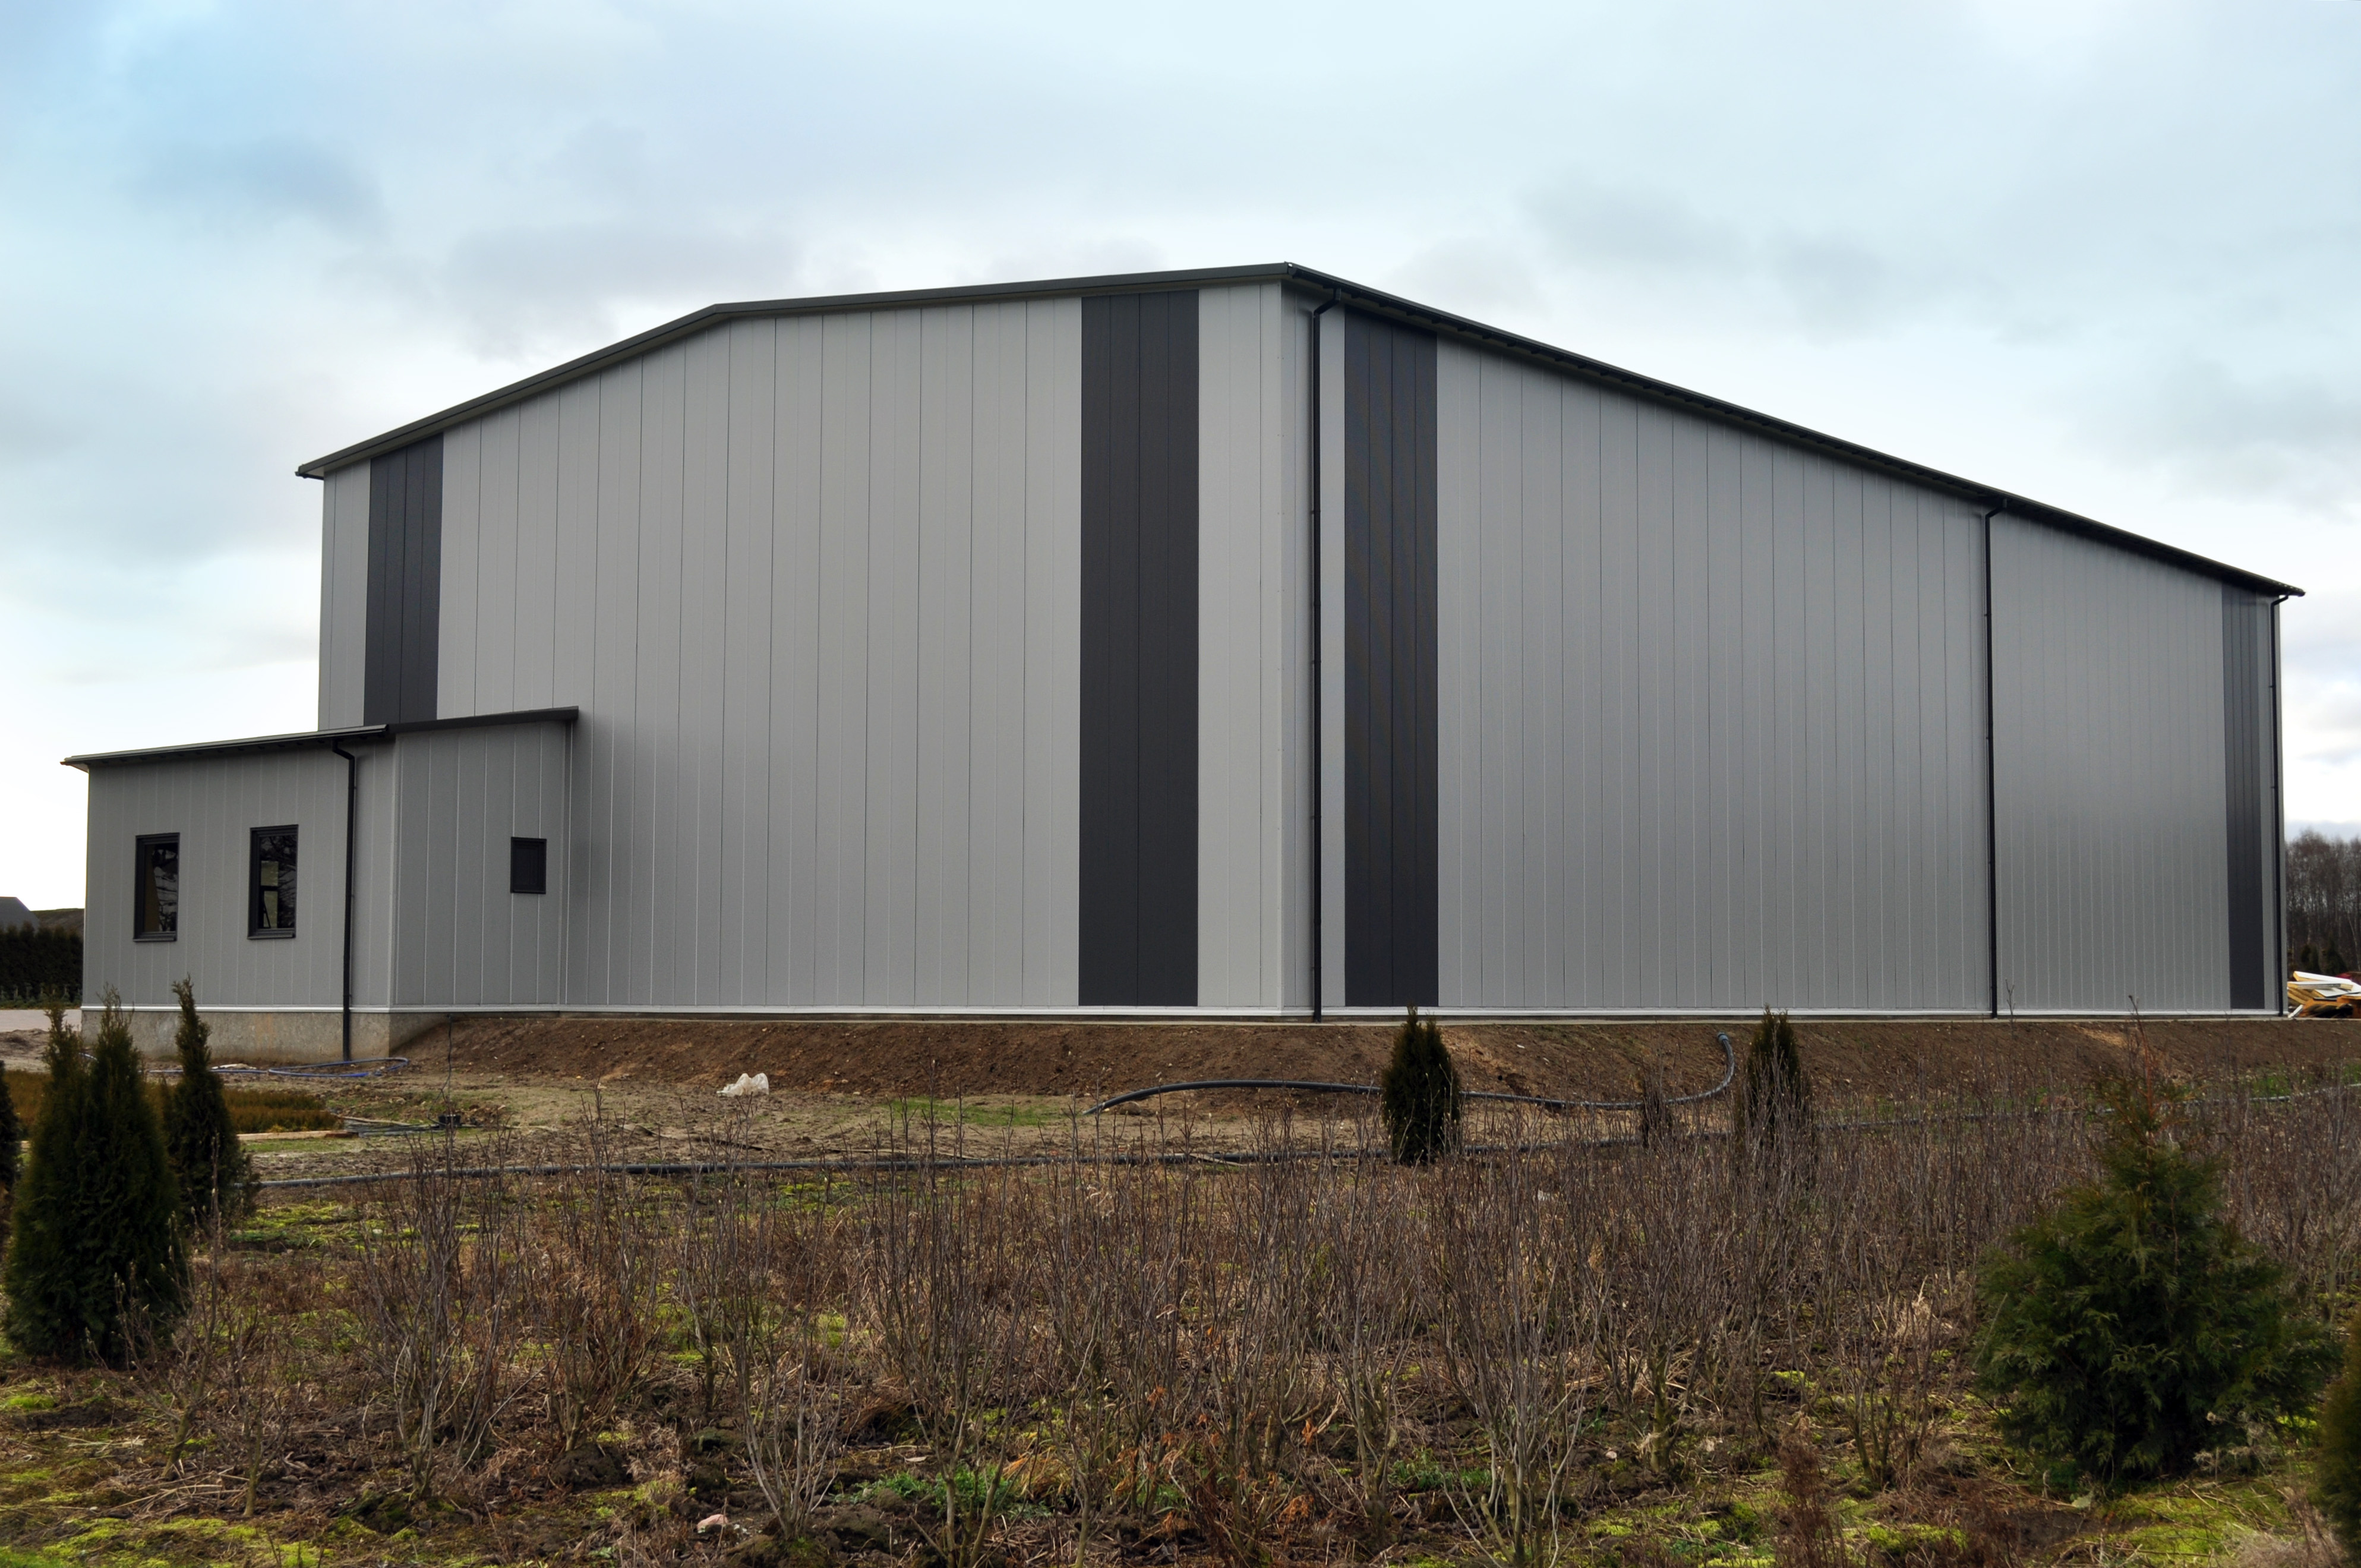
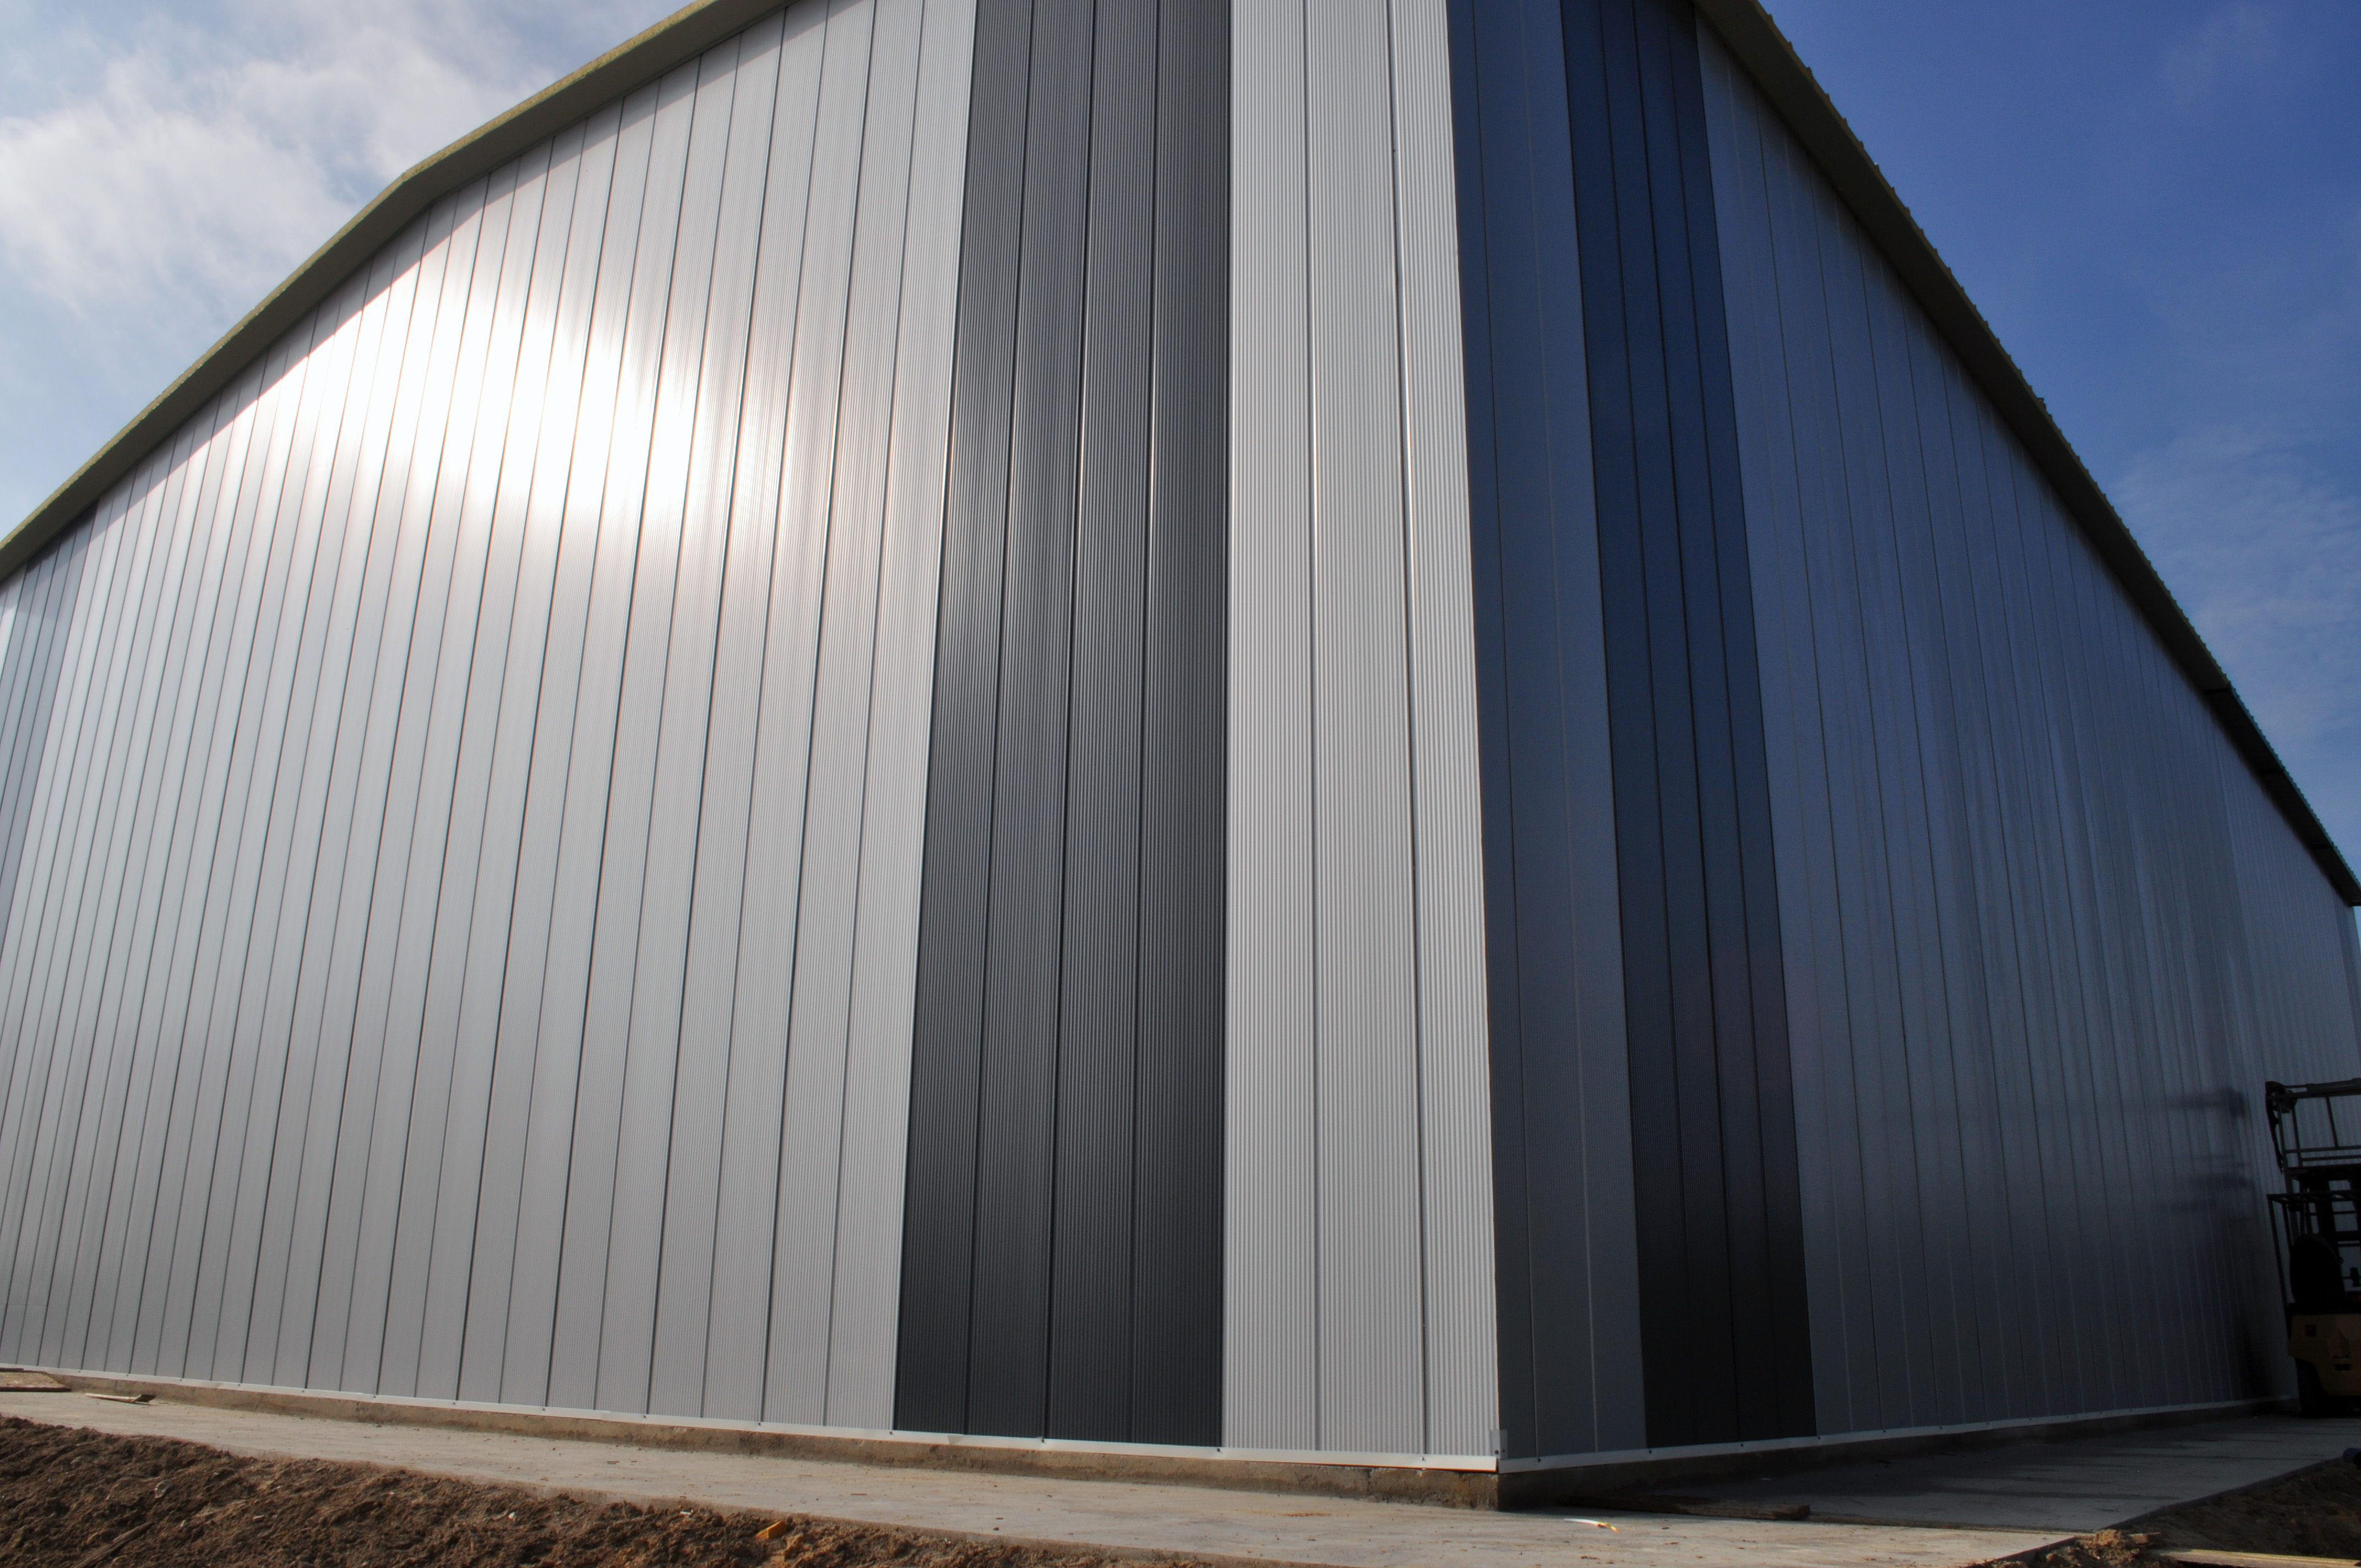
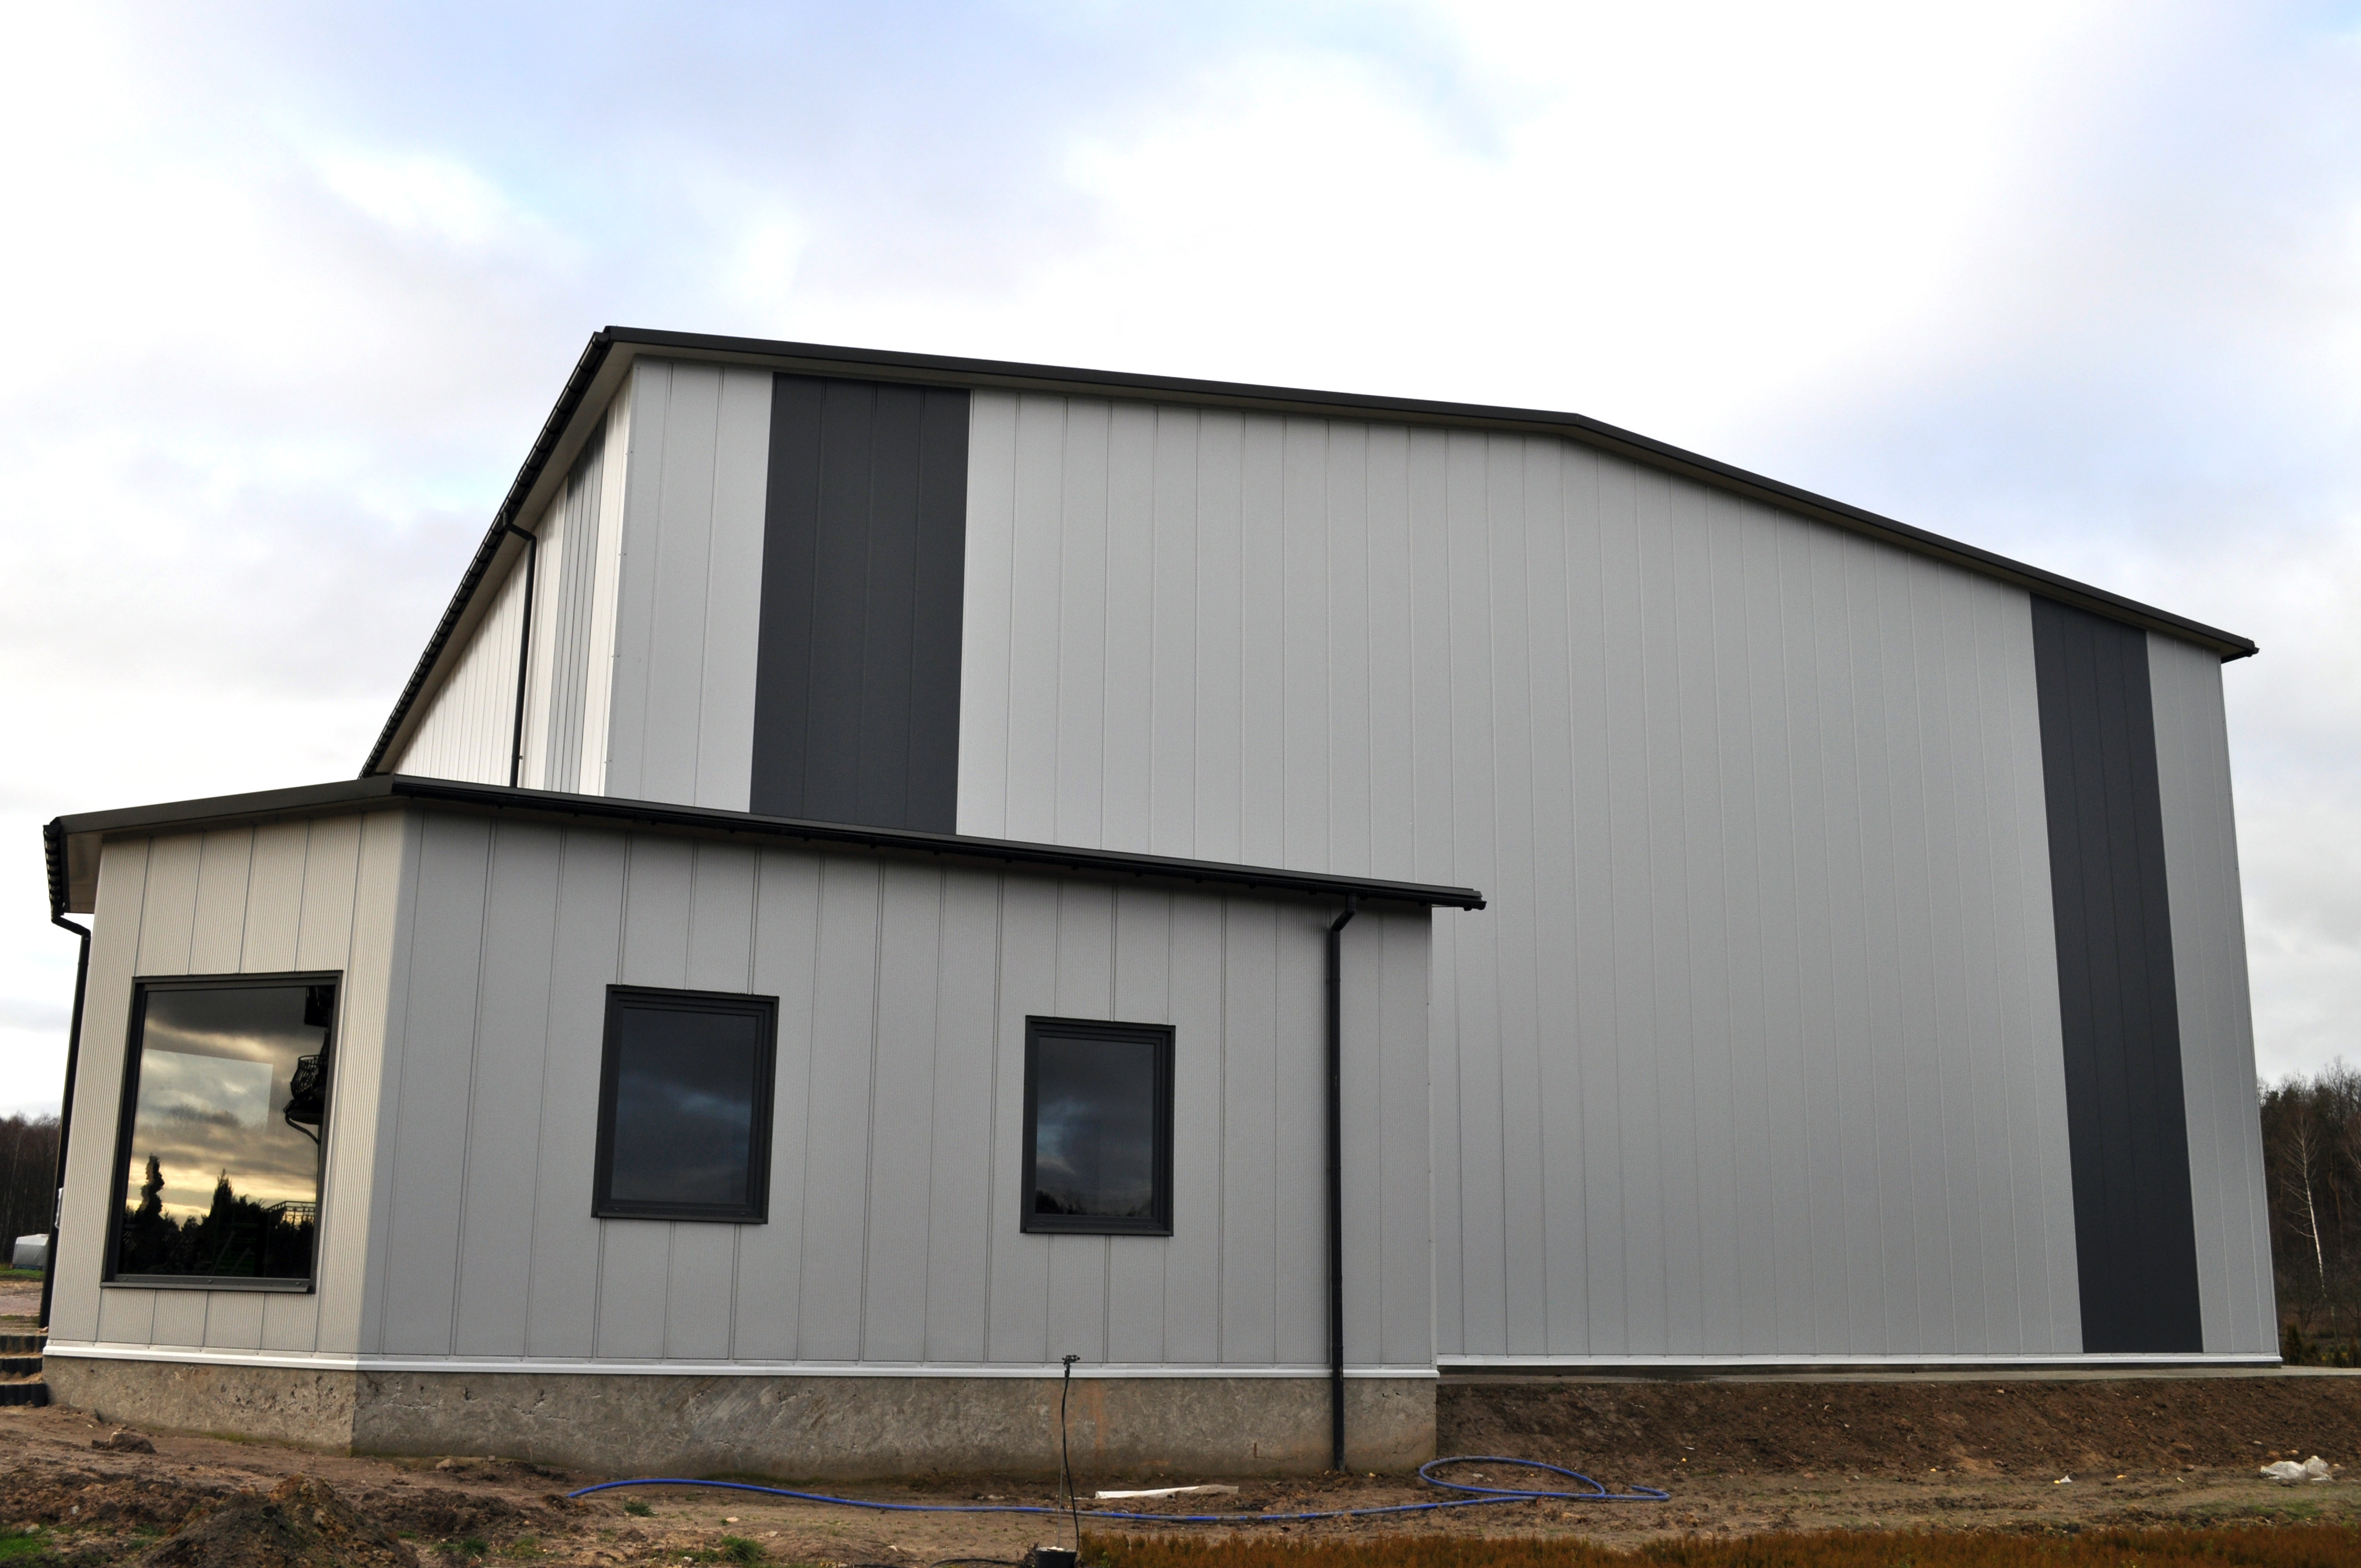
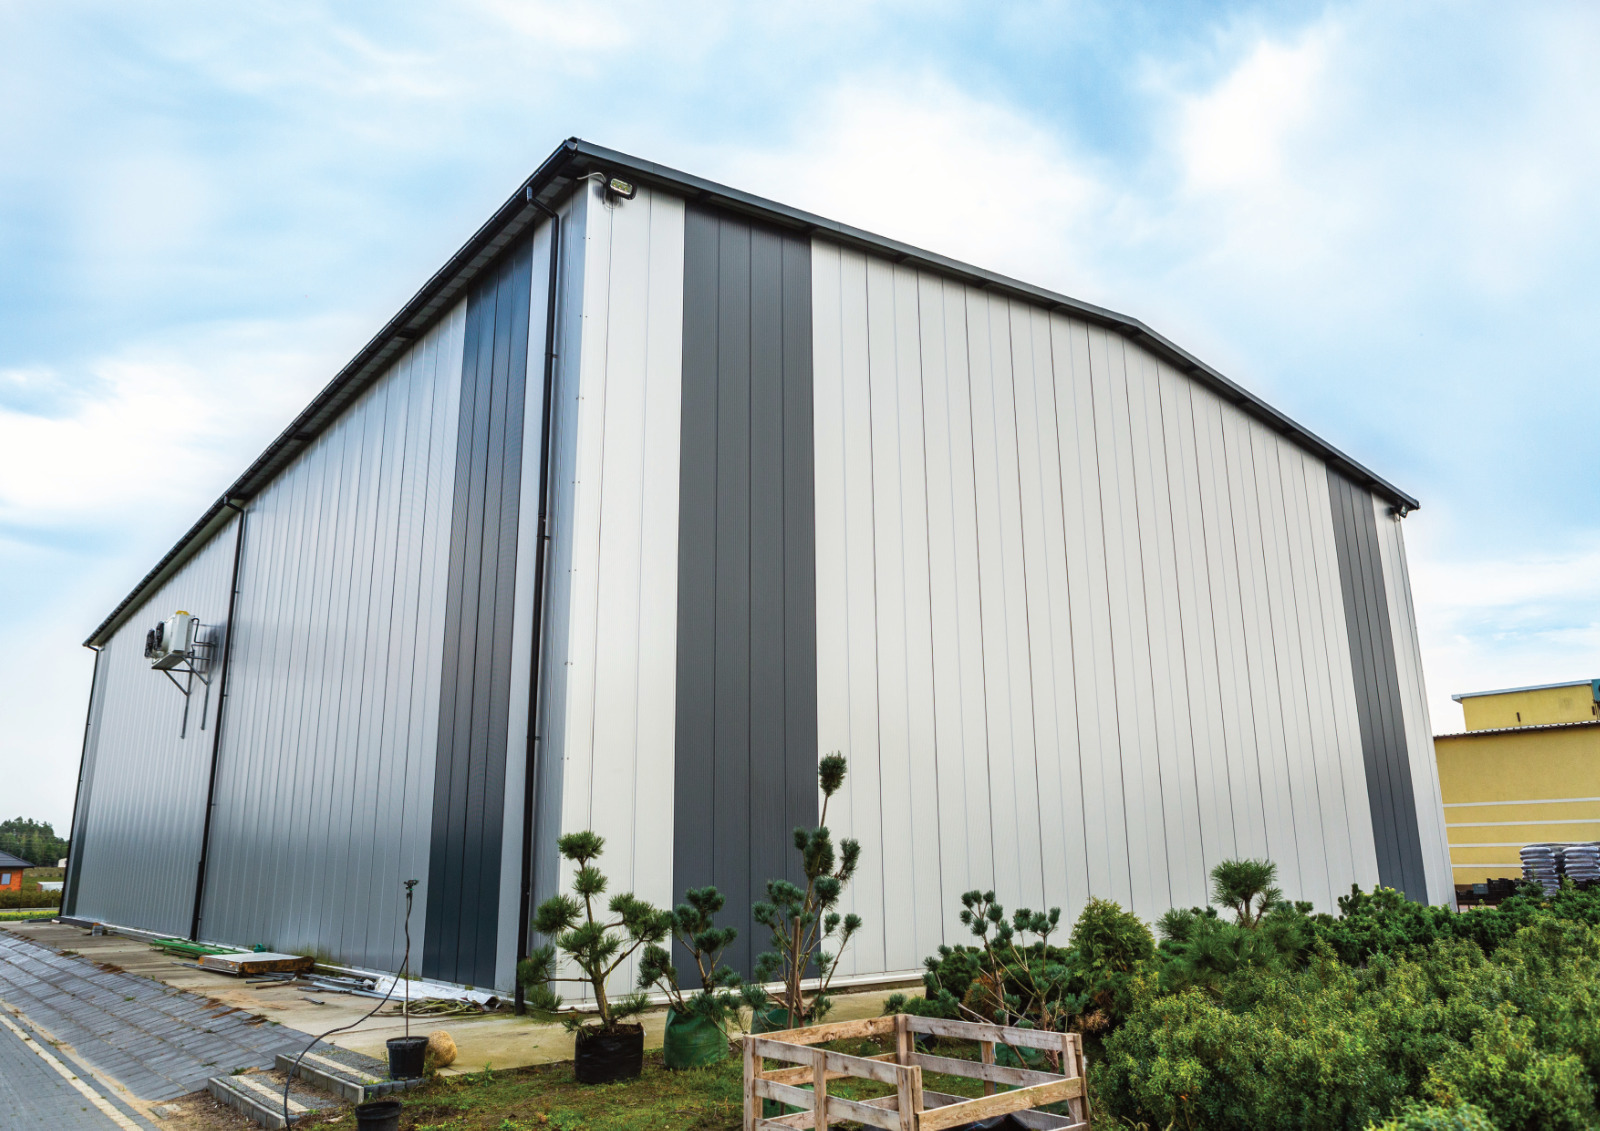
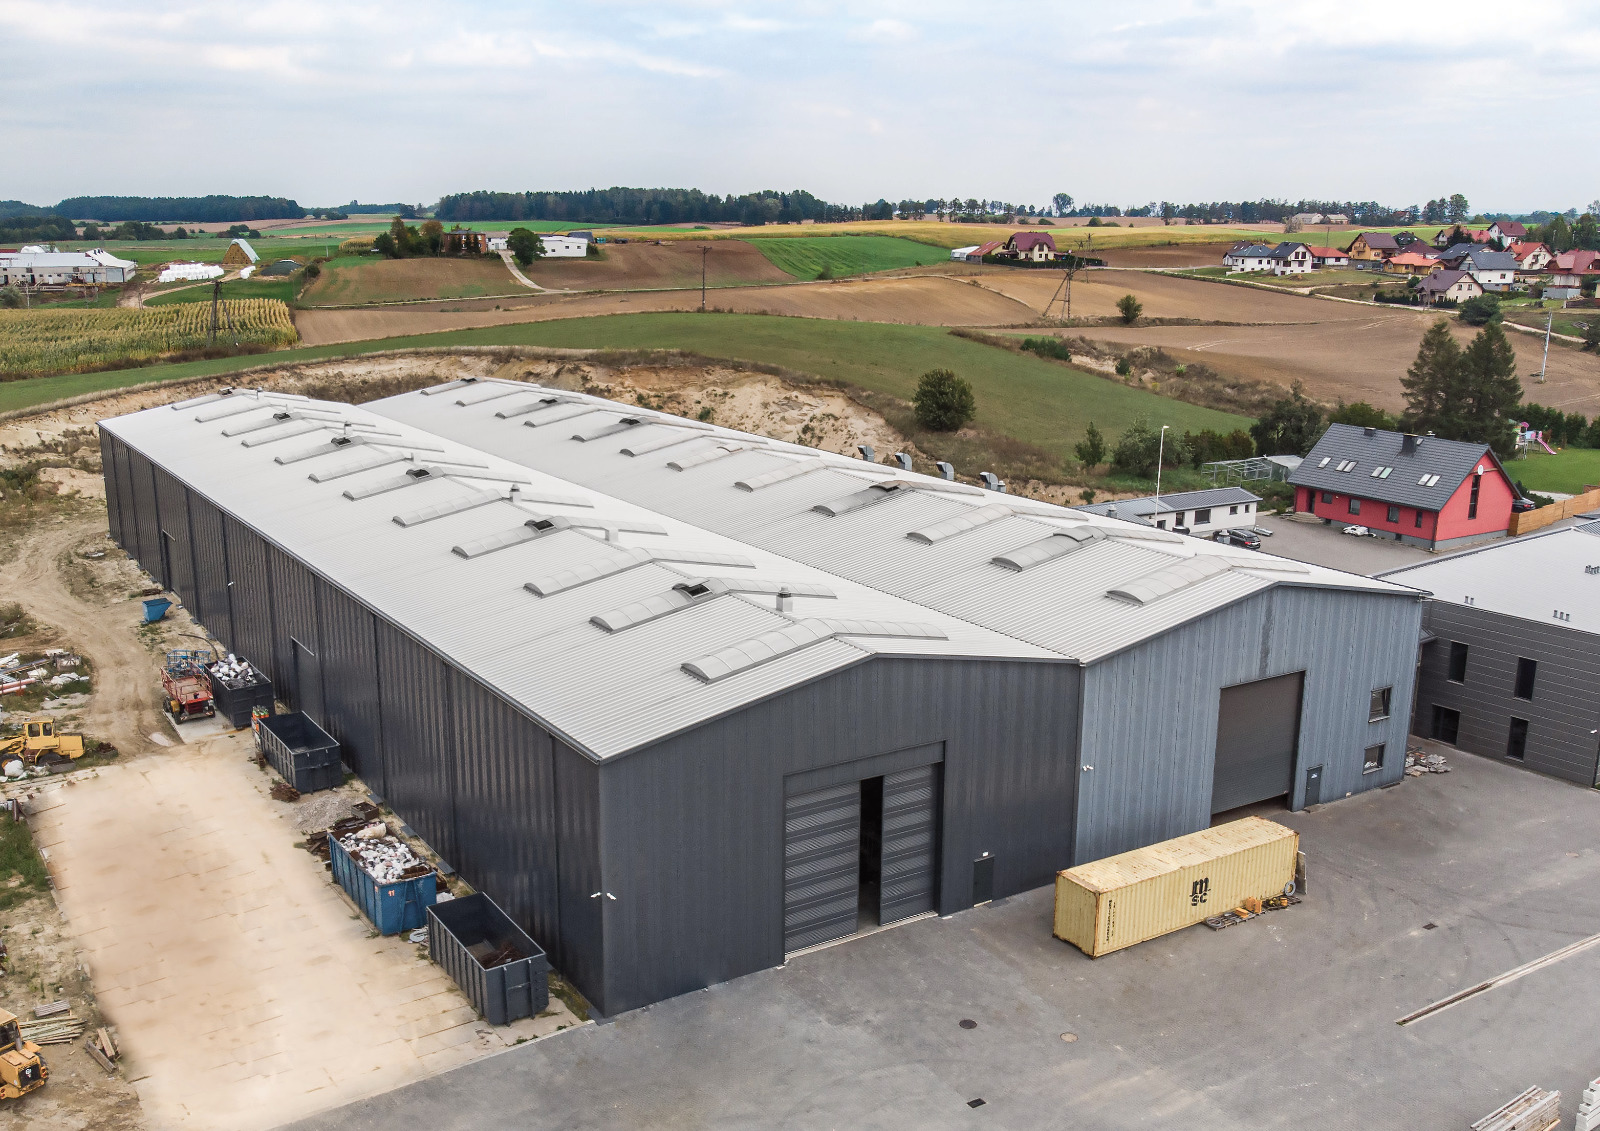
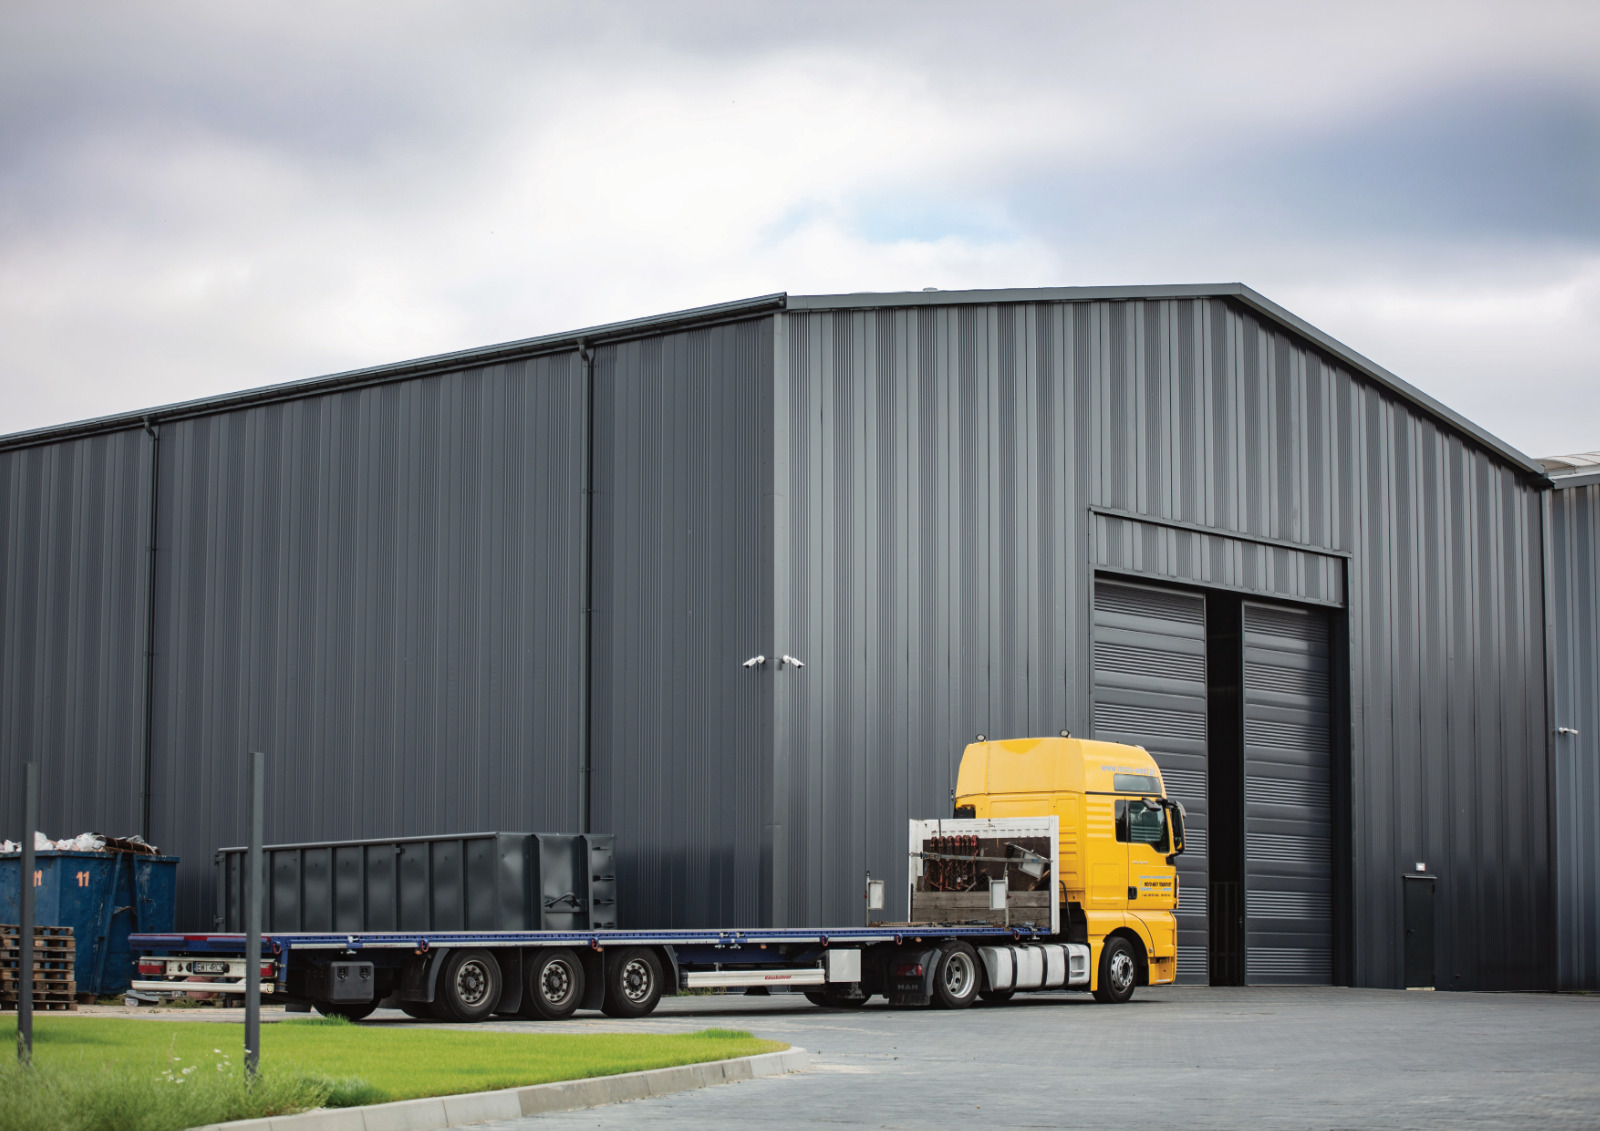
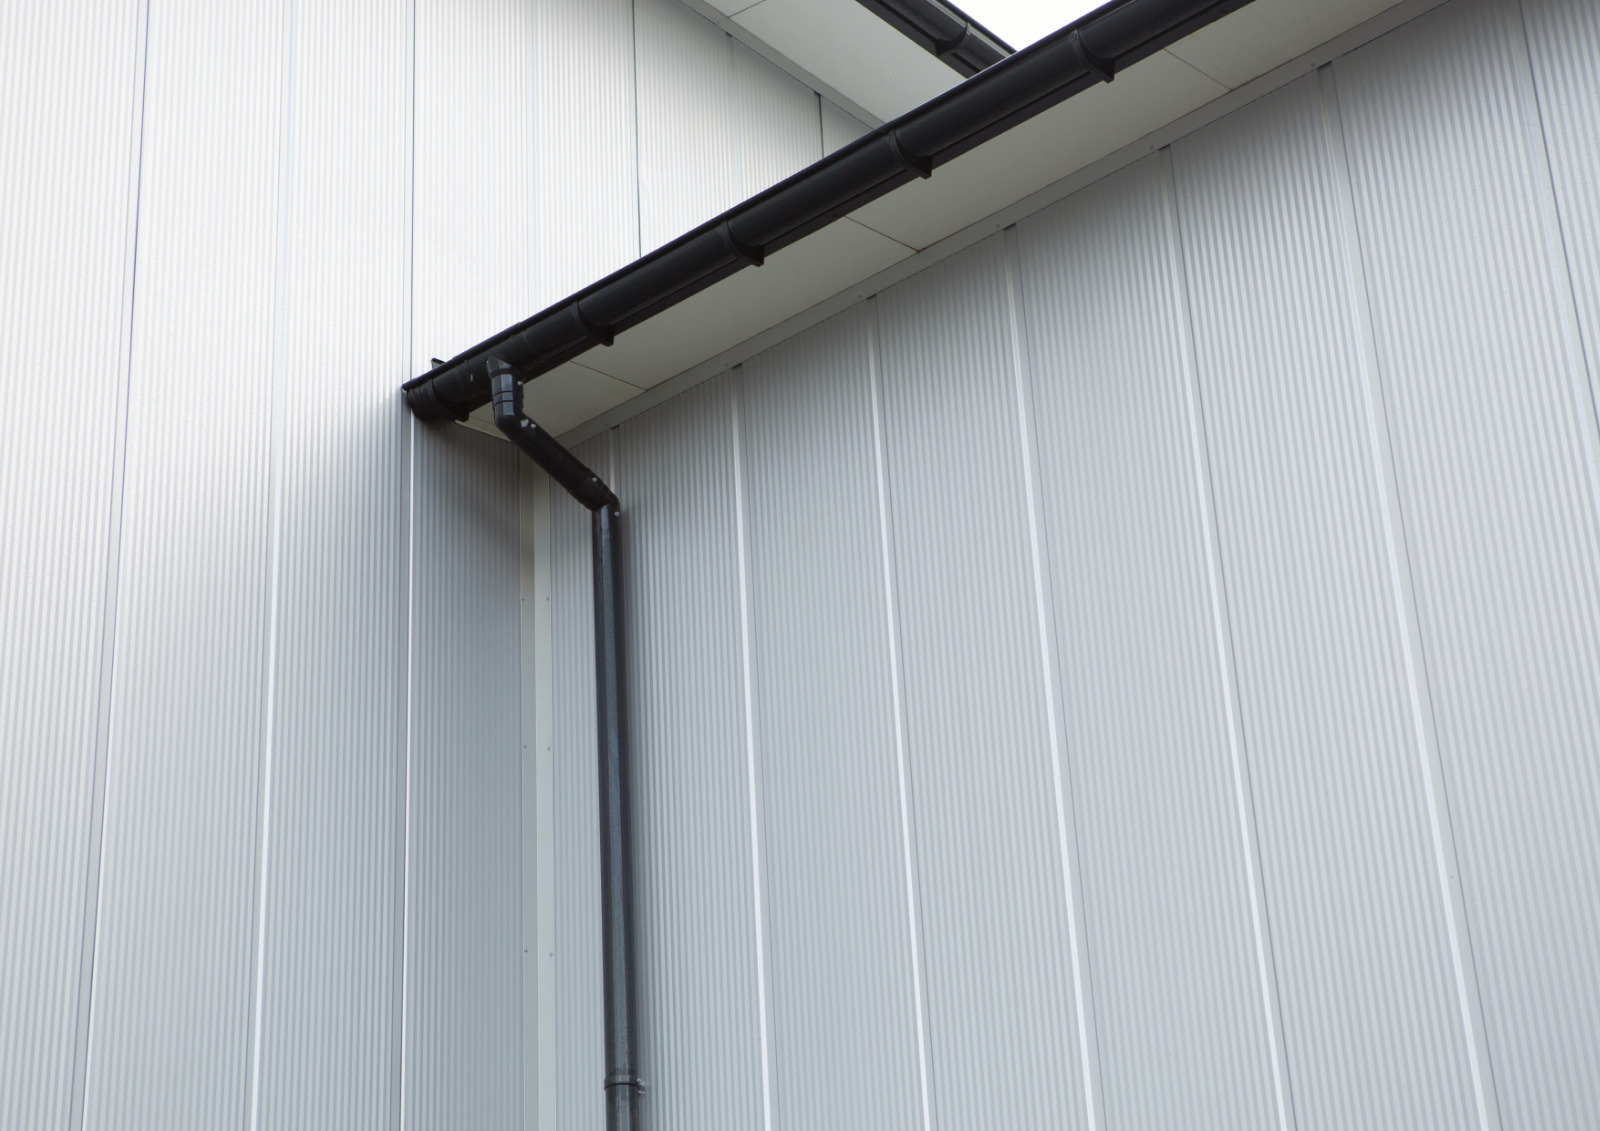
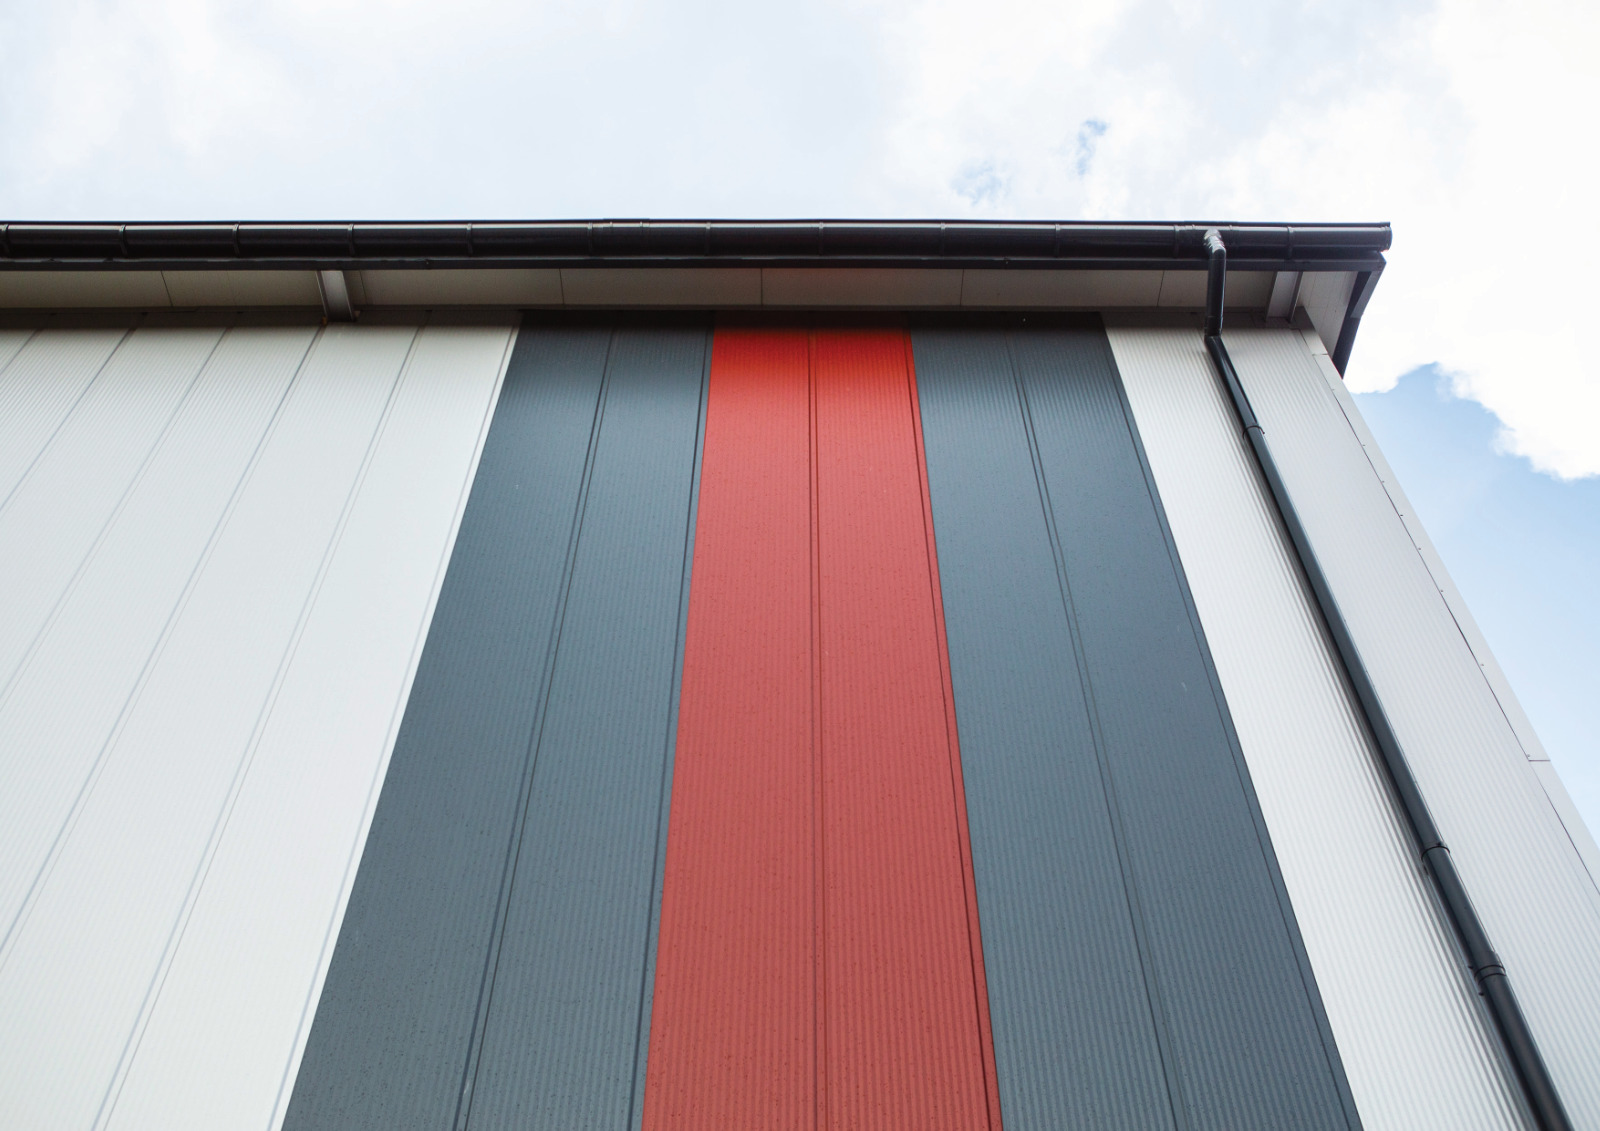
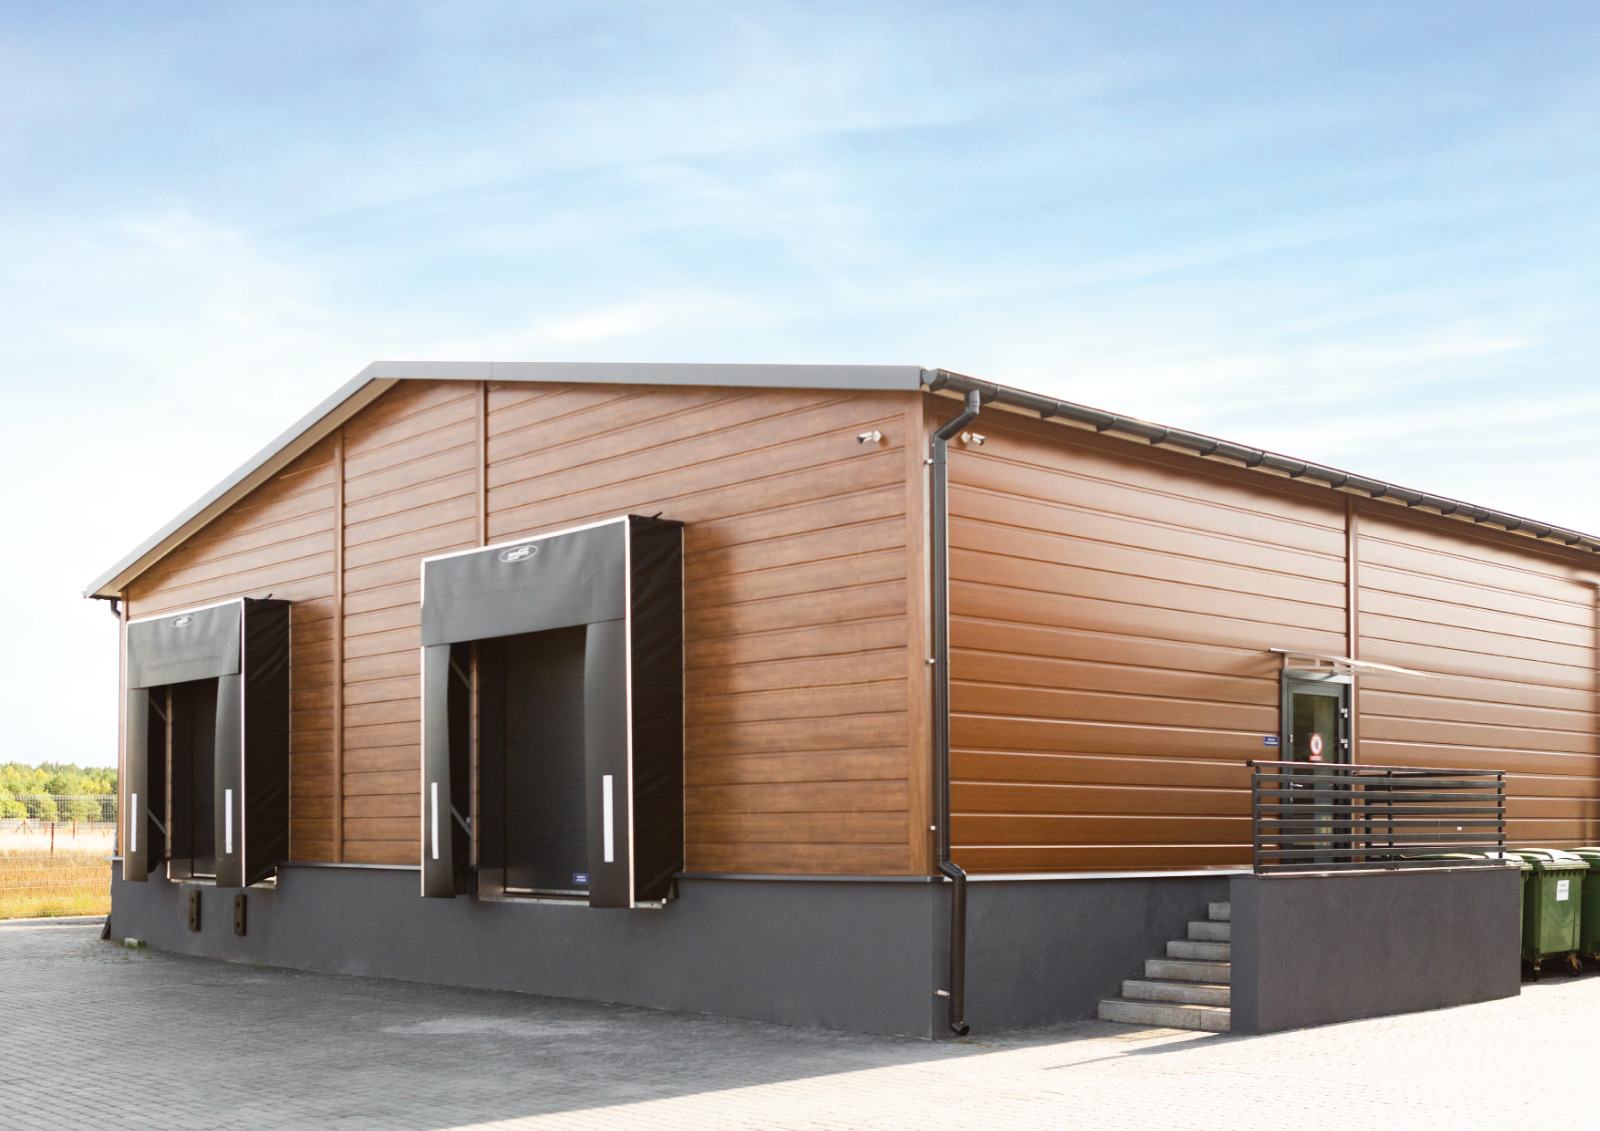
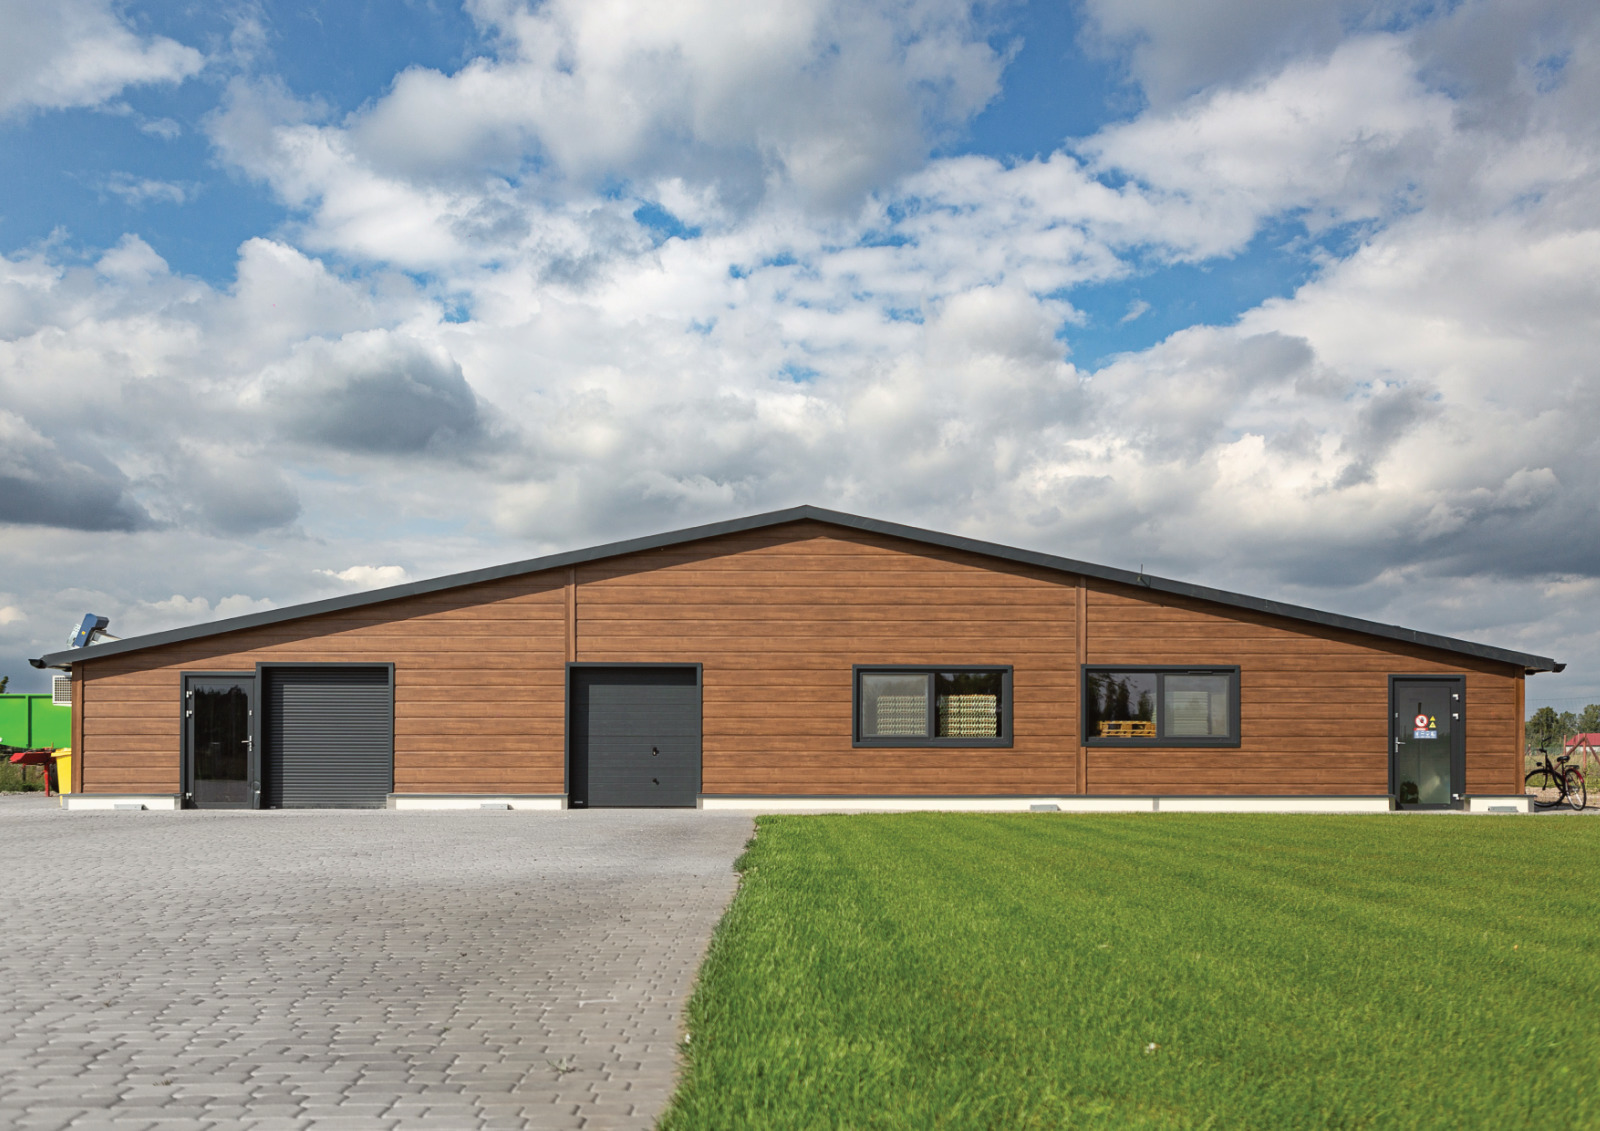
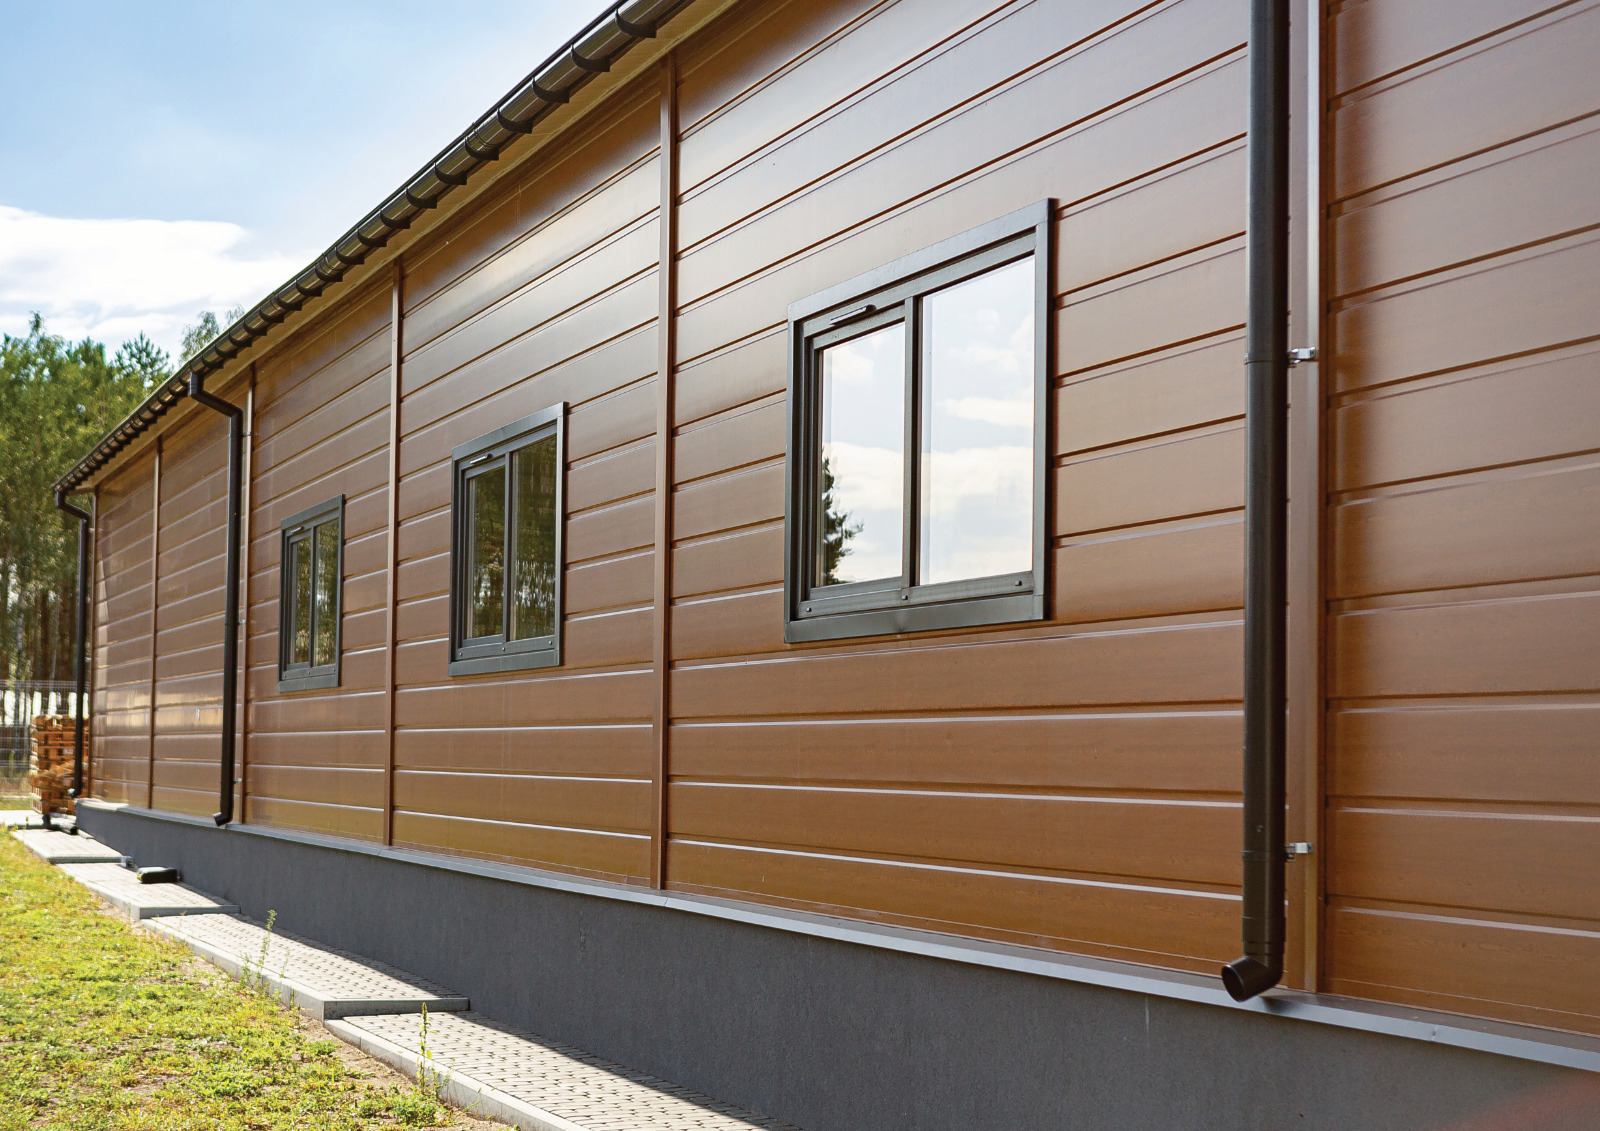
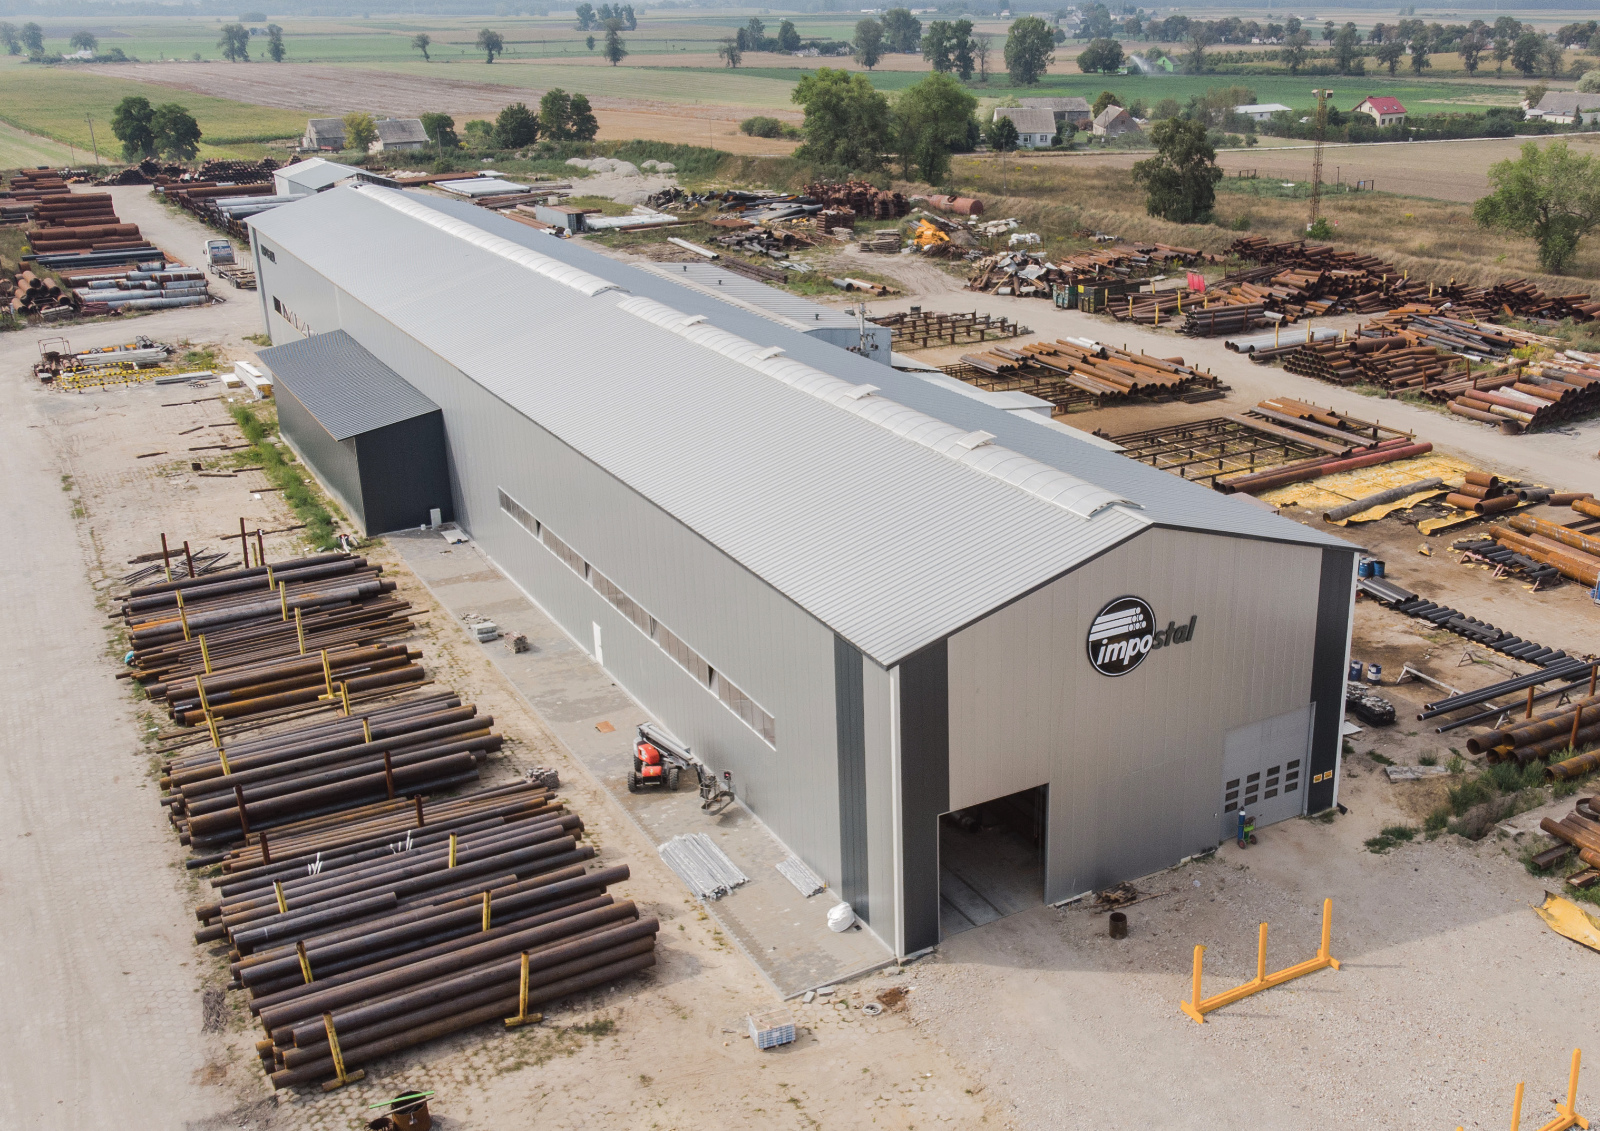
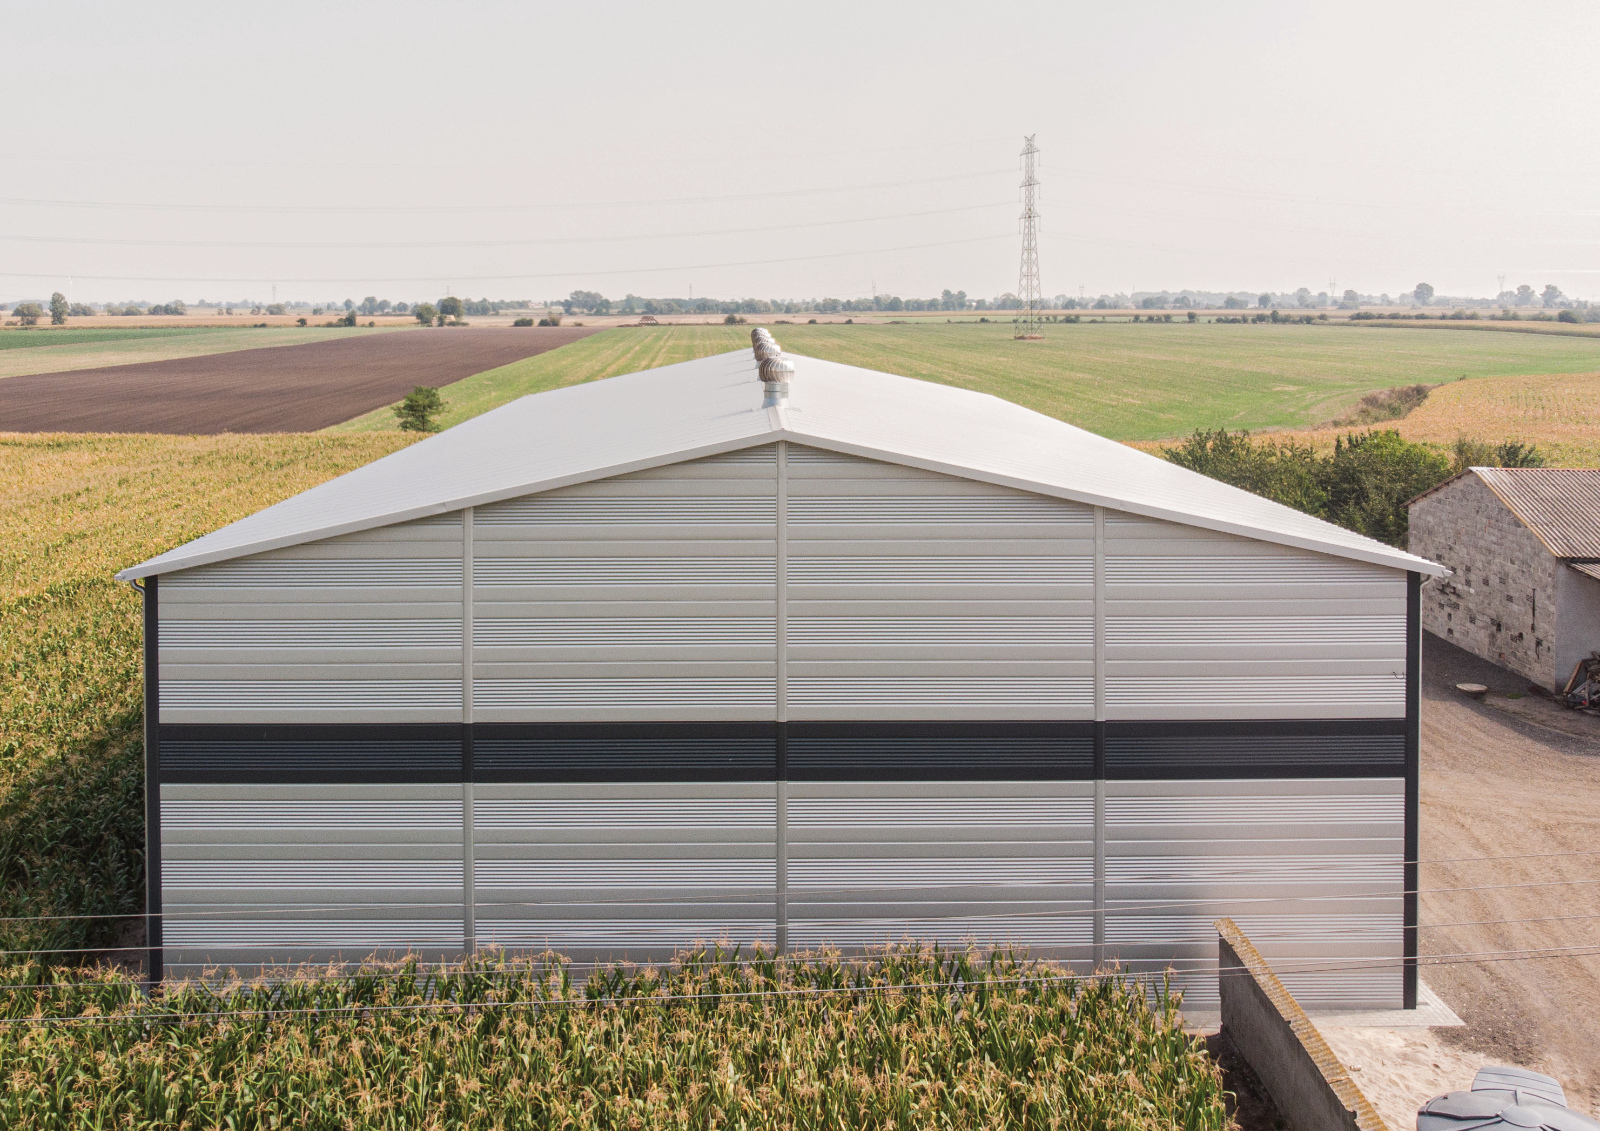
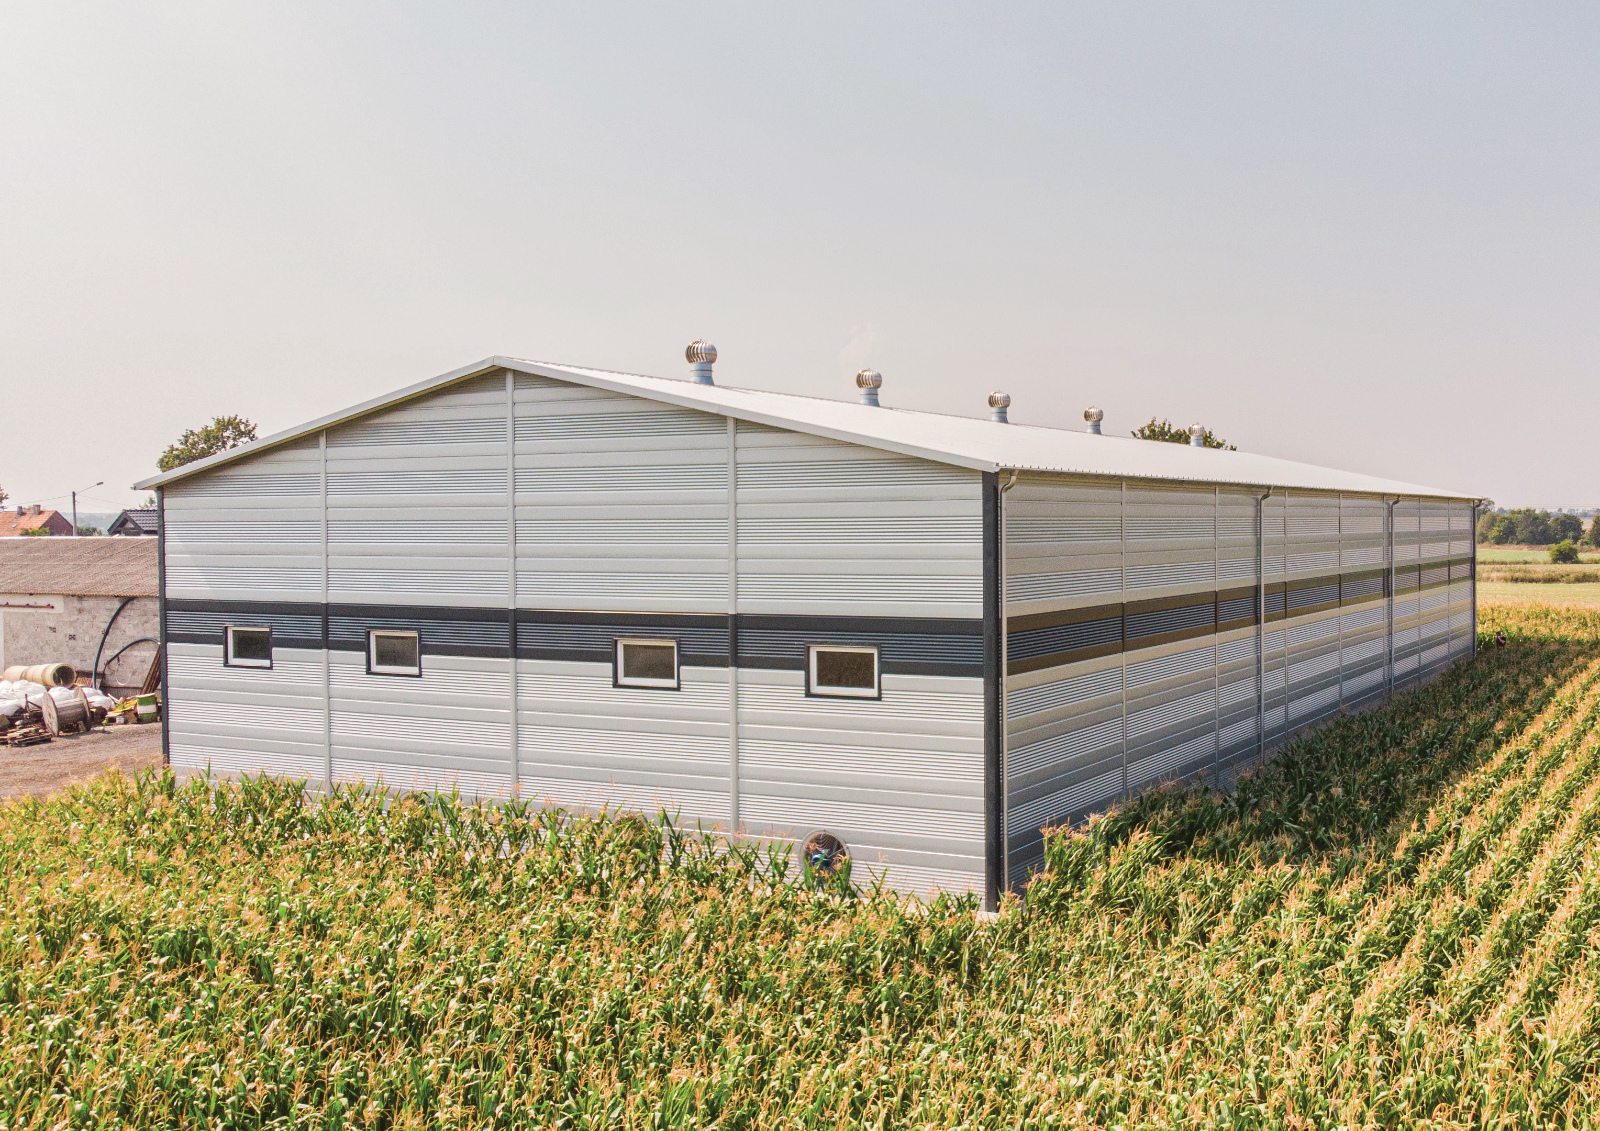
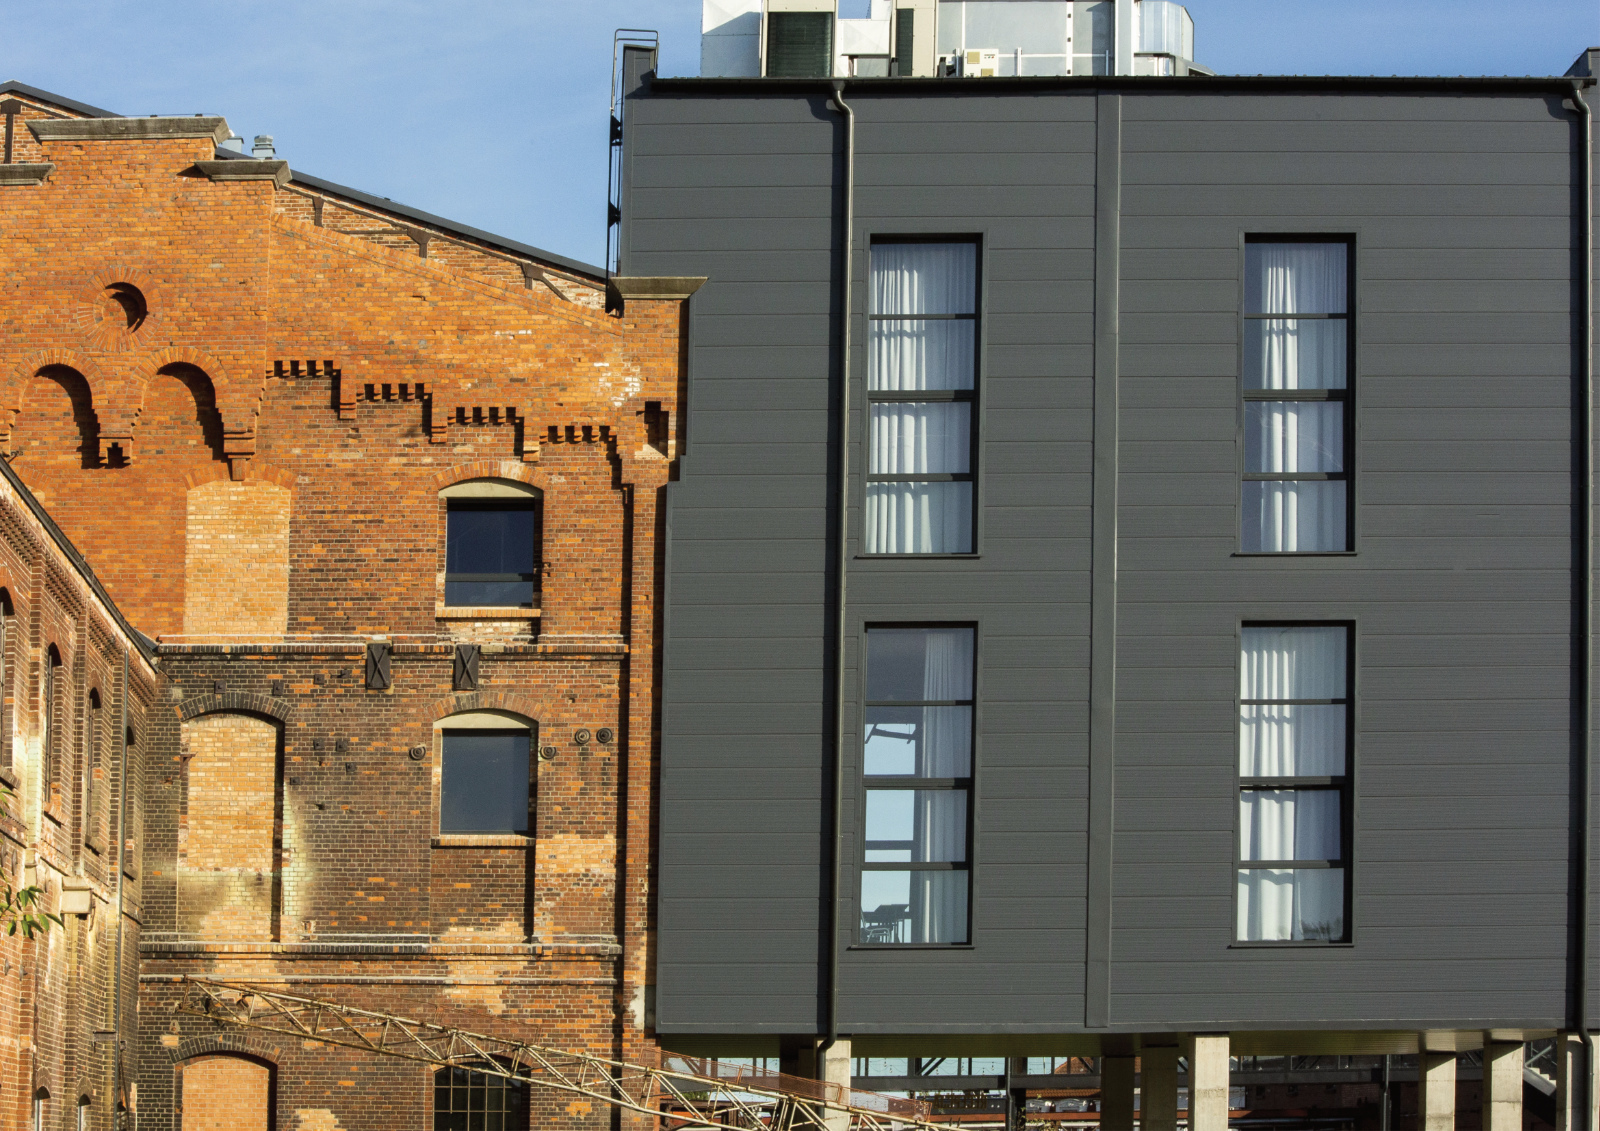
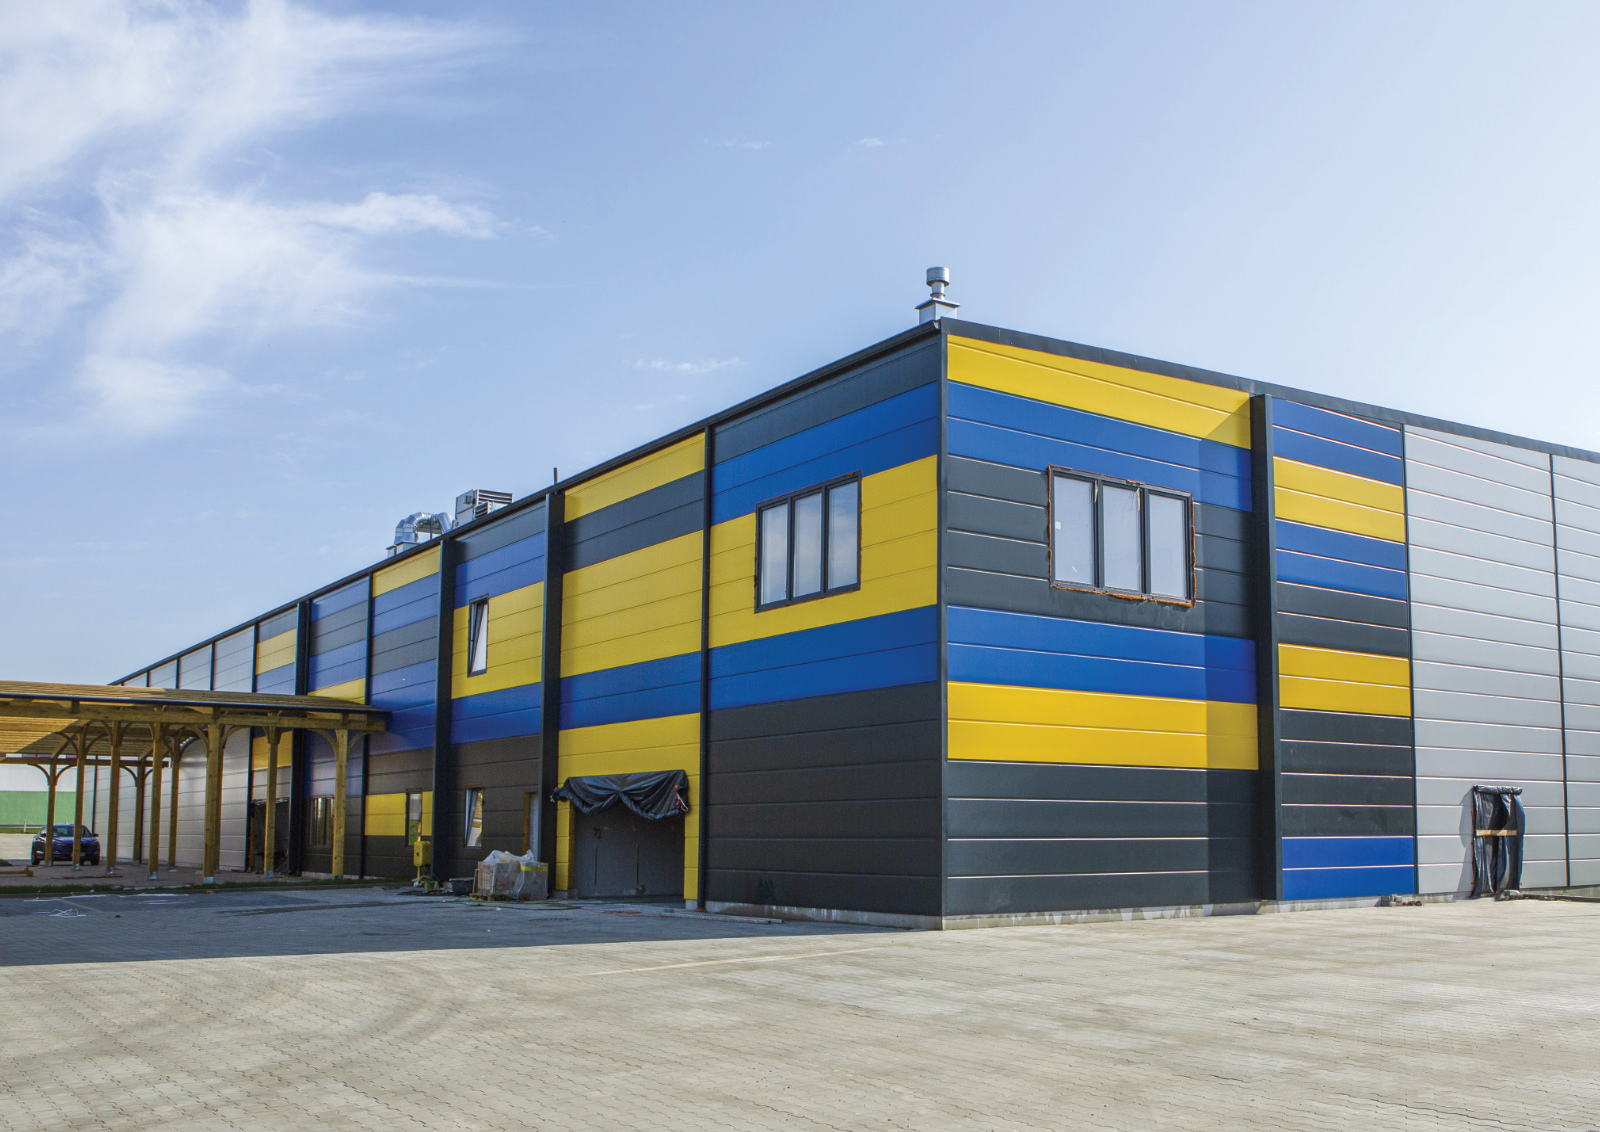
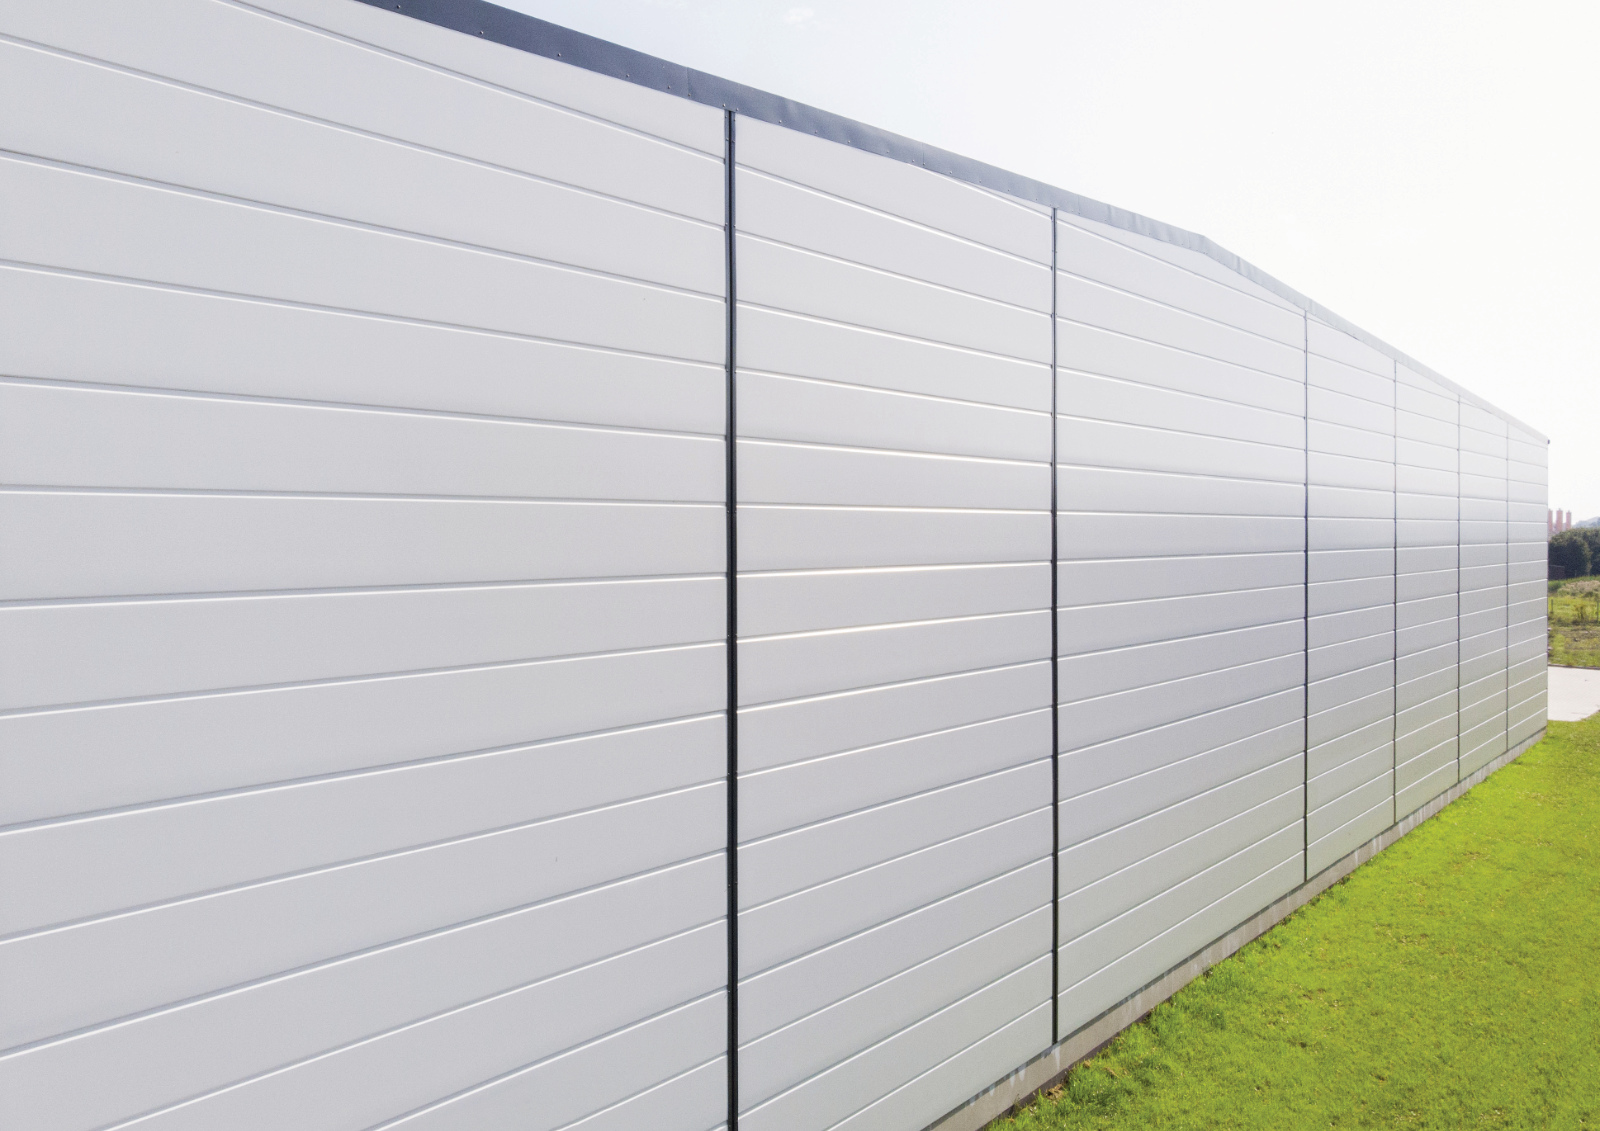
Realizations with PolTherma DS


 English


